If I said “my 162sf tiny house is too small”, most of you would probably reply, “duh, of course it is”. But actually, the reason I think it’s too small isn’t because it’s too small, exactly, but simply because there is nowhere to lounge in it. No couch. No recliner. There needs to be one but there’s no place to put one. Hence the being too small.
Originally, the Bednette idea was meant to serve this function. Sitting sideways on one of the dinette booth benches was meant to approximate a lounger. But it turns out the Bednette was not-so-great at lounging, only so-so at dining, and absolutely terrible at being a bed, which is how I used it most often. After a year or so of suffering with the terrible bed, I dismantled the Bednette and installed a Murphy bed. The kitchen table was hinged to the back of the Murphy bed, folding down when the bed was up. And I built two wall-mounted chairs that fold down, too, and back up when the bed comes out. This is a far better dining arrangement and so much better as a bed. But the mediocre lounging function of the benches is gone and since then, there has been no lounge function. And I miss it.
In my defense, even Ikea, the people who love to be super-efficient with space, model their smallest living quarters in about 250sf. That’s 90sf bigger than my house is now. And their model has a couch.
So okay, an addition! But how do you add to a trailer without compromising its balance? I couldn’t answer this. Had I simply started this whole project on a 32-ft trailer chassis instead of a 24, I’d have one more room and the couch could have gone there, but I didn’t know then what I know now, so I didn’t do that then, though I’d do it now.
Then, by chance, I happened to mention this problem to my sister who had an innovative solution: build the extra room on another chassis and just abut them! There are indeed some alignment and weatherproofing problems to solve there, but as a general concept, this makes a ton of sense. It preserves the road-worthiness of the house and simply turns the homestead into a caravan, should it ever need to move.
Okay! I know what to do. I’ve done this before.
Step 1 – Design it.
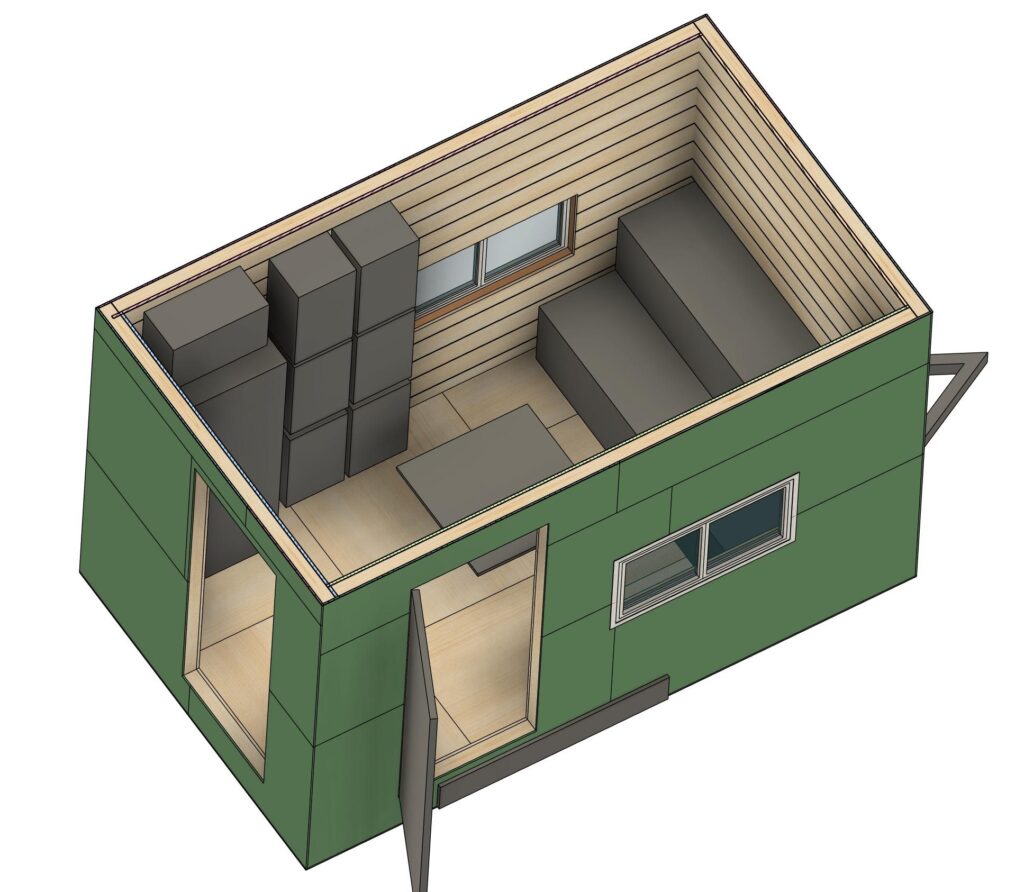
Note the Big Comfy Couch dominating the rear section. There’s room for a new dining/game table in the middle, and some new cabinetry along with a proper coat closet. The opening on the short wall will meet my existing front door (actual door to be removed), to provide a pass-through. A new front door will be installed as shown. As it turns out, my porchlet already requires this right-turn to exit the house, so it won’t even be a new traffic pattern for me.
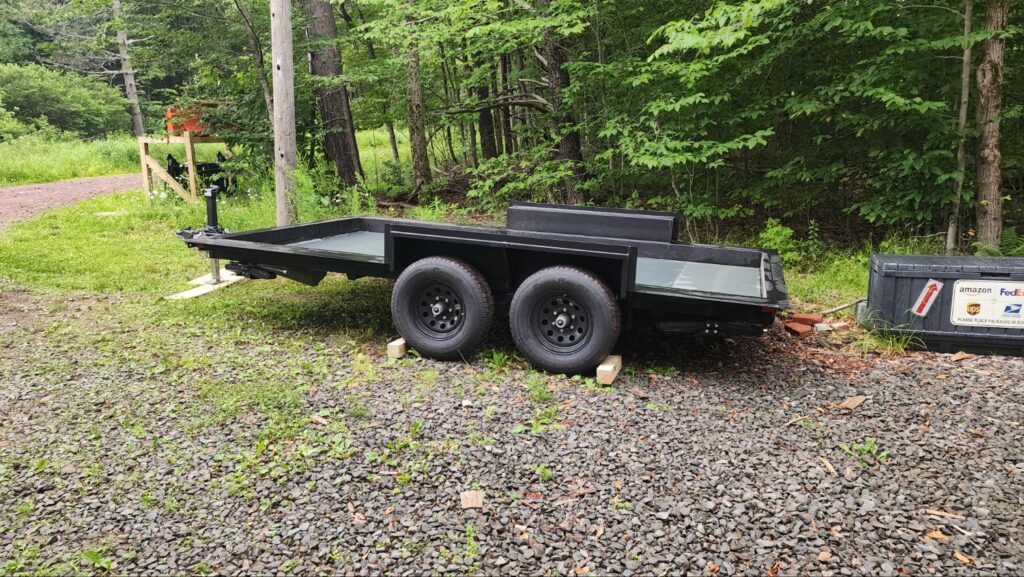
Step 2 – Buy a trailer chassis.
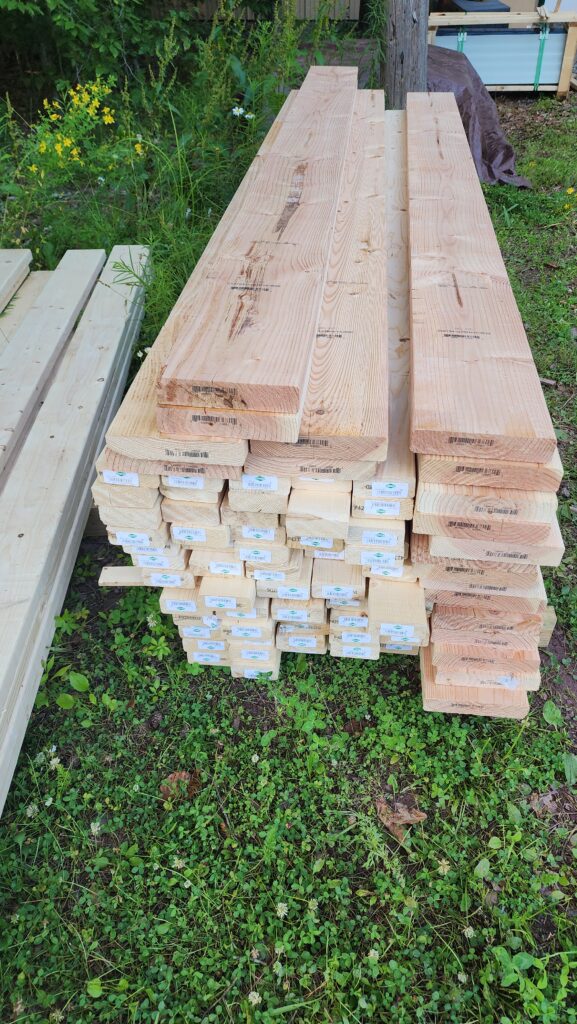
Step 3 – Order lumber.
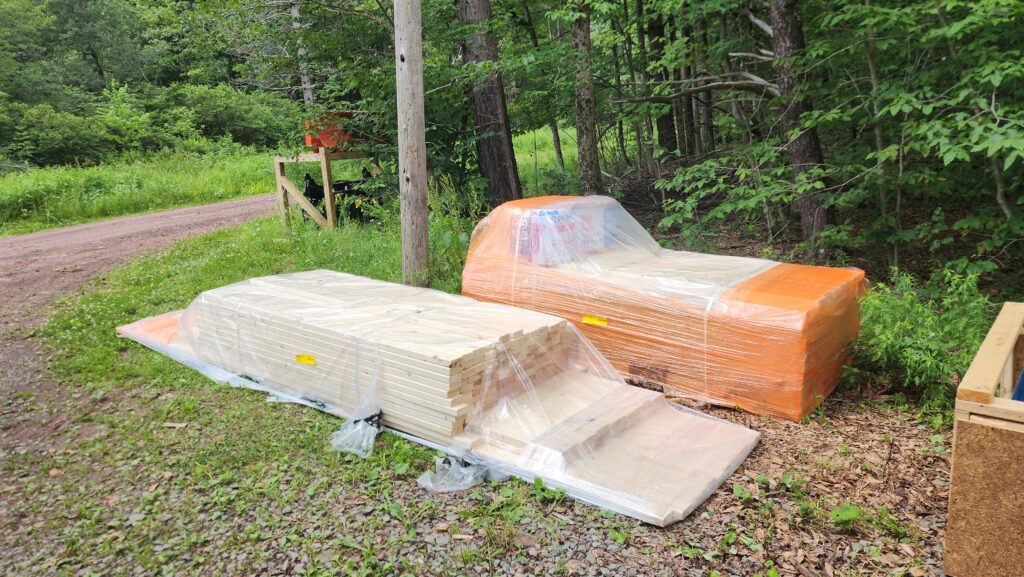
And wouldn’t you know it, they managed to bundle the wood such that the first plywood I need was under 1750# of other stuff (orange bundle). And most of the dimensional lumber I needed to build the subfloor (mid-length stuff second to bottom in the foreground bundle) was under a few hundred pounds of 2x4s. So step 3b is to reformat these piles so I can access the wood I need as I need it.
Step 4 – Build it!

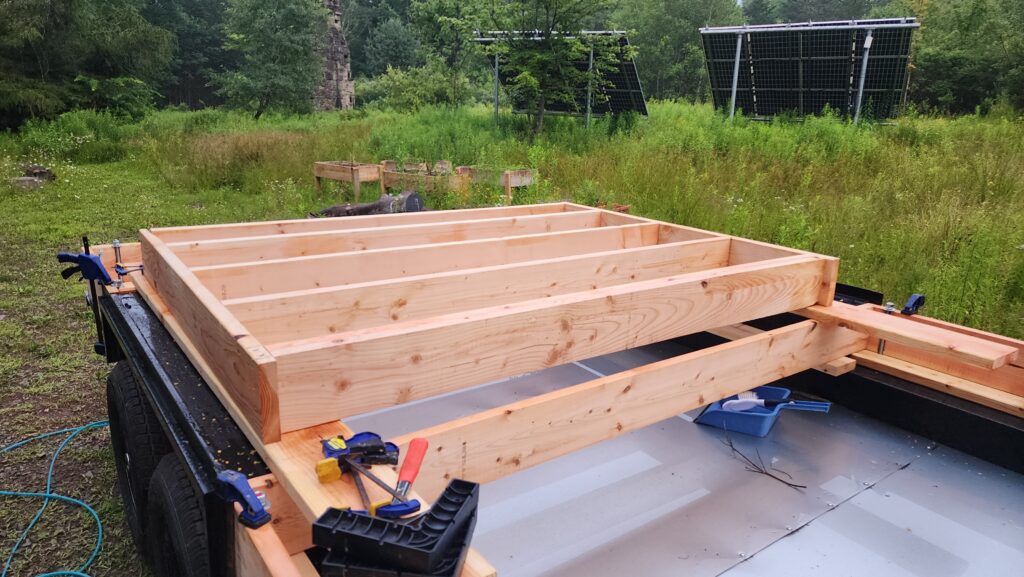
Starts modestly with a rim joist around what will become the subfloor. Those threaded rods will go all the way through to the top of the bottoms of the walls, anchoring the whole thing to the chassis.
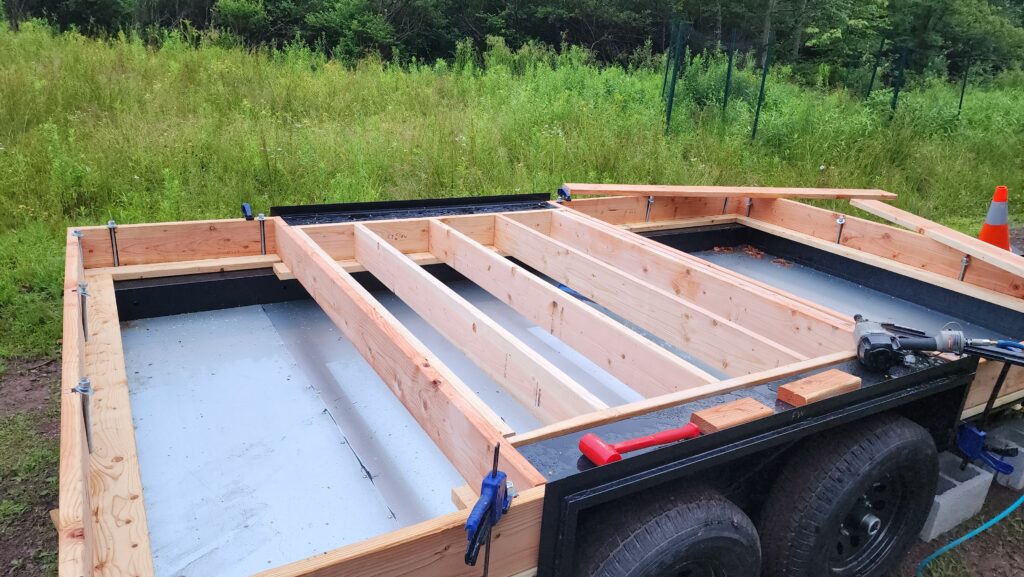
The middle of the subfloor couldn’t be built in place, but it could be built above place and dropped in, which is what I did.
And then drop it down…
Looking at these photos, I think a recent update to my phone has messed with the default camera settings, making everything “enhanced” (too saturated). I’ll have to fix that…
As I went to insulate the subfloor, I noticed that the faced insulation peeled away from the facing much more readily than I expected, so suddenly I had a problem: how to keep the insulation in place? The entirety of the joist system was already in place, so there’s no getting under there to add 1×3 strapping or something like that, which would have otherwise been a logical choice. Then I realized I had some plastic pipe hanger strap that would do the job and I could slide it under the whole system with only moderate fuss.
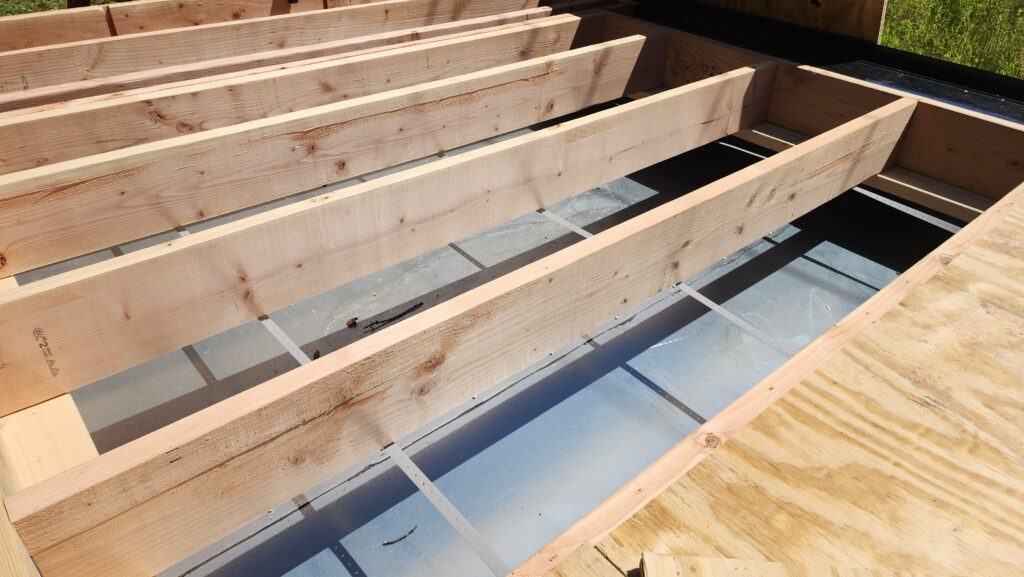
There we go. Something to hold the insulation in place. The house had foam board insulation that sat directly on a surface, so this wasn’t necessary. This structure has some open span, so no surface to retain the insulation. And I’m using fiberglass instead of foam boards because it’s easier to install. Or at least, I thought it was. After doing it, I’m not so sure. But also, the floor in the house is only 3″ thick and this is 6″ thick, so more insulation can fit and stacking foam boards is a bother. Fiberglass comes thick enough already.
And then there was subfloor!
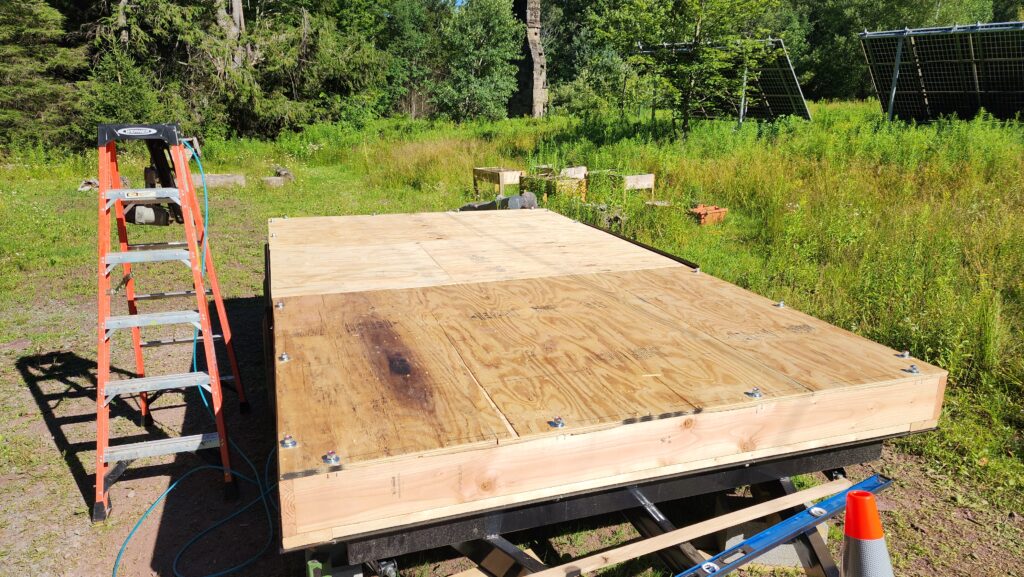
So… why is the floor so high off the chassis instead of set into the well of the trailer, where it looks like it should go? Well, it’s a little complicated, but ultimately the answer is my use of this chassis has a non-standard placement for the door (on what is actually the passenger side rear corner), which, as it turns out, is obstructed by the wheel well. There’s not enough room for a proper 36″ wide door there at “ground level” and a narrow door would still leave me without enough structural integrity at the corner. And the couch might not fit through (defeating the whole point of this enterprise). Take a look back at the CAD model and note the gray box below the door. That’s the top of the wheel well. And the door is right where I want it, meeting structural and logistical requirements. This is why I had to raise the floor level to above the wheel well so it wasn’t in the way. Then I could put the door anywhere I wanted without interference. That complicated my floor system a bit, but I can handle it 🙂