There’s been lots of progress since I posted last. And, indeed, this is why it’s been so long since I’ve posted – too busy actually doing it 🙂
When we were last with our intrepid builder, he had just finished the exterior sheathing on the sides. The roof deck remained. But it was time for a break and the plywood subfloor had been rained-on enough that it was starting to show some minor damage. Covering the whole thing with a tarp big enough to keep out the rain was a challenge. Those 20×40 tarps are heavy, and there’s no way to just throw it over the roof framing and pull it into place. The pointy edges of the rafters would catch and tear holes. No bueno! So the way to get the tarp decently even over the structure was from the inside, fluffing it and fussing with it from below, with exactly no view to the outside to know how well I was doing. But first, I had to feed the big, heavy tarp up from below through the rafters and then work it out toward the gables and eaves (again, being mindful of screw heads, pointy wooden edges, and of, course, the ubiquitous whatnot.

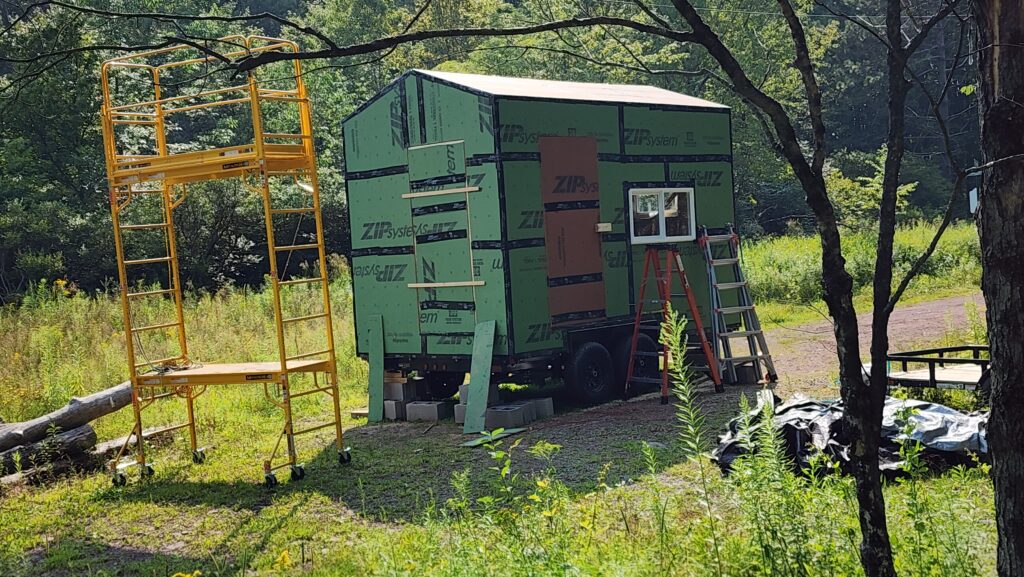
After the break, it was finally time to get on with the roof deck. This would involve manipulating heavy OSB panels at height, and I was concerned that even with the outriggers at the base of the scaffold, that there might be cases where too much weight became unbalanced and the 12ft high scaffold might topple with me in it. Again with the no bueno. For added safety, I ran some ropes from the top of the scaffold across the roof and tied them down to the trailer chassis on the other side.

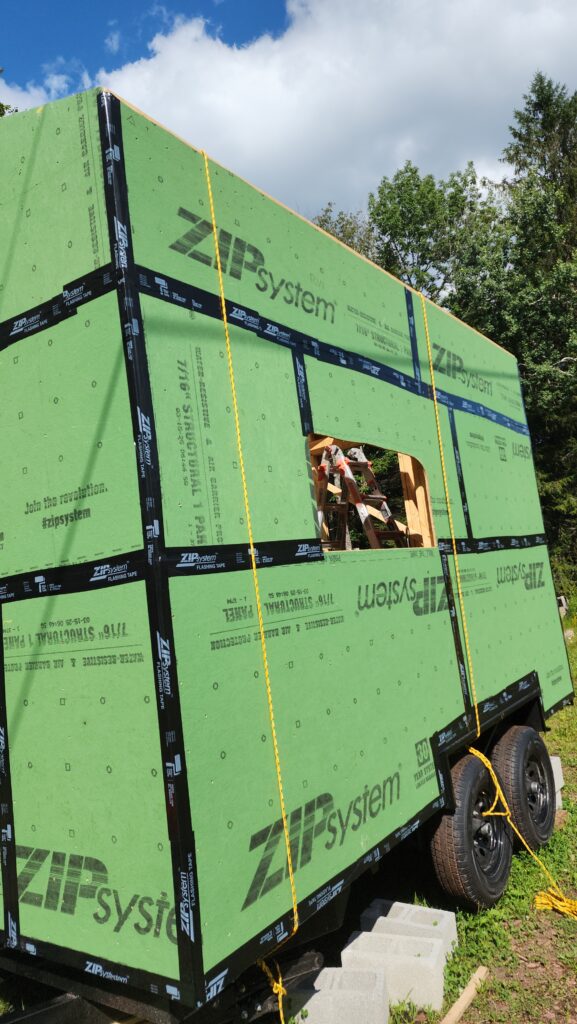
This worked great and gave me a solid sense of anti-topple security, but made it a much bigger effort every time I had to move the scaffold. Tying off the ropes wasn’t the hard part. Moving the ropes over all the obstacles on the roof was the hard part. Imagine me doing some Advanced Lariat Techniques trying to get ends stuck in crevasses or on edges of things free, from 20ft away on the ground. This took some time. Every time. So, too, moving the scaffold over rocky ground and lifting up the >200# rig to shim under the wheels to get it level in each new position. Slow going.
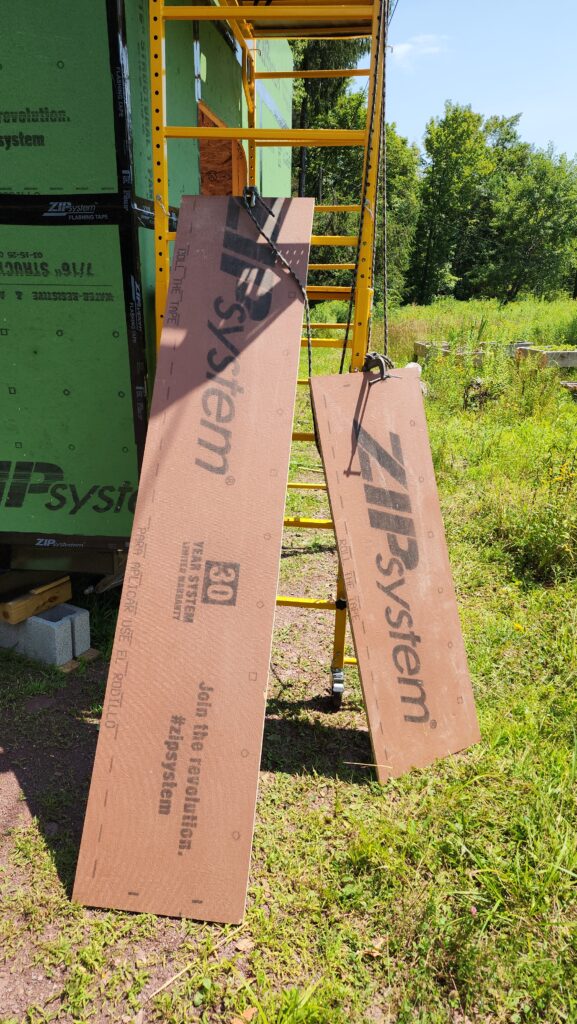
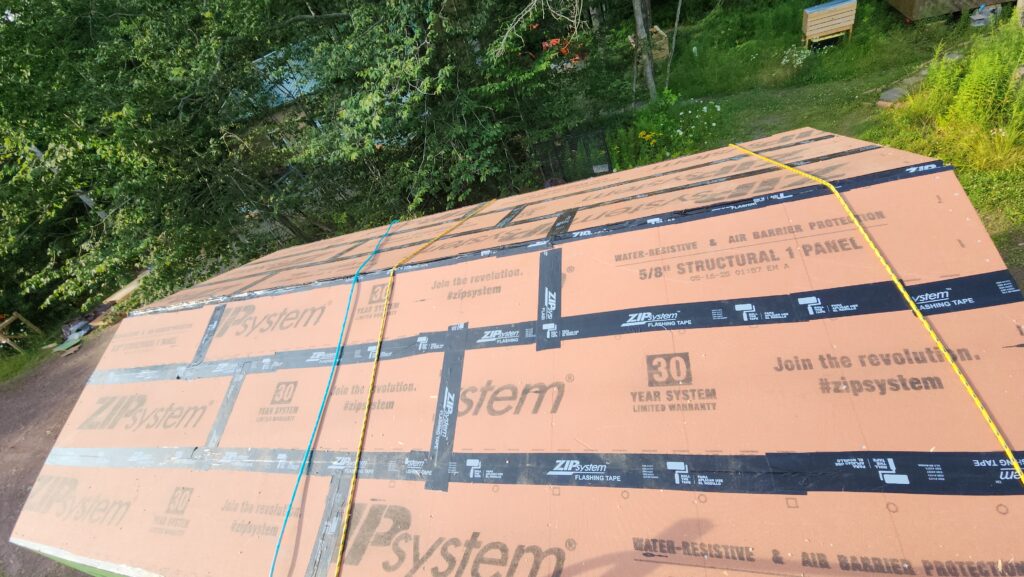
There was no way in deepest, darkest heck that I was going to be installing full 4×8 sheets of 5/8″ thick OSB without other equipment to get them up to the roof. So I built the roof deck in three courses of shorter boards. This meant more seams and more up-and-down, but also that I wasn’t trying to hoist and manhandle 70# the sheets at the top of a 12ft tower. A rope and a clamp became my panel elevator.
Eventually, I got smart about scaffold relocation, too. Instead of doing one course at a time, I staggered installation like this, so I could maximize the amount of work I did from a single position.
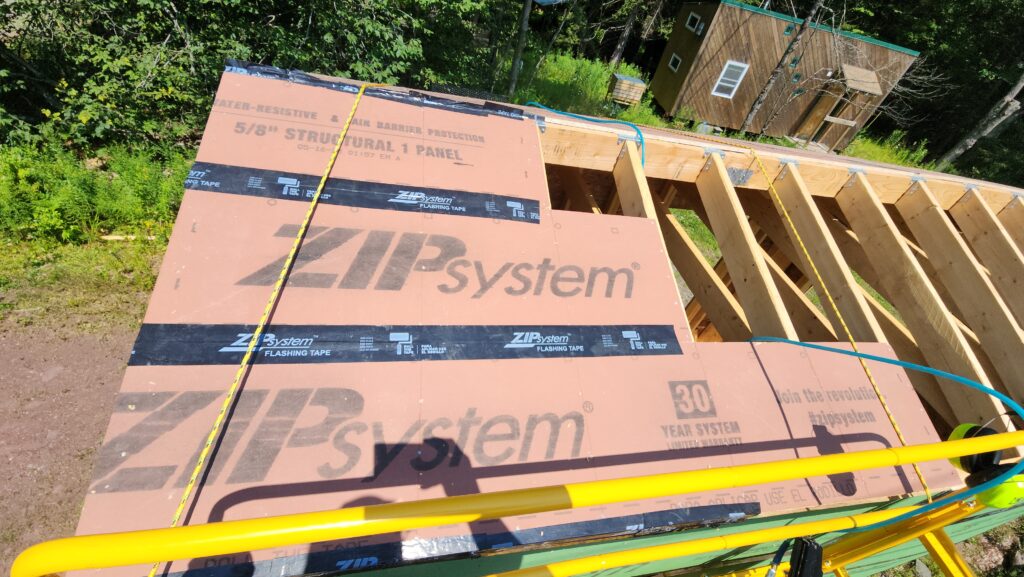
Even if I couldn’t finish nailing or taping an entire board from my position, I could at least get it in place and nailed and taped as far as I could such that I could finish it at the next position.
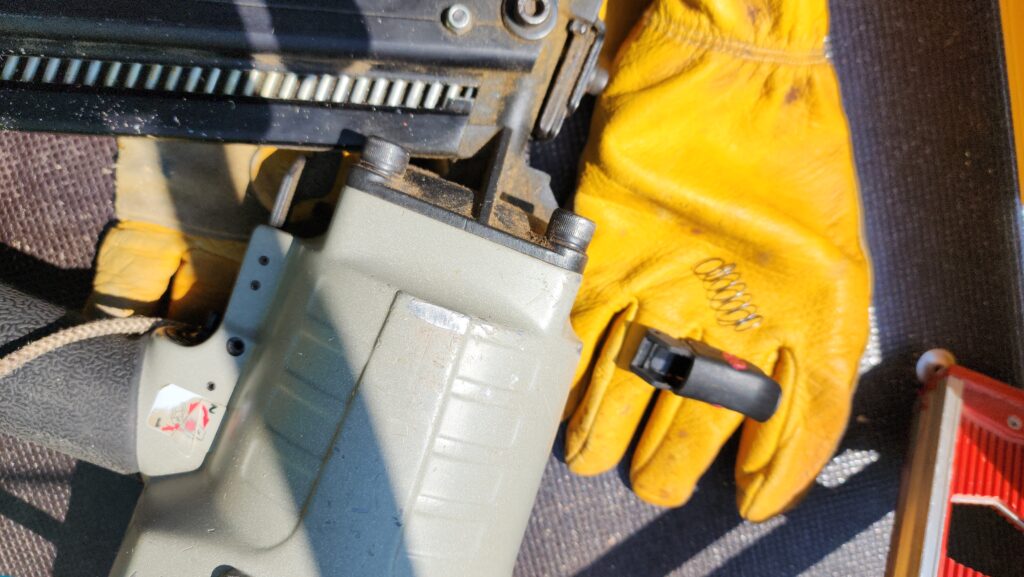
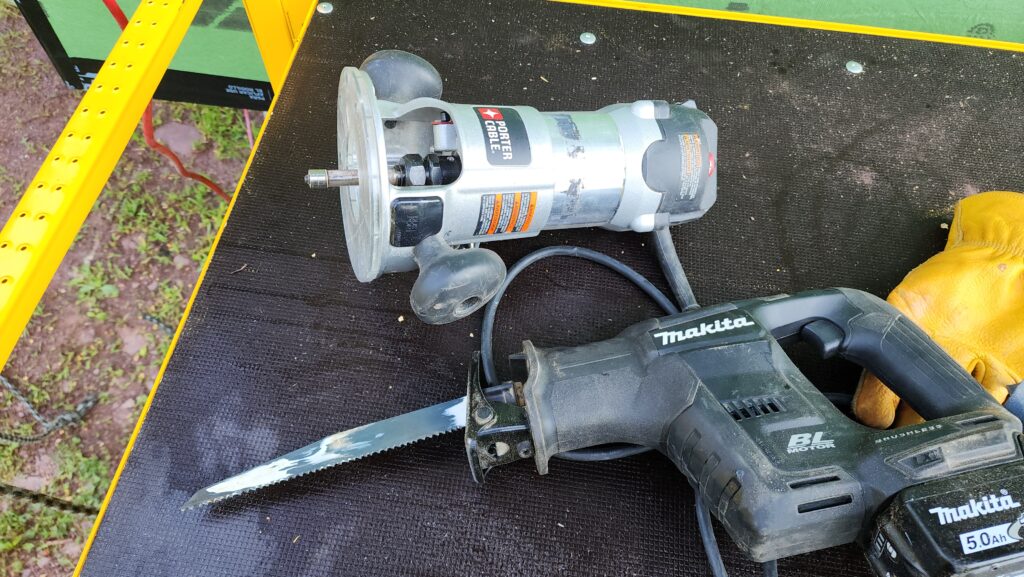
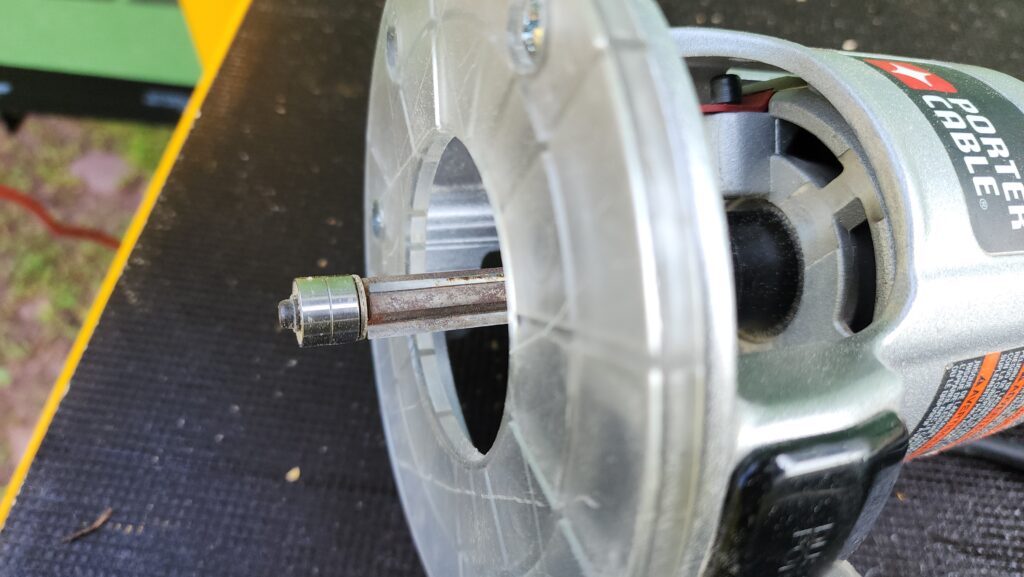
And then my nail gun’s trigger broke. I did attempt to repair it, and the doing seemed to make it right, but it just didn’t fire properly after my repair, despite my best efforts. This nail gun is over 20 years old (a real workhorse that has served me well) and I decided it was time to just retire it rather than hope to find OEM repair parts for such an old machine. Generally built like a tank, though. Thanks for all the years of service, Porter Cable!
Roof deck done!
Also… bear tracks!
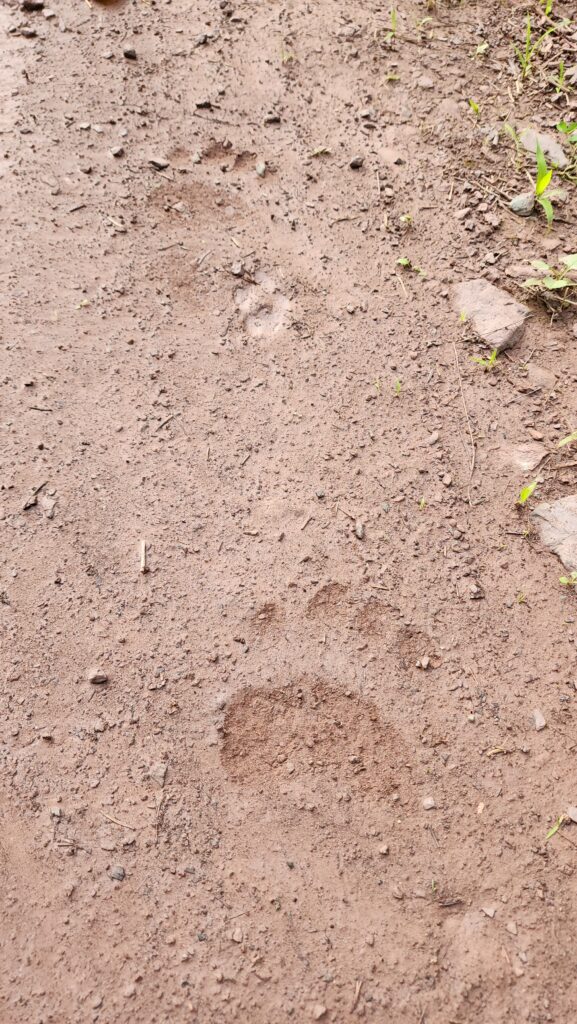
Just in case you thought this “living in the woods” thing wasn’t real.
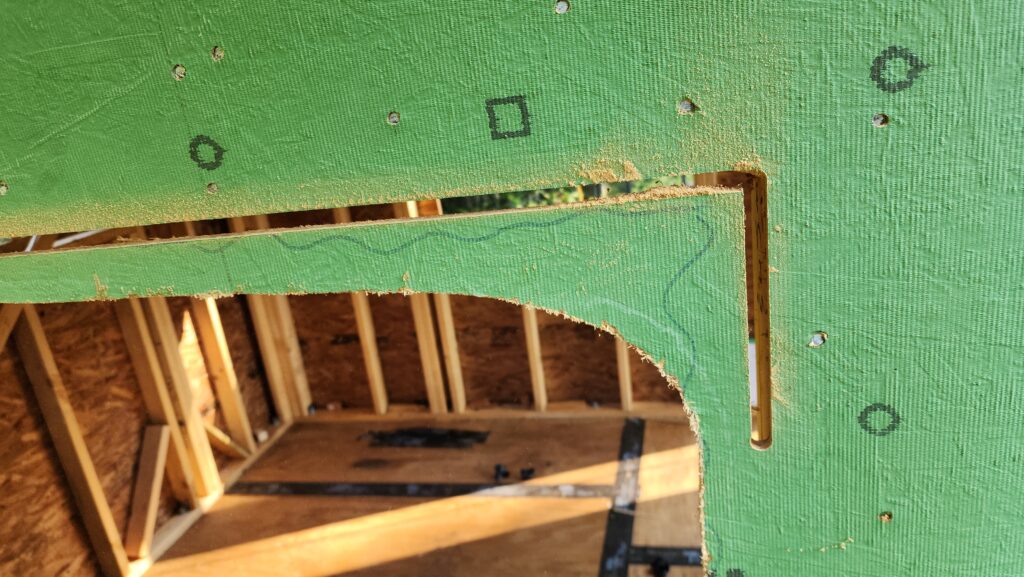
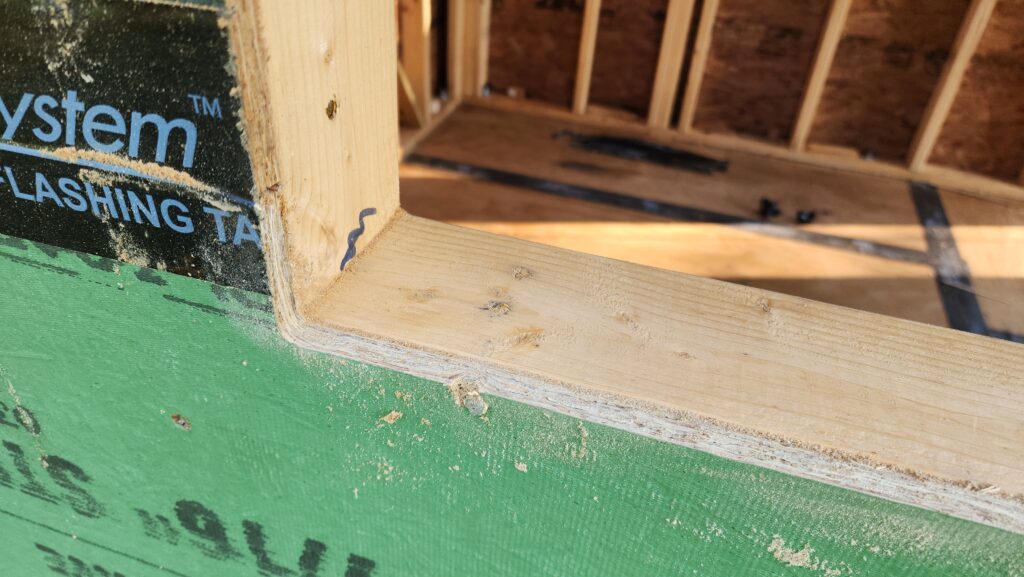
Next – time to trim the sheathing boards flush around the window and door openings. A reciprocating saw gets it done with some effort. A pattern bit in a router gets it done with much less effort – but also much more sawdust.
The router makes it look like I cut it perfectly during installation 🙂
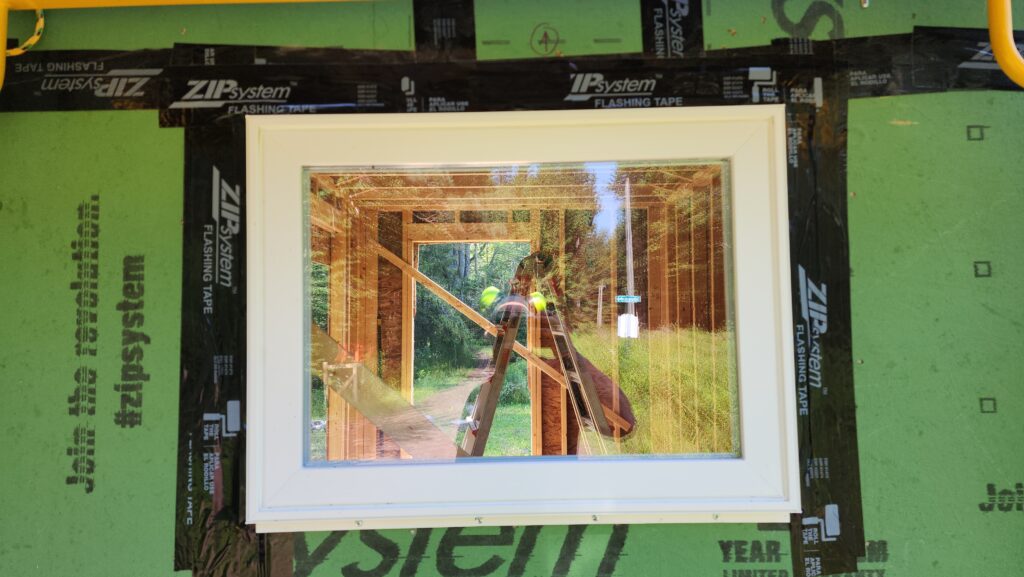
Once openings are cut nice, it’s time to install the actual windows!
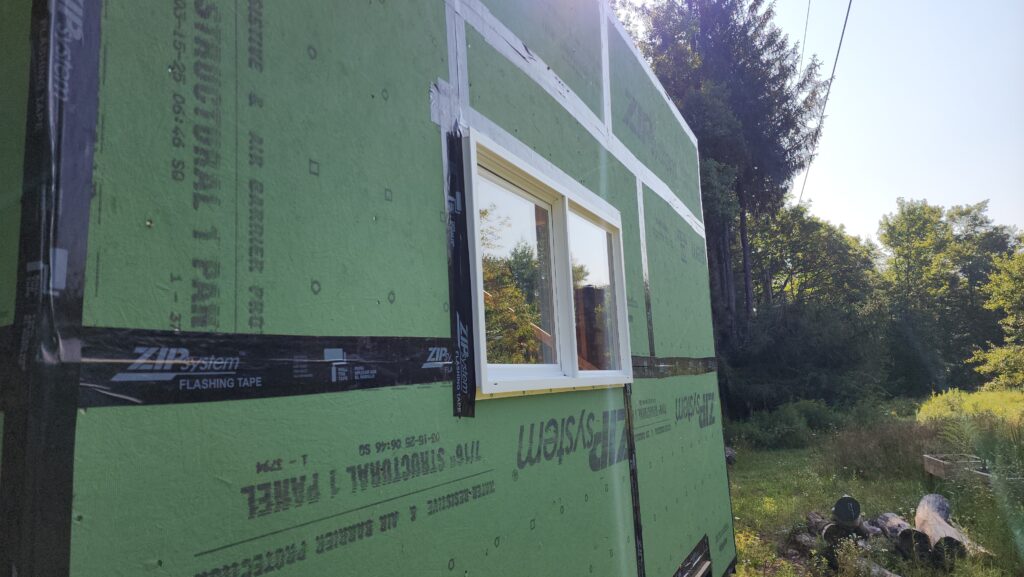
If the prep work is done well, this goes quickly and easily. And for the windows on the two long walls, that was exactly the case.
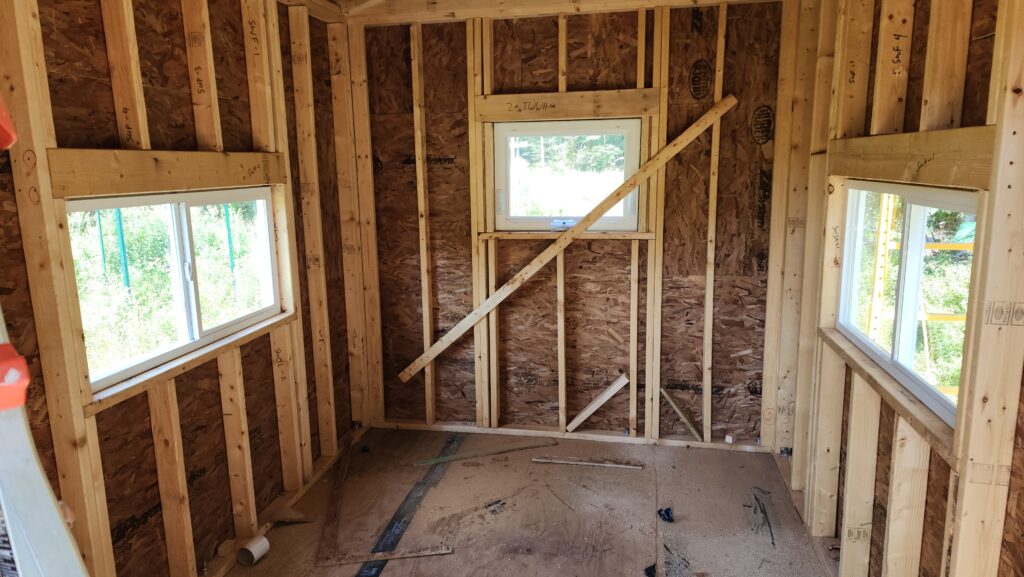
On the end wall, however, it turns out my 36-inch window was a 32-inch window.
Oopsie! Fortunately, it’s far easier to close up a framed opening than it is to enlarge it (possible, but a lot more work if the sheathing boards are already installed with extra-tenacious ring-shanked nails).
Ok, fine. Build it up, add some strips of sheathing material to get it all properly in-plane with the exterior.
And there we go. Nobody has to ever know 🙂
Sawdust spider web!

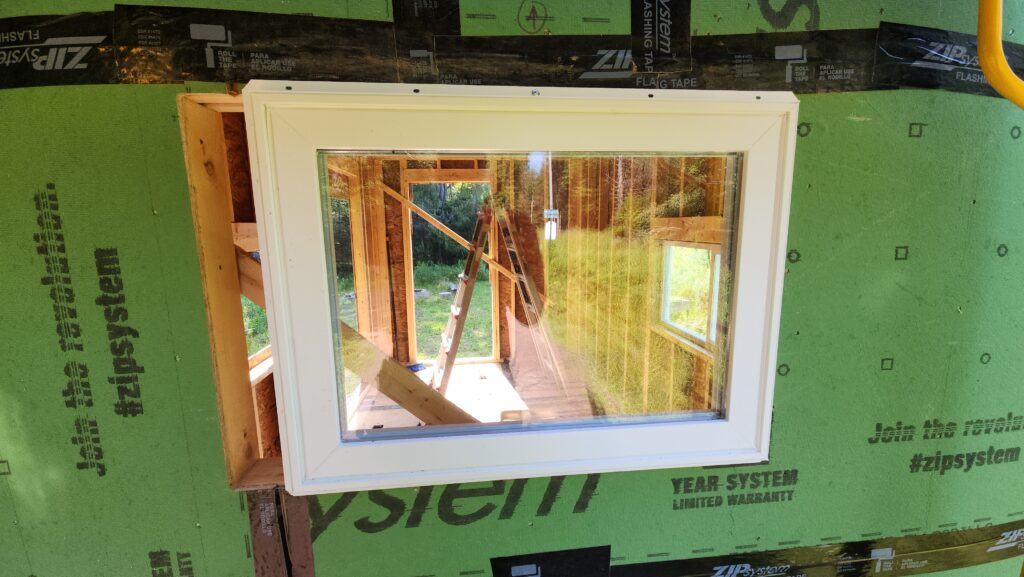
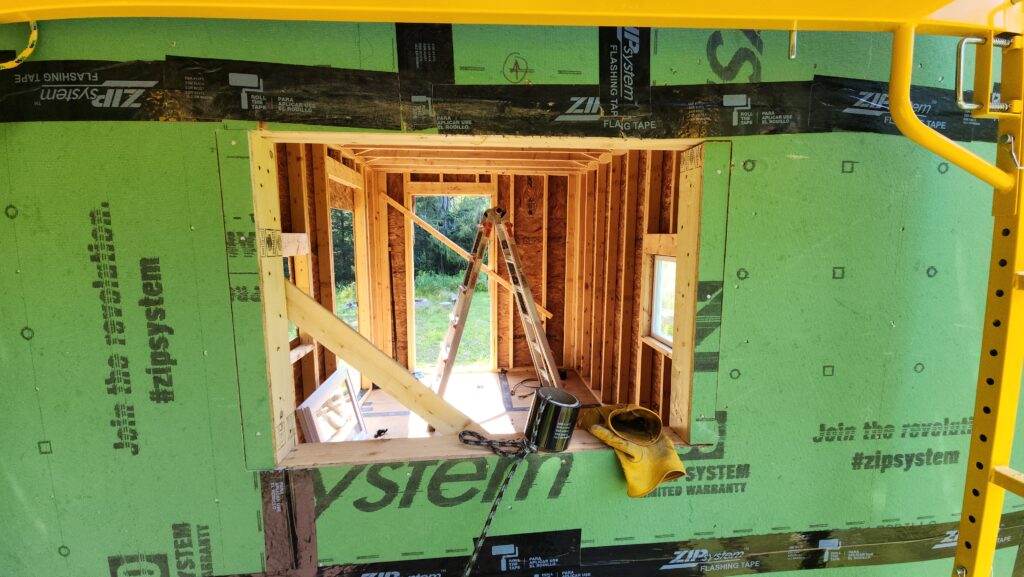
Interior & exterior views, now with windows and roof deck
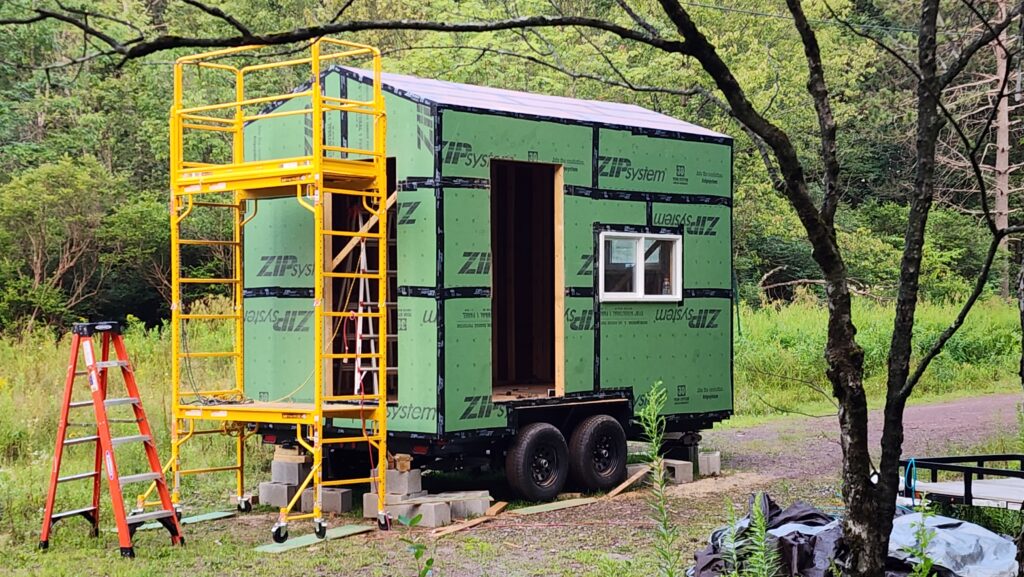
Now I just need a plug for the connection wall and a temporary door for the entry, to keep (most of) the weather out while I work on the exterior.
Air shims to the rescue for installing a heavy door without a helper!
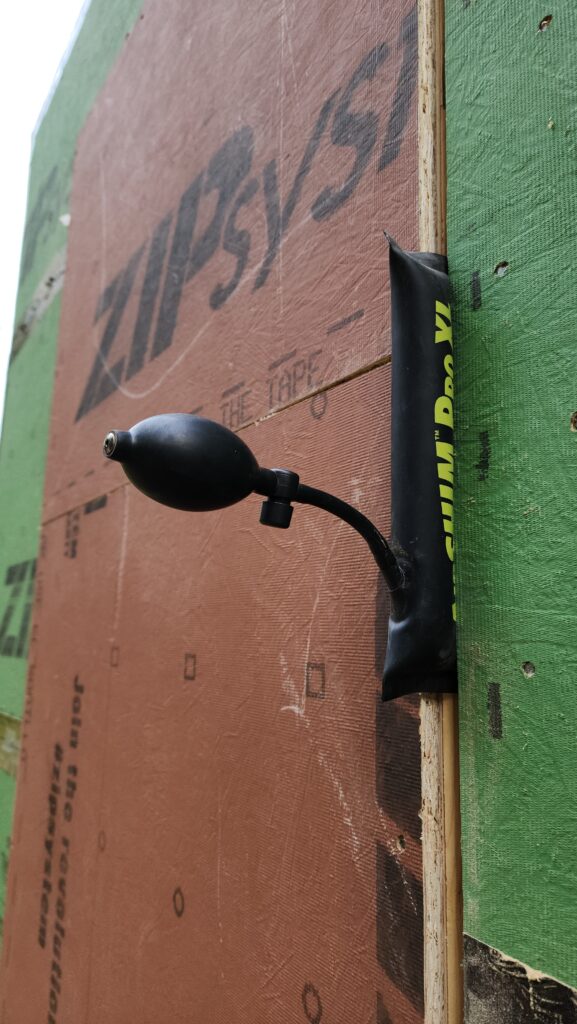
And voila! Not exactly fully weather-tight, but let’s call it… weather resistant. Good enough to keep the inside decent and repel wildlife for a while as I work on the exterior.
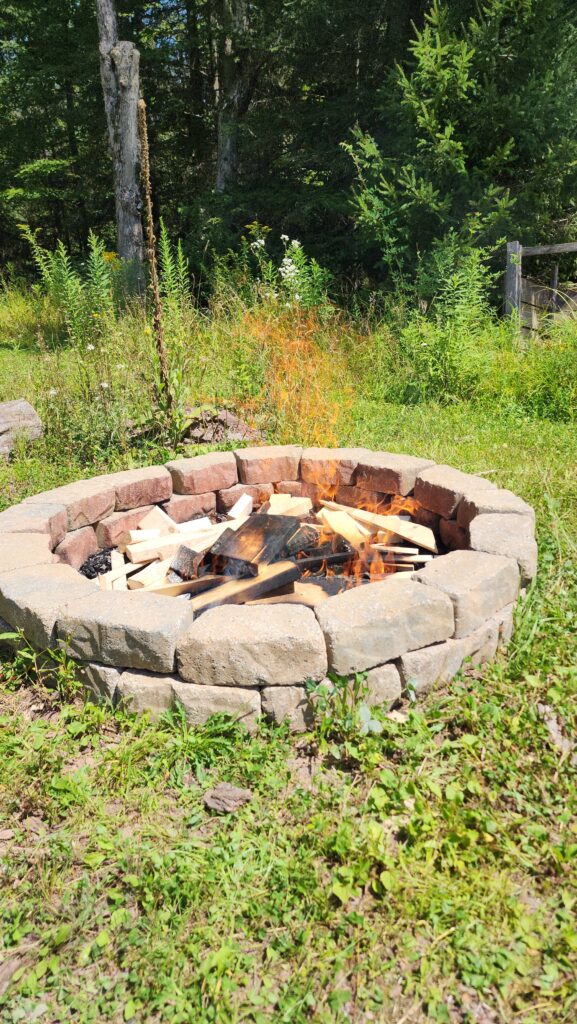
Scrap wood makes for a good campfire.
Meanwhile, time to take a little break from exterior work. I took some boards off the drying pile and began to build up cabinet parts for the interior. This process begins with using a fixture to cut a straight edge on the raw board.
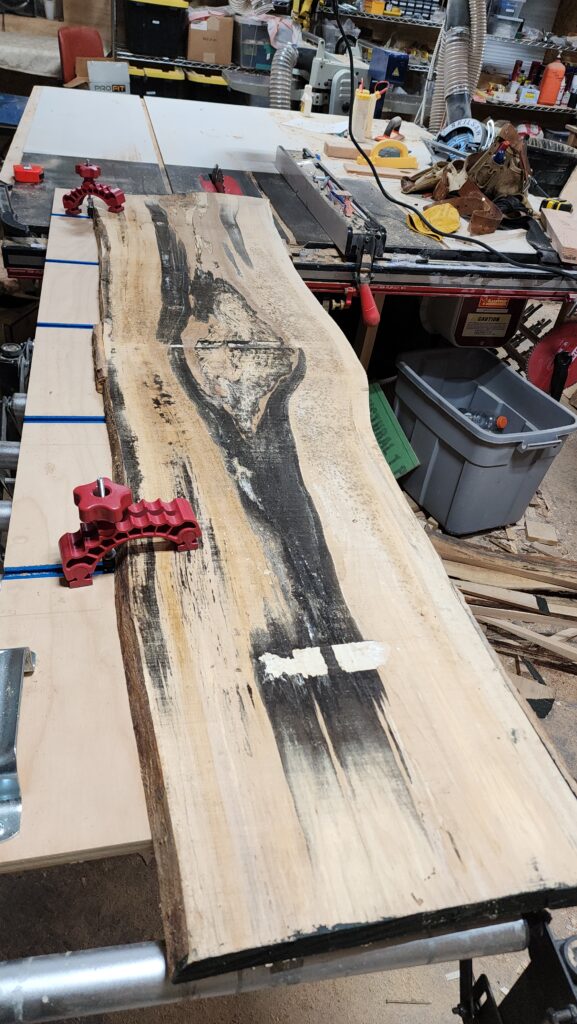
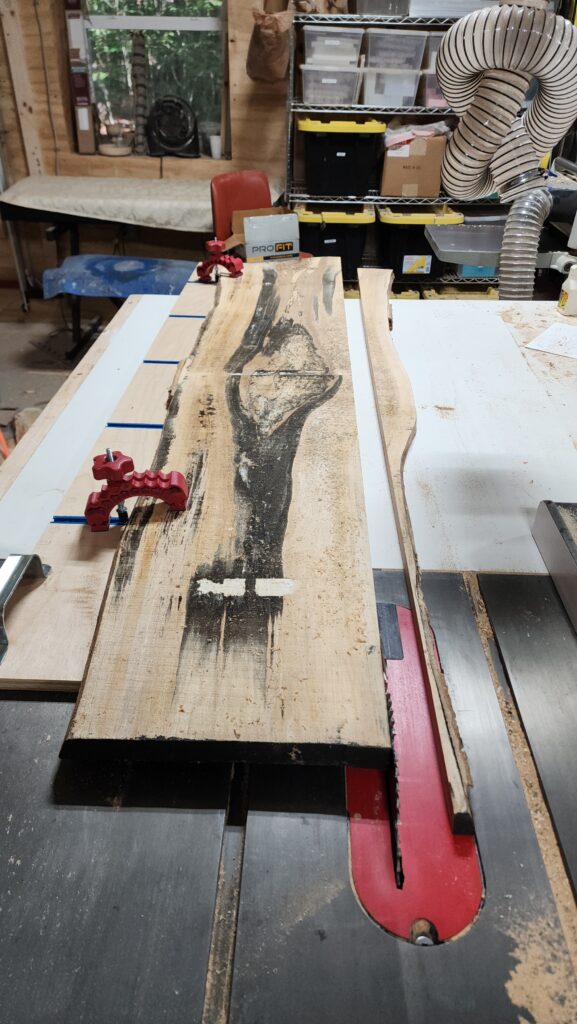
Once there’s a straight edge, I can use that edge to guide the board through to clean up the other edge.
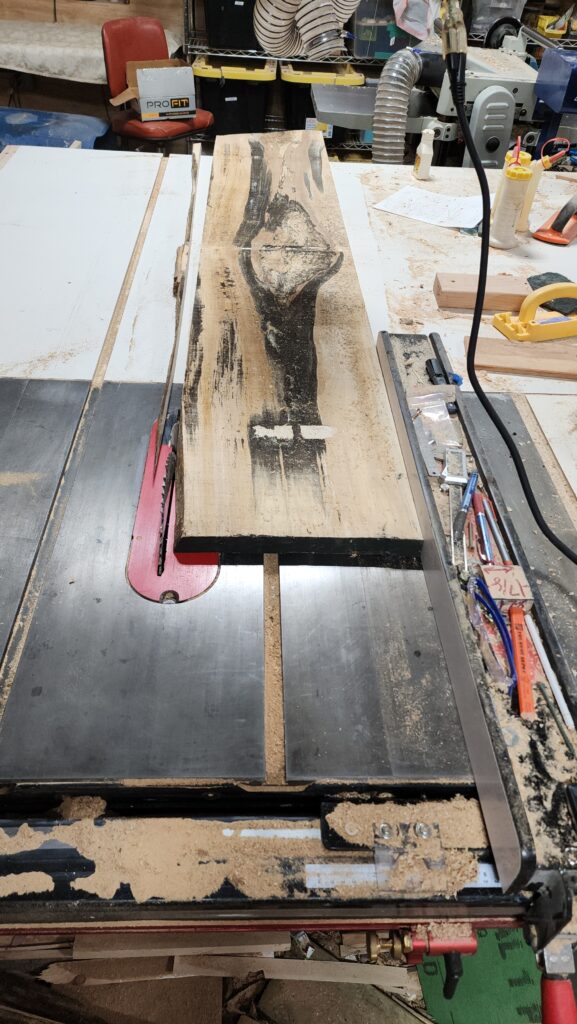
And now the board is much better suited to subsequent machining steps. Shown here, some fungal staining (in black). Much of that will be planed off, but some will remain. And that’s fine with me. I like it. Indeed, I pieced together panels like this on purpose to make interesting cabinet doors.

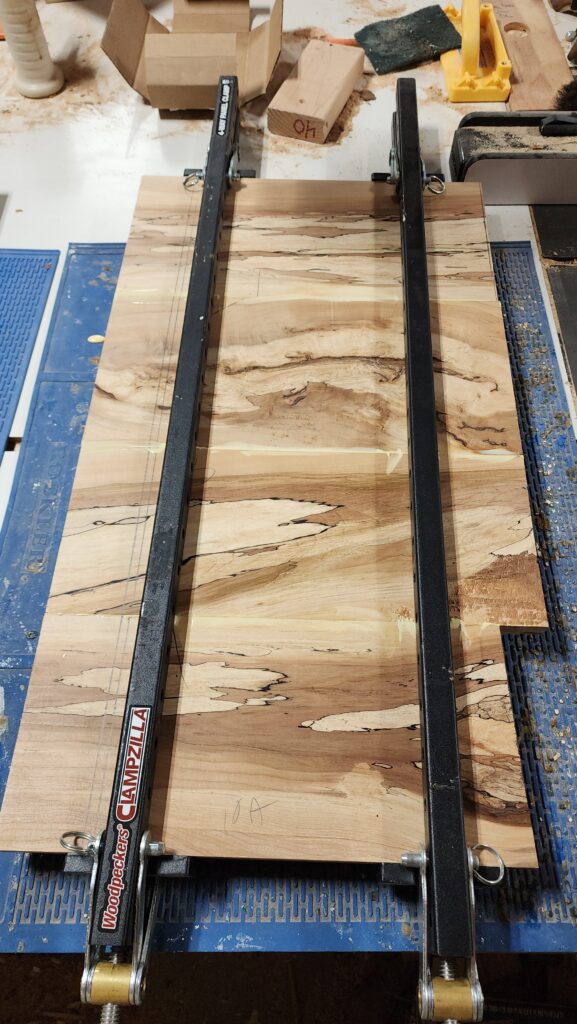
These shots are early in the process, before final sizing. They’re just raw sections of boards that are at least as wide as they need to be, but with no attention paid to making them all the same just yet. You will notice these two panels are some similarities in terms of what kinds of figure is present at various points along the length of the board. That’s on purpose. They’re not “matched” — and couldn’t be — but they are coordinated.
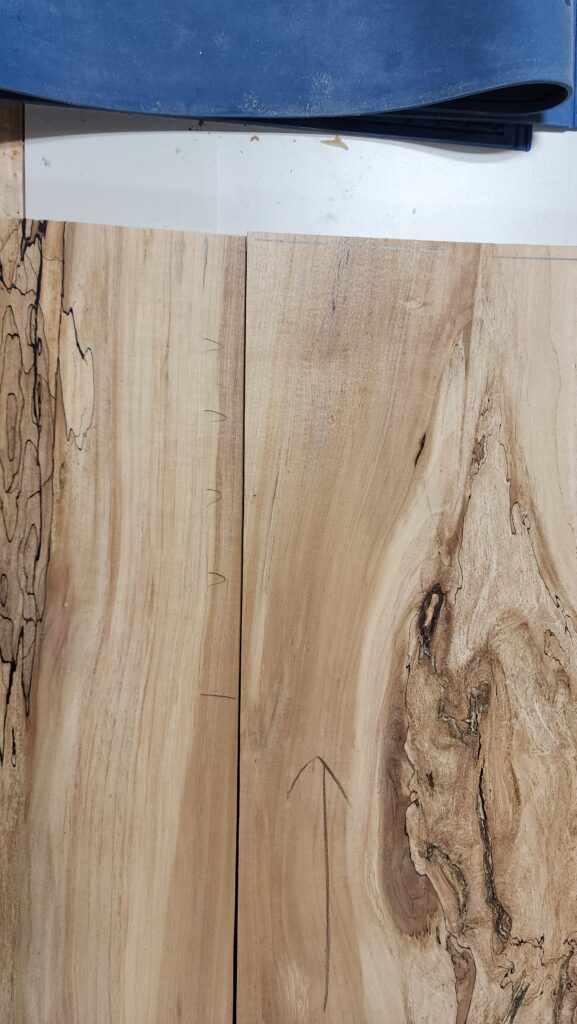
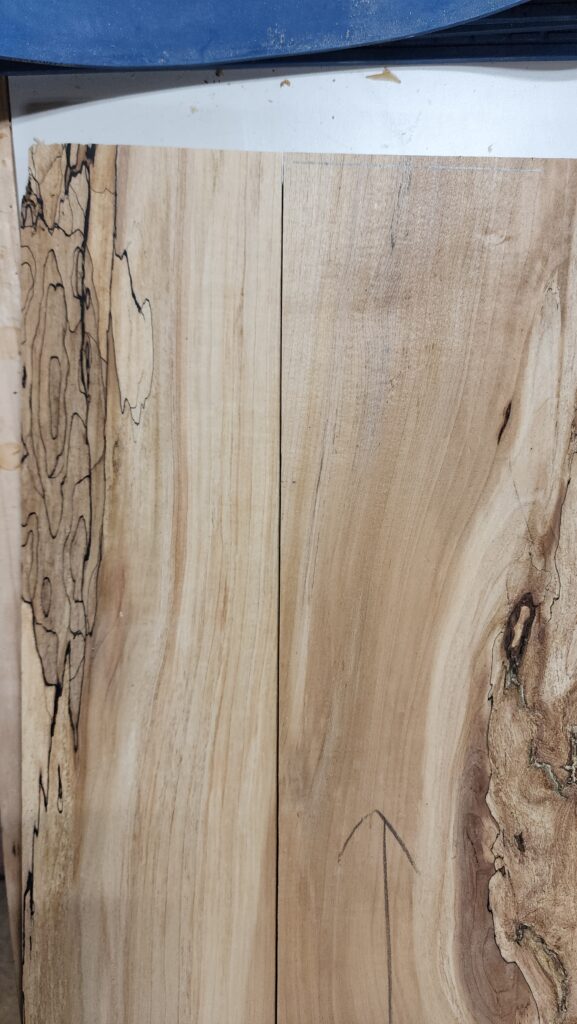
It’s fun to mix and match the sections of boards, looking for what will be the most appealing puzzle. Sometimes, a potential glue joint just doesn’t quite track tonally (left). Look closely to see some pencil marks by the dark strip at the joint line. Cut off a half inch of width and suddenly it flows together much better (right), as if the brown band under the big arrow flows from one board to the next.
Next up – back outside to work on the siding boards.