You’ve surely noticed that updates to this blog have tapered off considerably. There’s always plenty going on, but there isn’t much that’s new or interesting regarding the homestead, so in the interest of having this blog be interesting, I’ve not been recounting the new occurrences of previously told stories. You can expect updates when there is truly something new and noteworthy, but another batch of mead, another repair or random bit of maintenance, not so much. Enough has been said of such things.
So, is anything new? There are a few things to report from the last 8 months.
The Club Car has been great. This was just the additional space I needed, and I spend plenty of quality time in the Big Comfy Couch, reading, relaxing, watching video — definitely the right answer to the lounge space problem.
The corner space created by the intersection of the Club Car with the original house cried out for a deck, so I built it one.
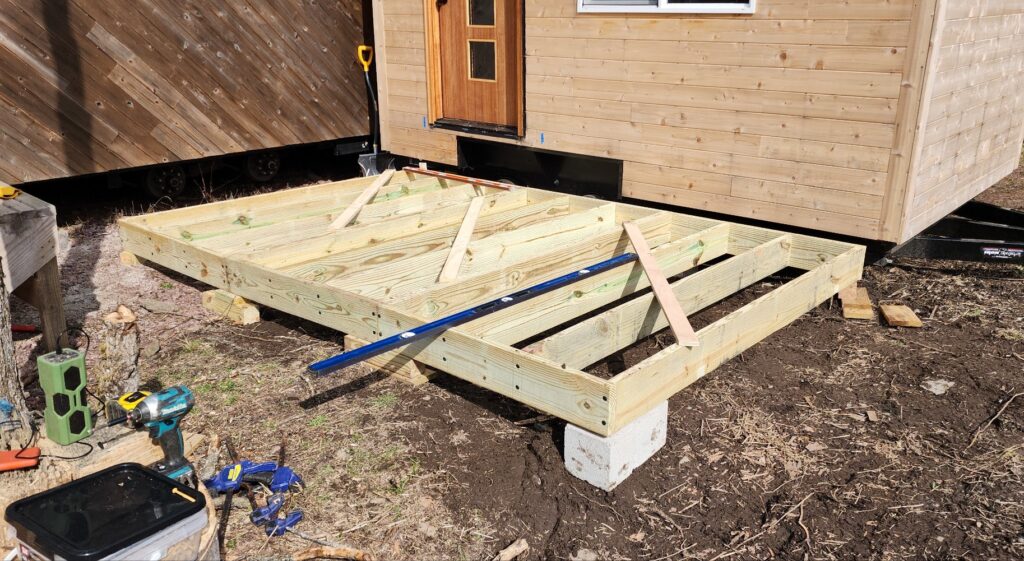
To more readily manage the heavy (new PT wood is still very wet) joists as well as deal with the problem of how to install the screws holding it together when one side of the deck is totally inaccessible (against the CC), I built it in manageable sections first, got them square, braced them to stay square, then manhandled them into place.
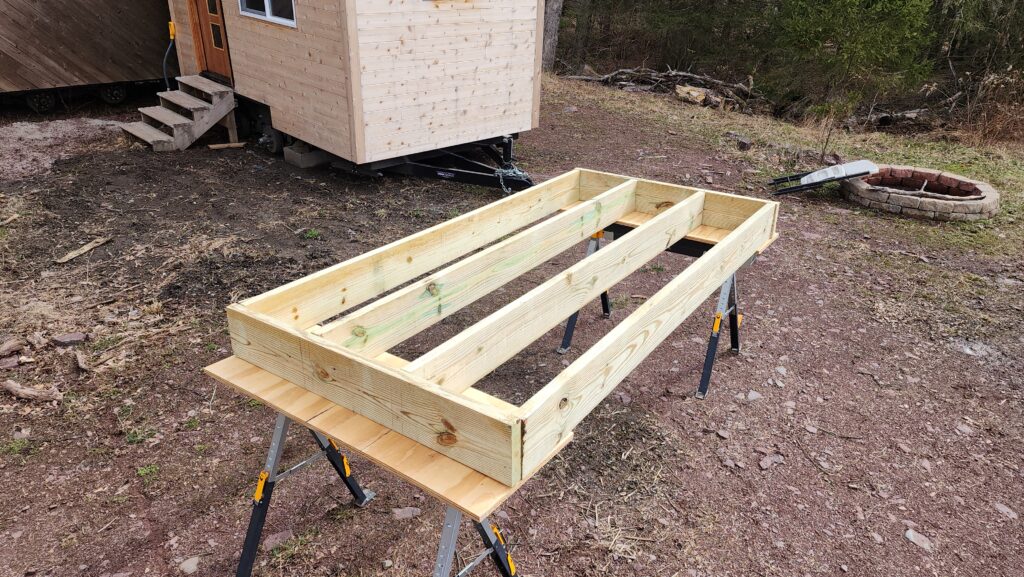
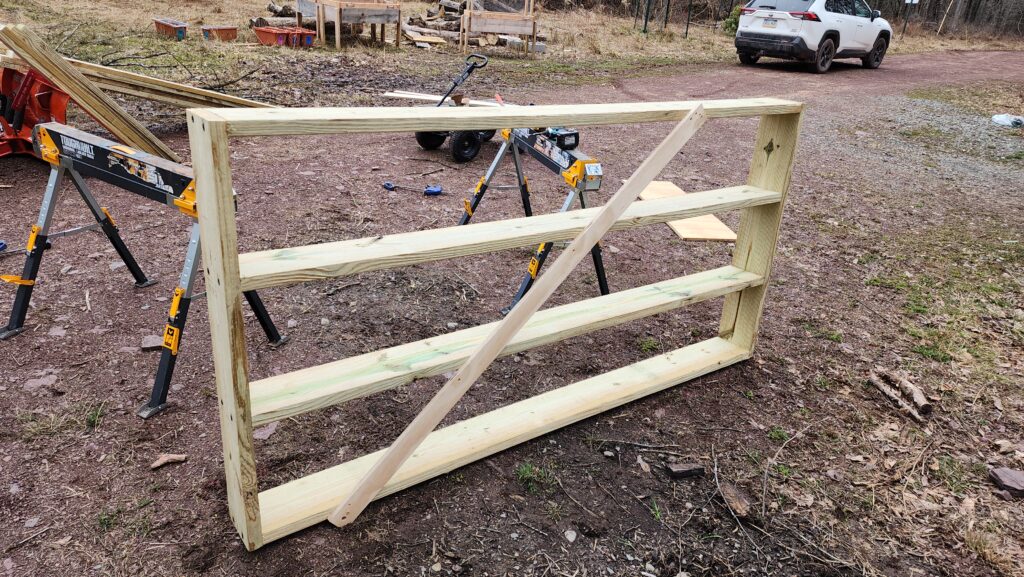
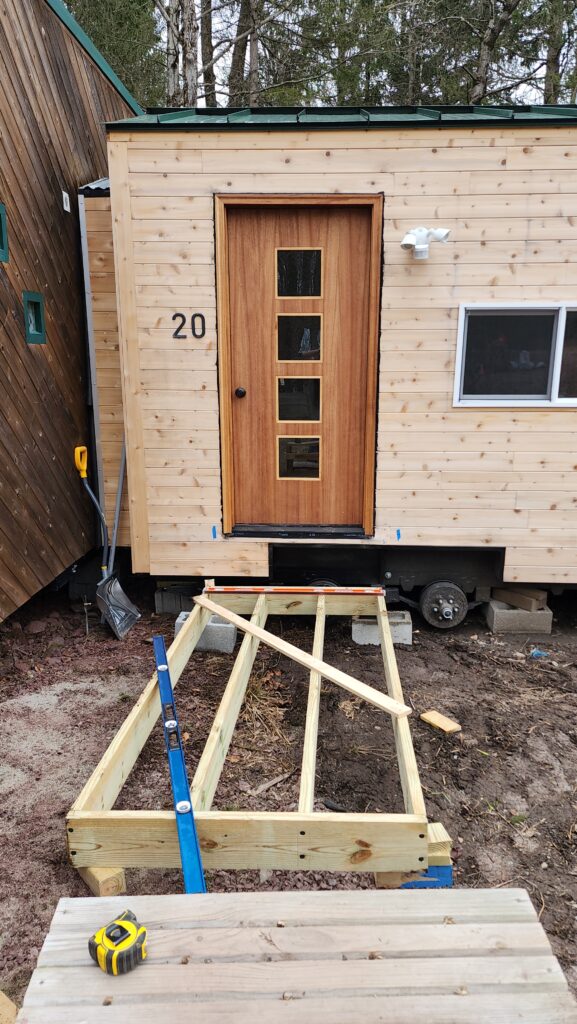
After that, join them together, get them as level as possible.
Then it’s time to add the decking, cinching up the boards using this handy-dandy cam tool and some spacers.
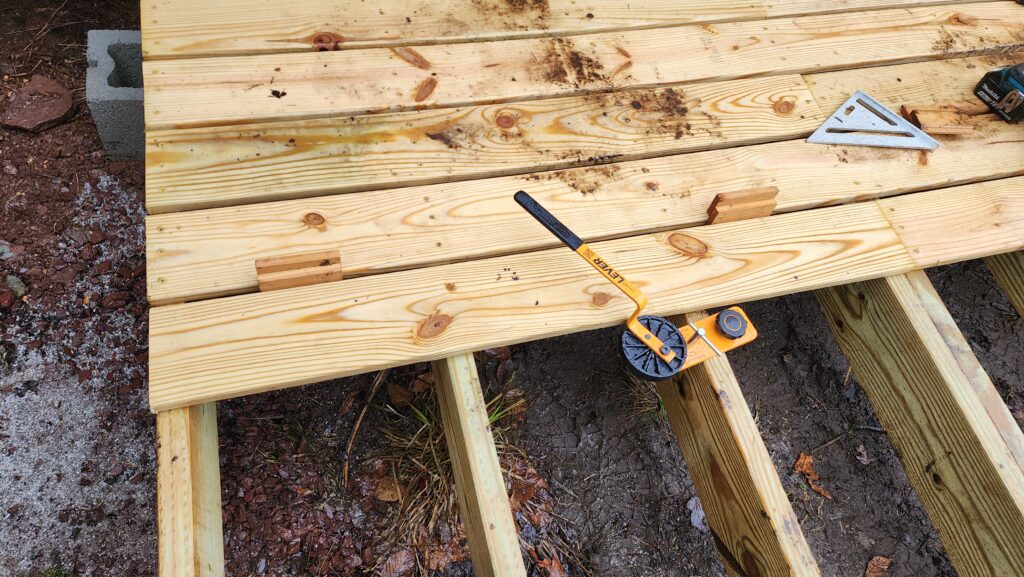
Presto, deck!
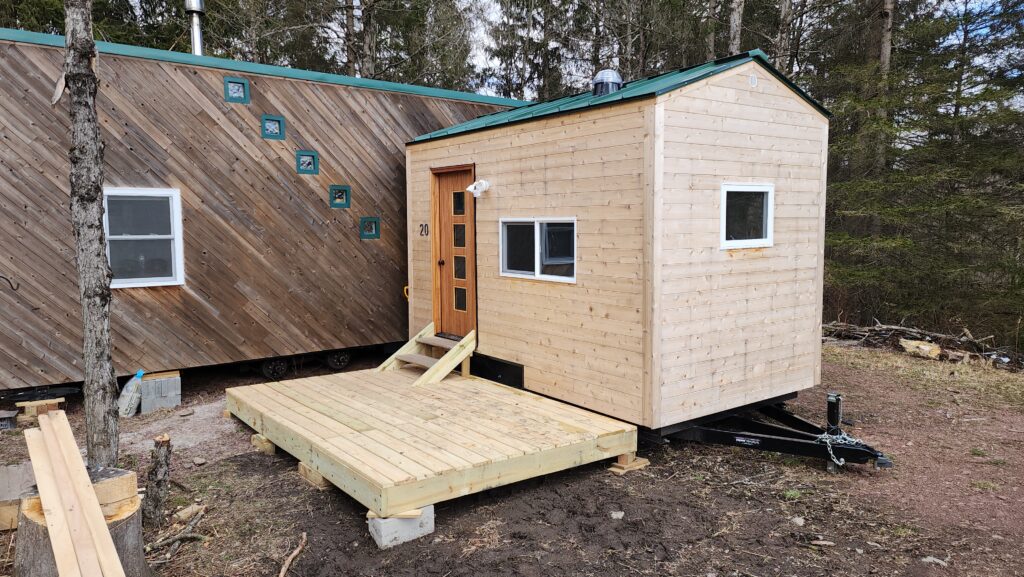
I had to move my planters out of the way during the docking of the Club Car. Finally got around to moving them back. The thing is, they were evidently dry when I moved them, but gained a lot of water since, and became very difficult to move, even with two strong people. Then I remembered Bob. Bob had no trouble picking them up and delivering them wherever I wanted.
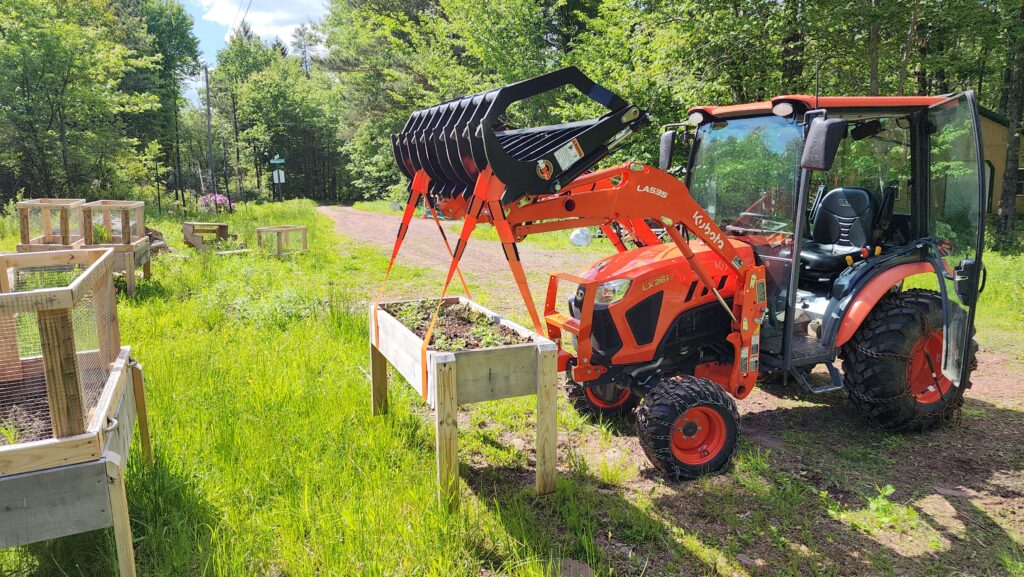
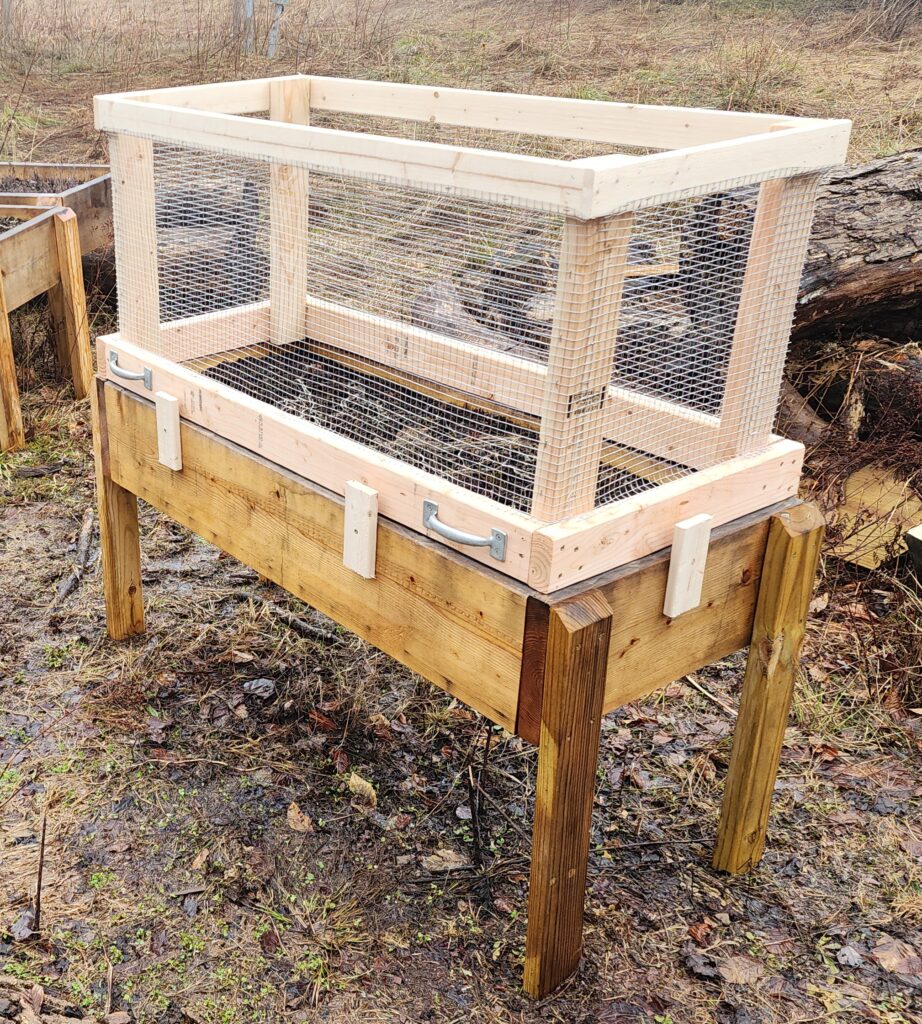
Sadly, though, it seems most of what I put in those planters didn’t like being in those planters. All the nice pollinator-friendly stuff that went in last year didn’t really come back this year, even though they were supposed to be perennials. But as a wise person pointed out, being in the ground is different from being in a planter, the bottoms of which experience temperatures very different than the ground. Ah, well. And after I’d gone through the trouble to deer-proof them with these wire cages, even.
And then it was winter.
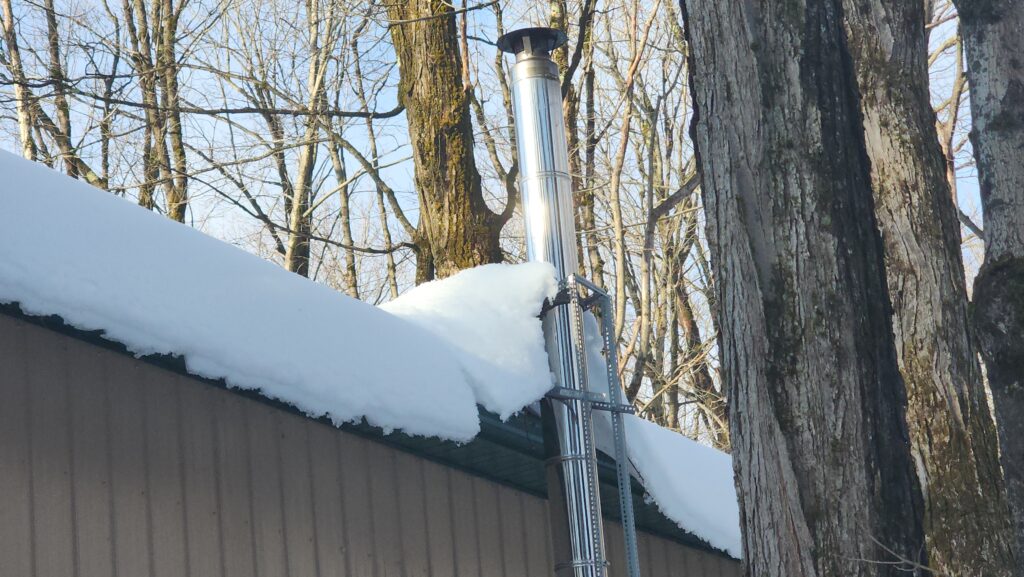
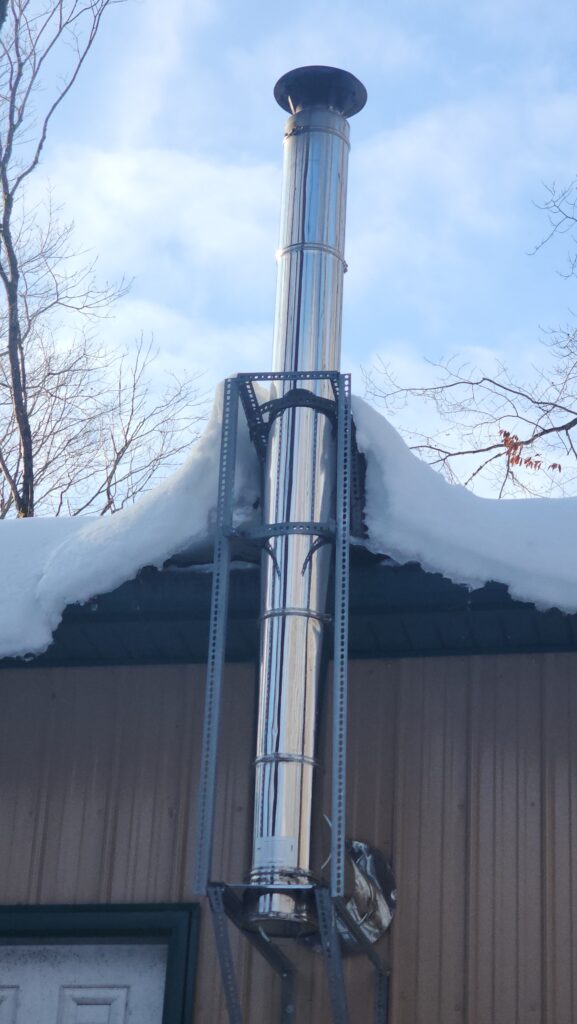
And in the winter, I got these great shots of the snow breaker in action, still performing well protecting the workshop flue.
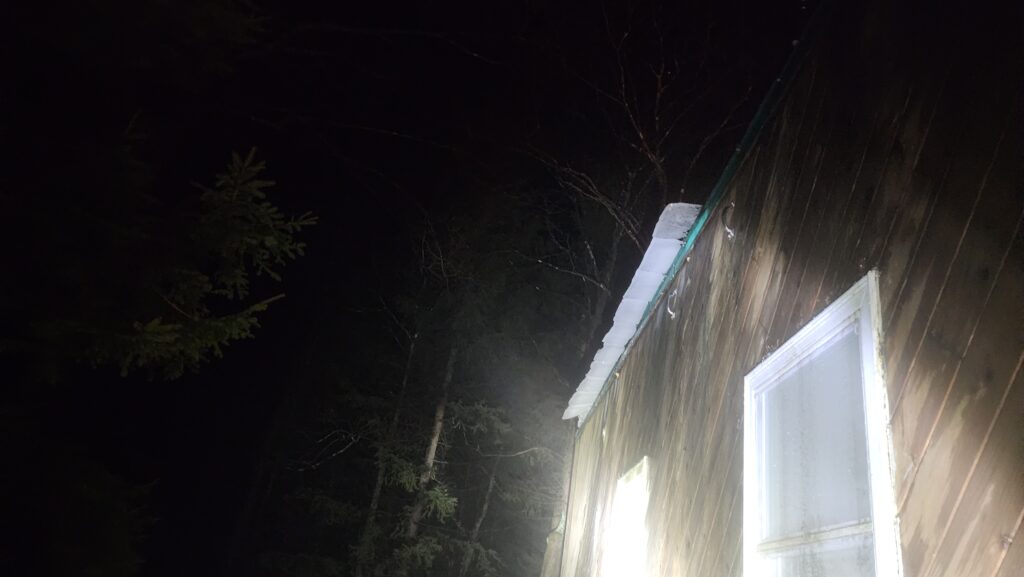
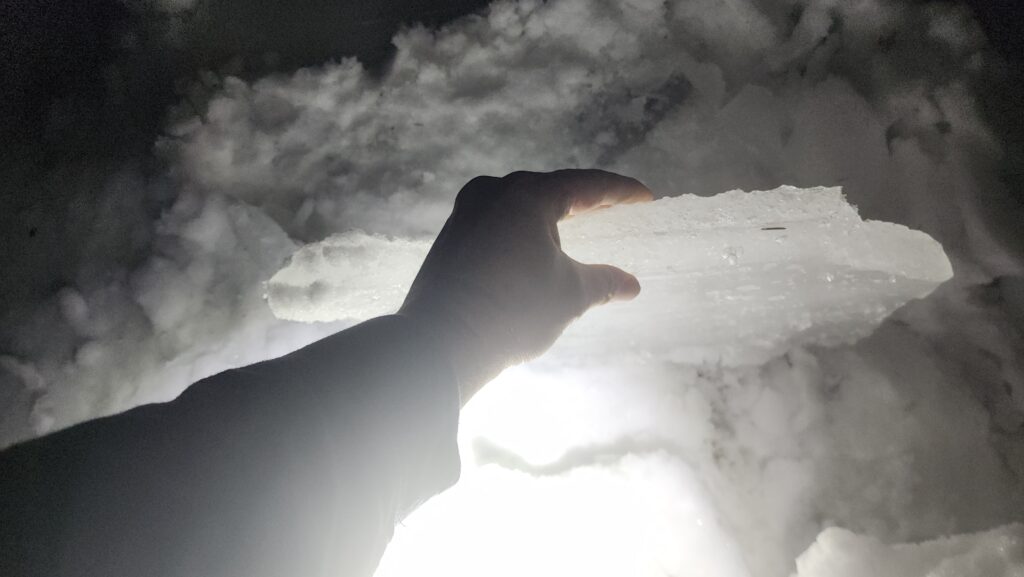
Winter also means ice on the roof. Thick ice. You do NOT want to get hit with that when it falls.
And with the curtain drawn between the main house and the Club Car, to save heat when I am not using the CC, that space gets pretty cold. That’s “good” in that it means the thermal curtain is doing its job, keeping heat where I want it, but also this:
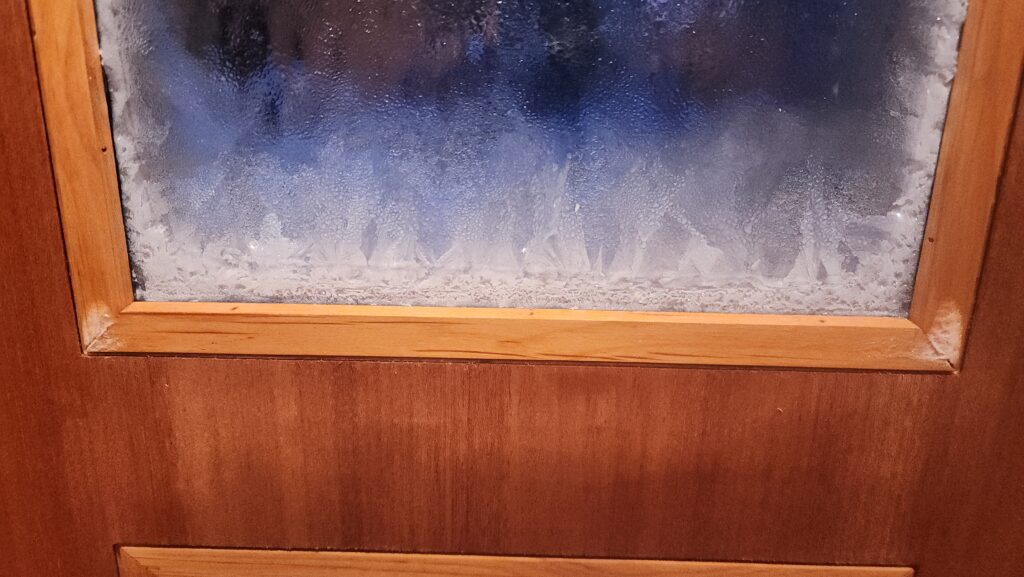
and this
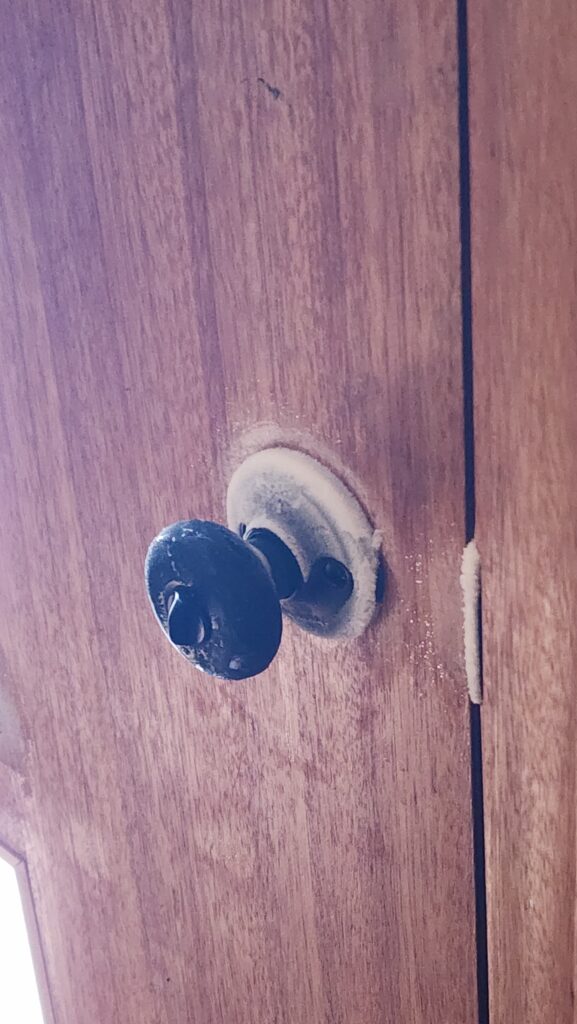
There was also the time my fresh water supply froze. This has happened once before, but it was so long ago, I’d forgotten how it happens. So first, I was looking under the house, where there is exposure… shown here as I shove a wire down the supply line, trying to gauge where the frozen part is.
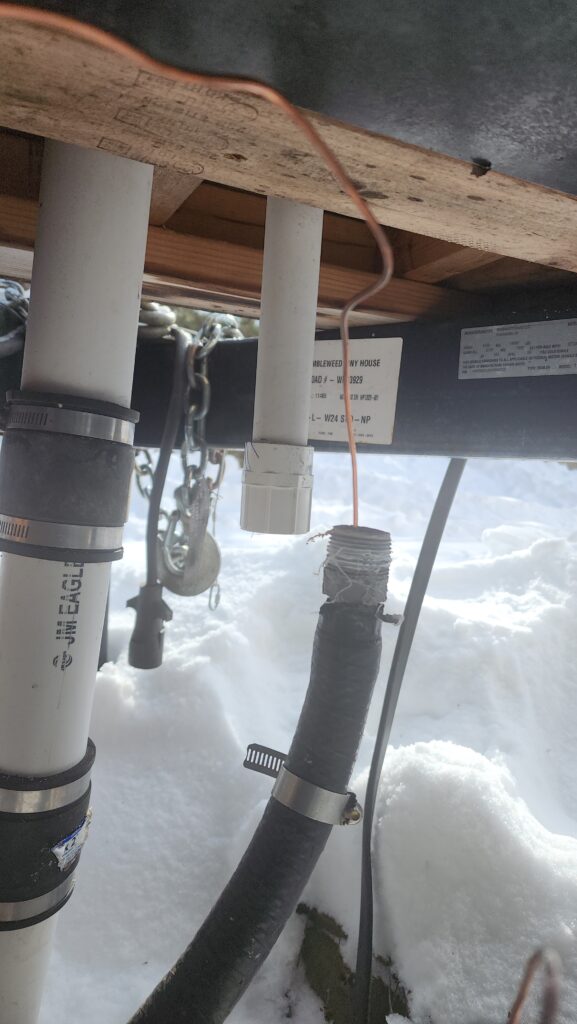
But that wasn’t it. The supply line drains back after delivery, leaving it full of air, which doesn’t usually freeze. The problem was actually on the Propane Porch.
See that smaller white pipe in front?
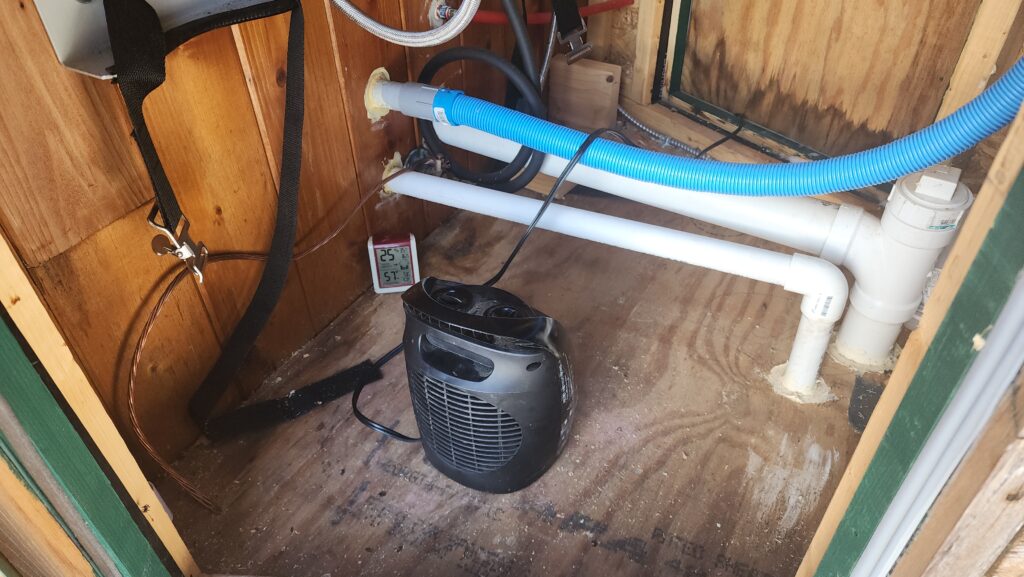
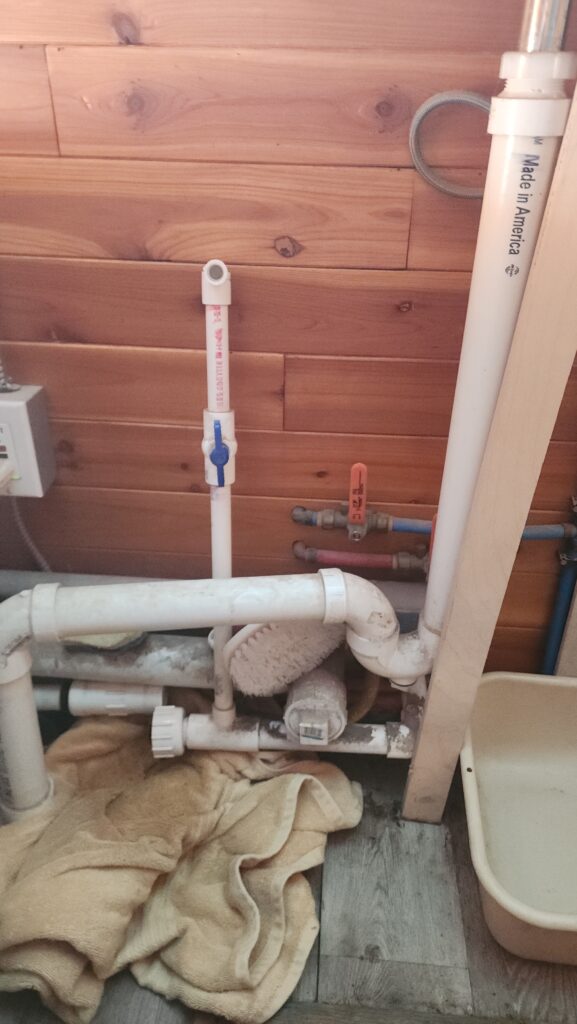
That’s my freshwater supply pipe. Turns out it is very slightly angled to the left, such that sometimes, under just the right circumstances when the drain-back is slow, a plug of frozen water can form. This realization came from some reasoning after noticing this interesting fact: when I ran the well pump for a while and got no water, then, fairly promptly thereafter, disconnected the back supply line from the bottom of the house, I heard air escape! Pressurized air! That means the well pump had pushed water as far up the line as it could, compressing the air until that pressure matched the strength of the pump. Okay… if there’s pressurized air at the end of the supply line, then the supply line is not blocked! Thus, the blockage must be upstream. This 2ft section of pipe is pretty much it for what’s upstream and not inside the (heated) house, so that’s where the frozen blockage must be. An hour with the little heater took care of it.
I plan to adjust the slope of that pipe before next winter. For the rest of that winter, though, my solution was to use this access port in the inside to actually blow out any water that might have settled in the end of the pipe. Shown here with the union disconnected at the bottom to the left, because I was still trying to locate the blockage at the time. I found the blockage was to the right, where the pipe penetrates the wall, as I expected.
Once the drain back has completed after pumping fresh water in, I can open the blue valve on the skinny standpipe and just give a solid puff of air into the system to clear any water that might have been occupying that horizontal run of pipe on the other side of this wall. It worked – no ice blockages for the rest of the winter.
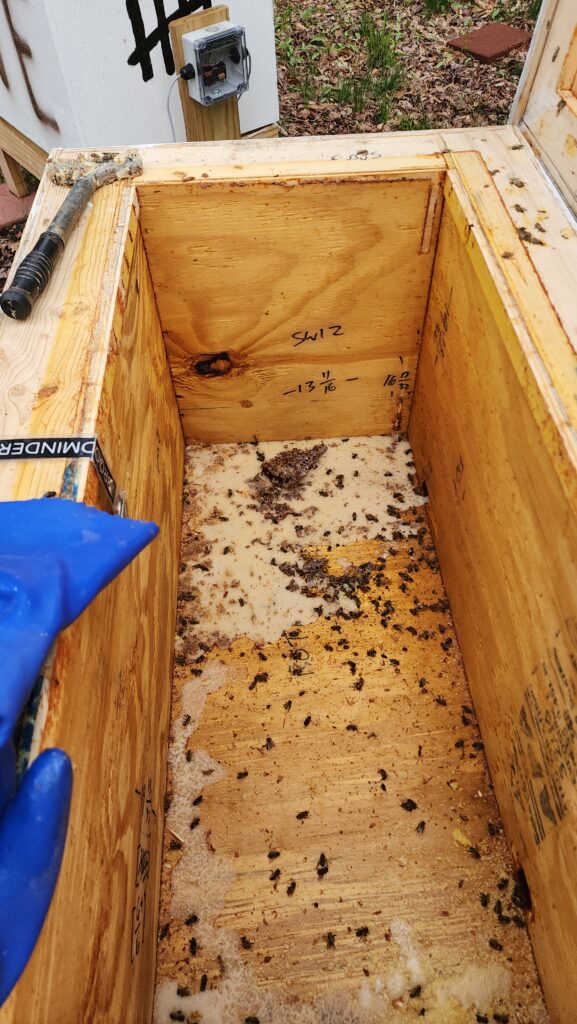
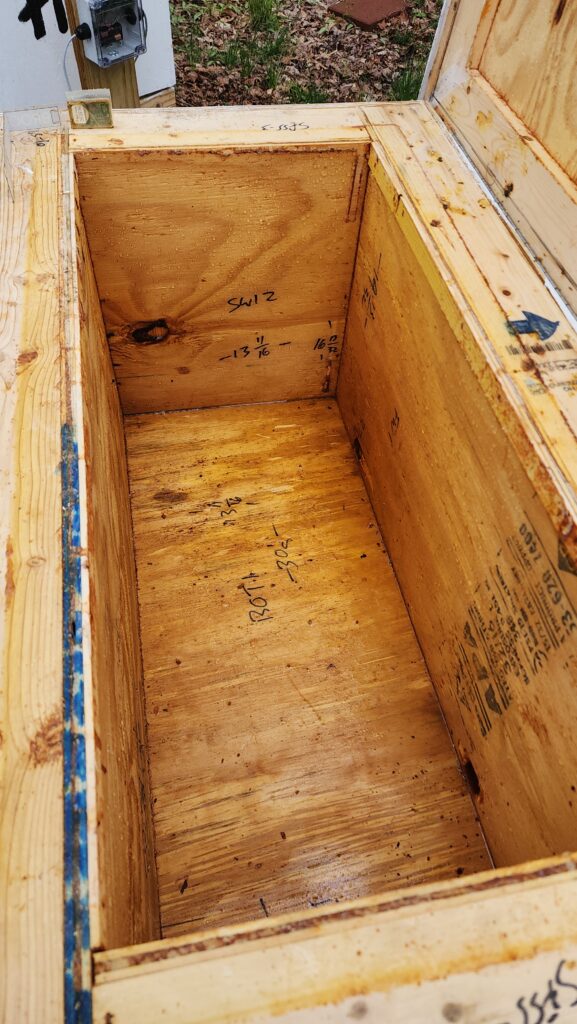
As winter slowly came to a close, it was time to clean out the old hives in preparation for one last shot at keeping honeybees, to start in the spring.
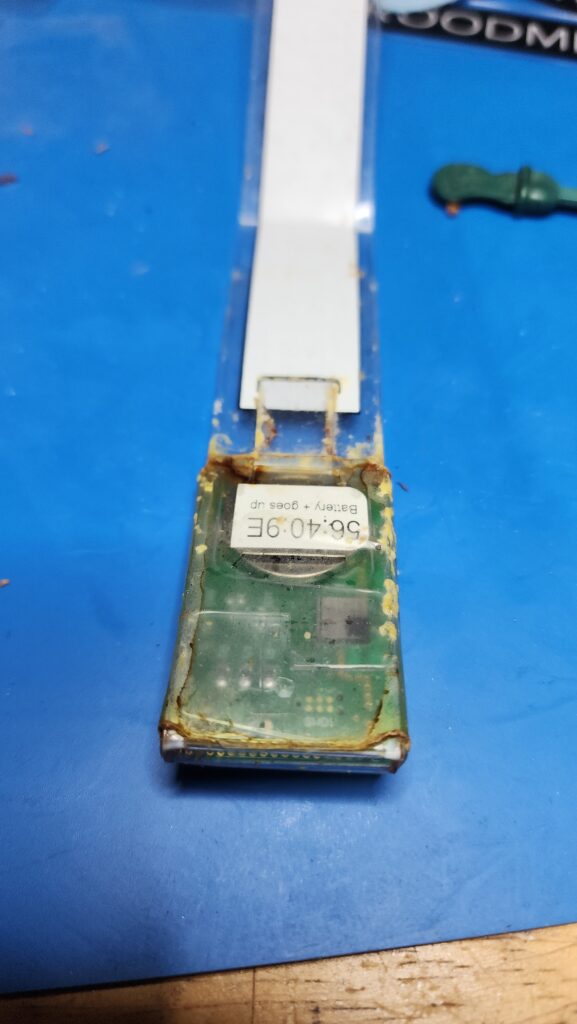
And un-crusting last year’s sensors. Actually, they weren’t un-crusted so much as re-wrapped. Yes, I know these devices are in different orientations – I realized they were turned around after the photo shoot.
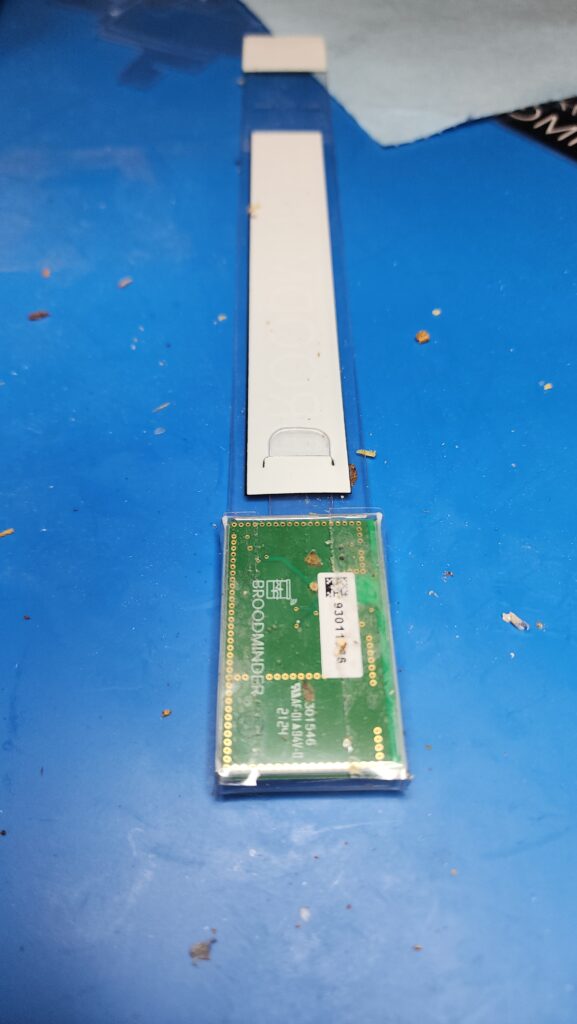
I also built a couple of new hives, hive stands, and scales, because I had more bees coming in the spring than hives to put them in.
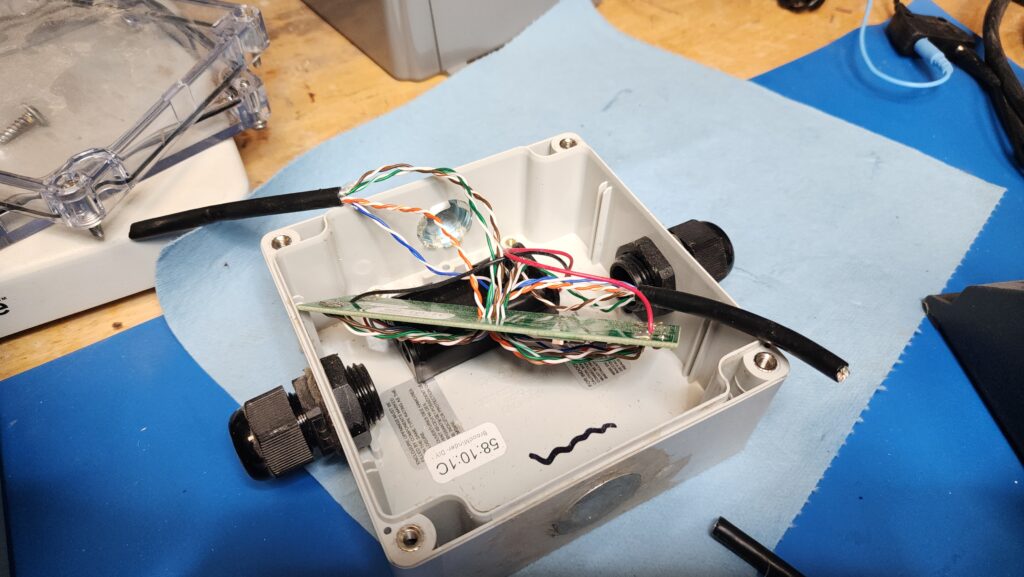
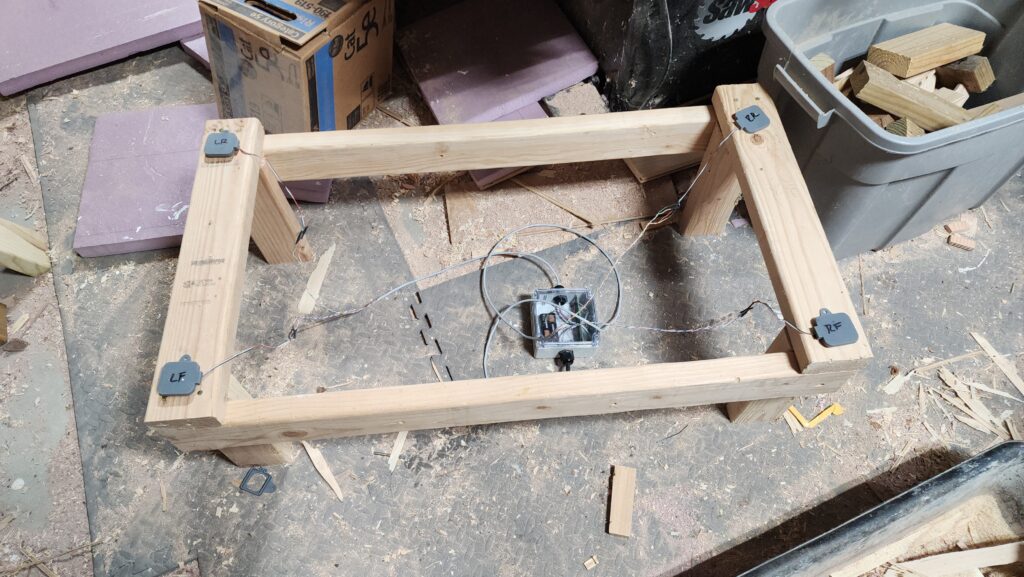
I had some scale kits from prior years, but for various reasons, these had to be rebuilt. That means re-wiring the old control boxes that had been snipped from the old scales…
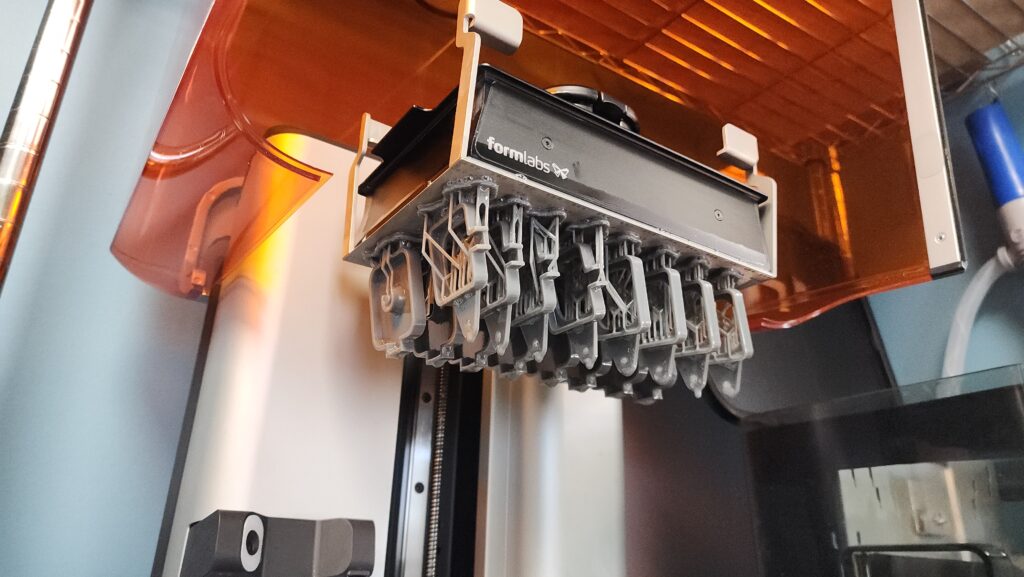
And 3D printing some new sensor brackets
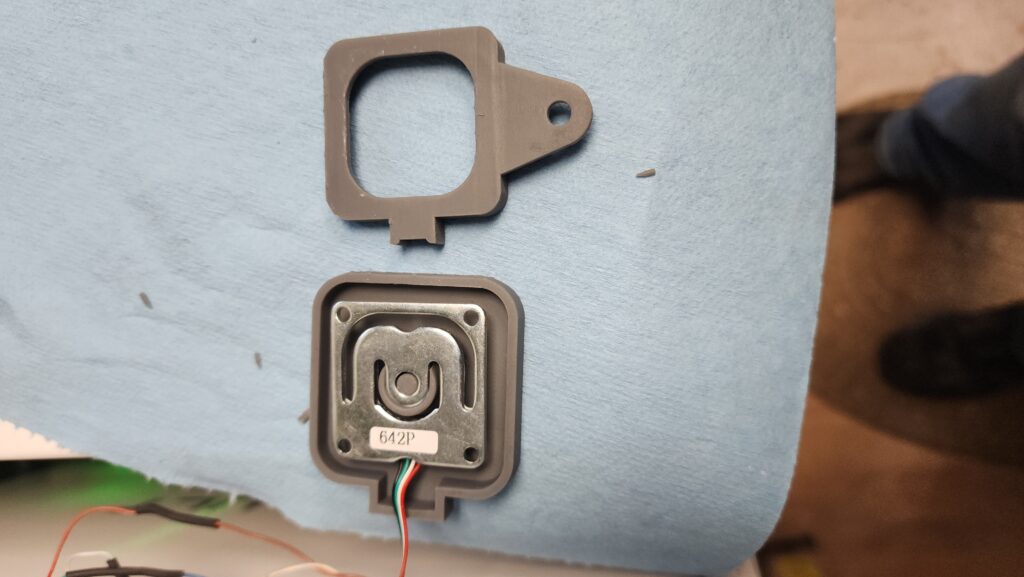
Then set them out on a test fixture and calibrate them as a system by putting a piece of plywood on top and moving a heavy weight around. That wouldn’t be too interesting for a photo, so here’s the sensors in their brackets — what goes under that plywood. Re-wired control box is on the floor.
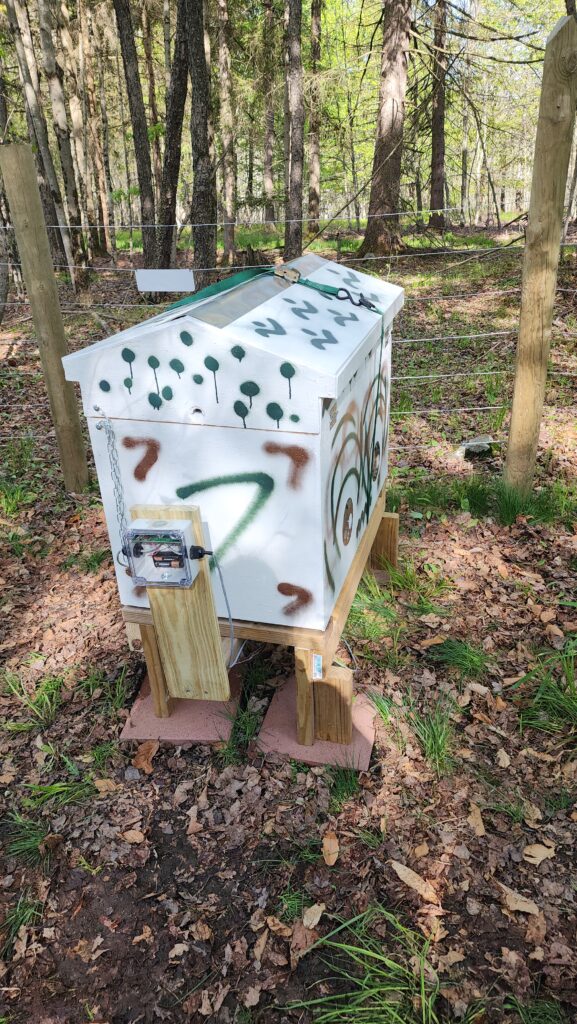
New hives ready! Here’s one of them. The green strap holds it closed so it’s easier to maneuver onto the stand. Otherwise the lid flips up and makes the whole operation fraught.
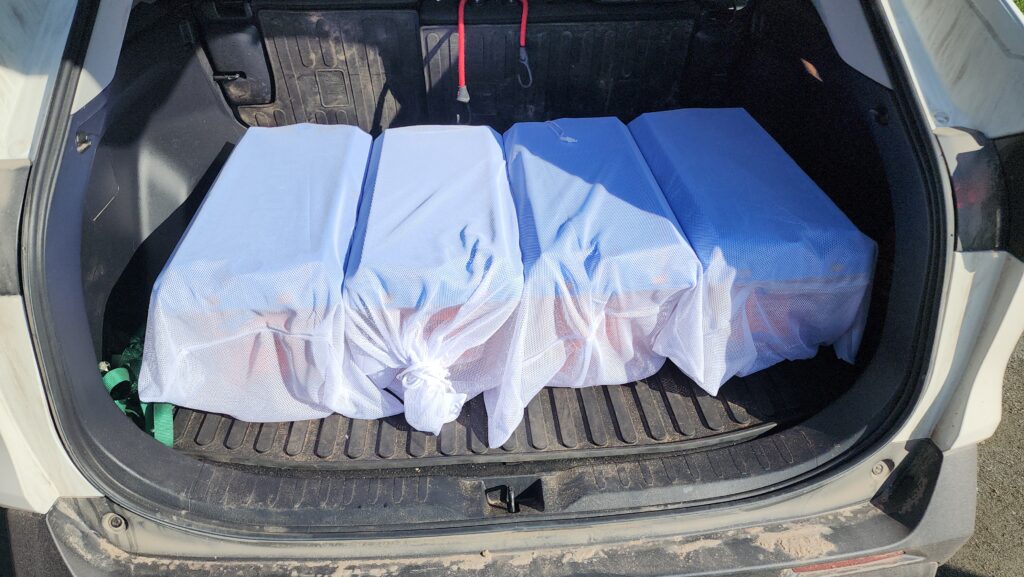
Bees came home in April
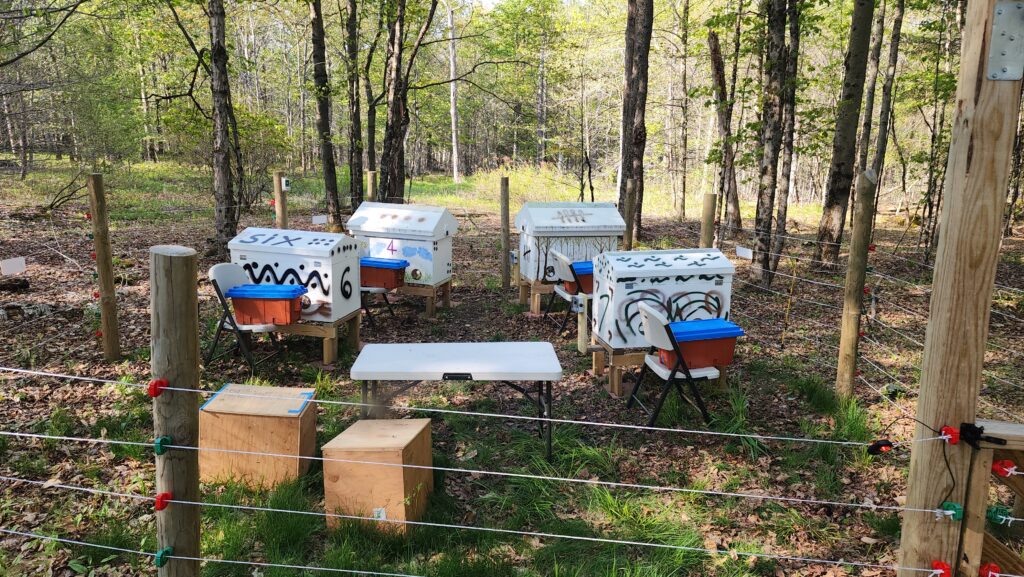
And were ensconced in their new homes shortly thereafter. Shown below, travel hives placed just in front of permanent hives, so the bees could get a sense of “home is here now” before actually moving them into the new hives. That was done the day after this picture was taken.
They’ve been happily going about their business all season. They’re in the summer “dearth” now – when nothing interesting is in bloom. In a few weeks, goldenrod will bloom and the bees will go bonkers for it, onboarding a huge amount of nectar and producing much honey from it, if prior years are any indication.
But last year, something happened and they were gone before winter even started to settle in. This is my last shot at keeping bees — if they don’t make it overwinter til next spring, I will let it go. It’s been a great experience and I love these little creatures, but if they can’t thrive under my care, then so bee it.
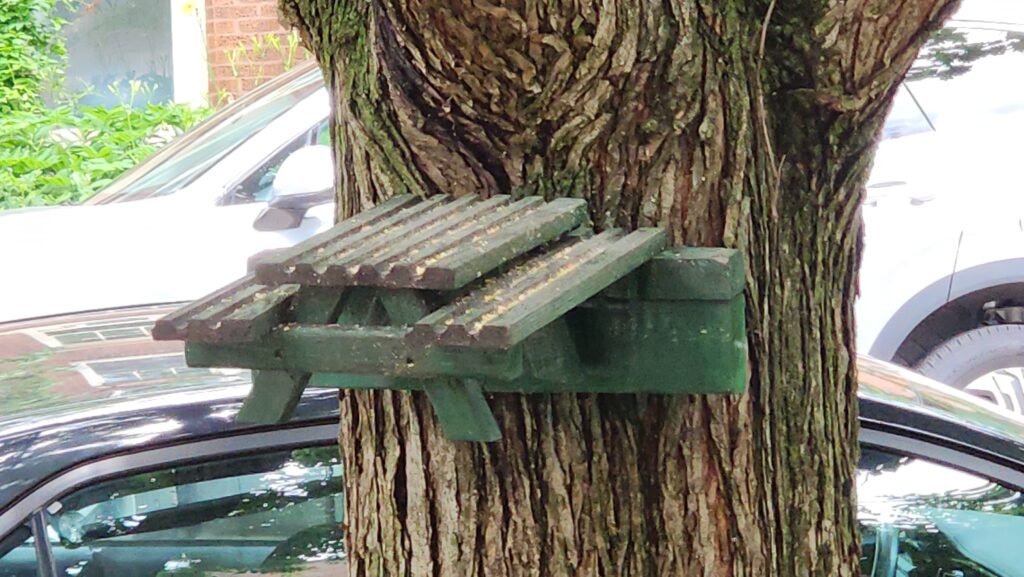
Lastly, something very random: a picnic table for birds/chipmunks/squirrels. I saw this in Evanston, IL.
I almost forgot! One more improvement to the house: a rooflet to keep the snow and rain off the new front door.
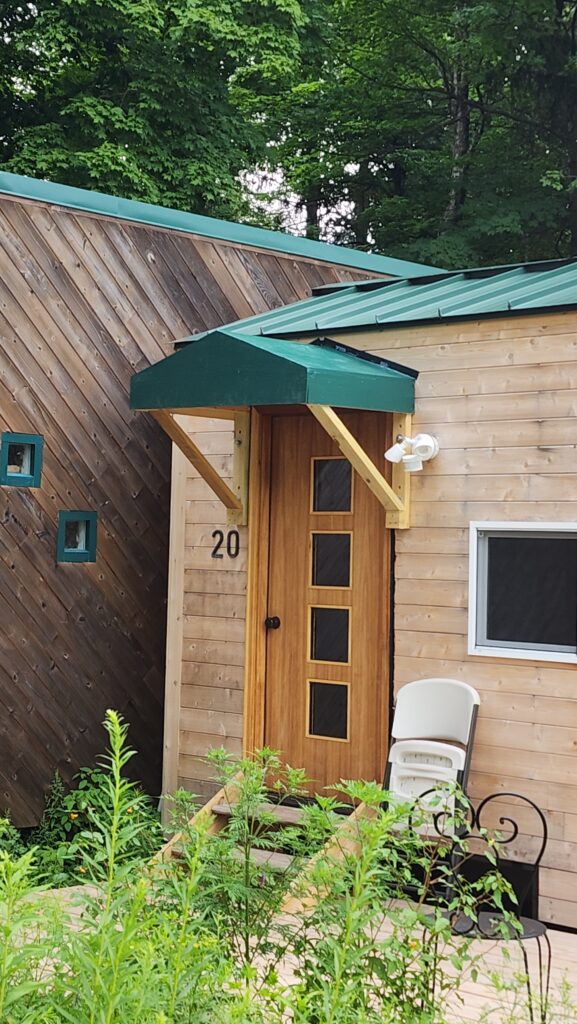
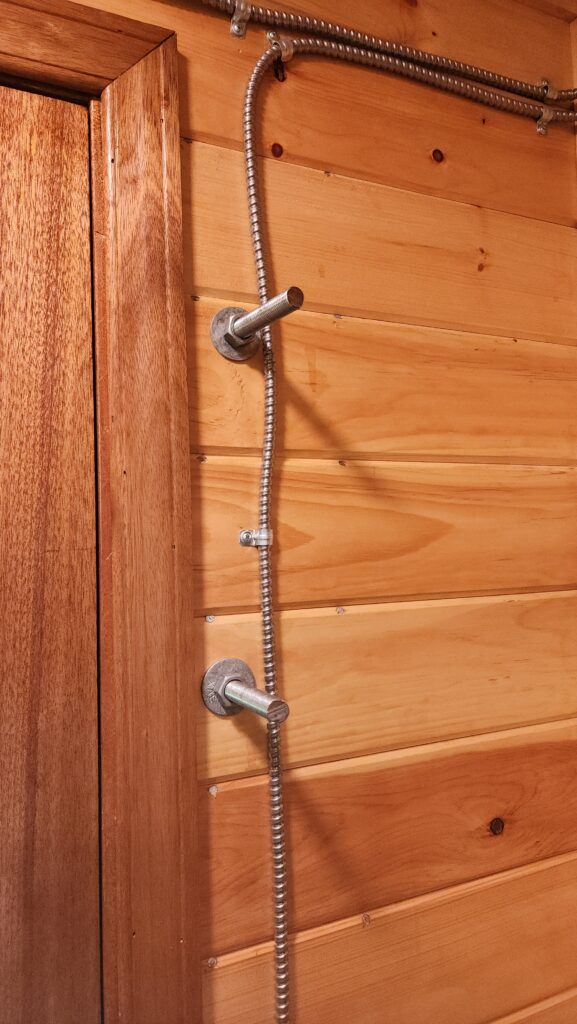
The astute observer will notice that the rooflet is actually bolted to the house, rather than nailed or screwed or anything else. This is intentional, because the rooflet makes the trailer into a wide load. Removing it prior to transport, while requiring either a couple of strong friends or some rigging, is relatively straightforward (remove 4 bolts), making the trailer basic street legal once again.
The rooflet was an afterthought, so the framing does not specifically accommodate it. The primary load is in shear mode vertically, which the bolts (technically, these are 5/8″ threaded rods, but whatever) handle easily. There is some tensile load on the top bolts, too, however, and I was concerned that even with washers, they might possible pull through the soft pine boards that bear them on the interior.
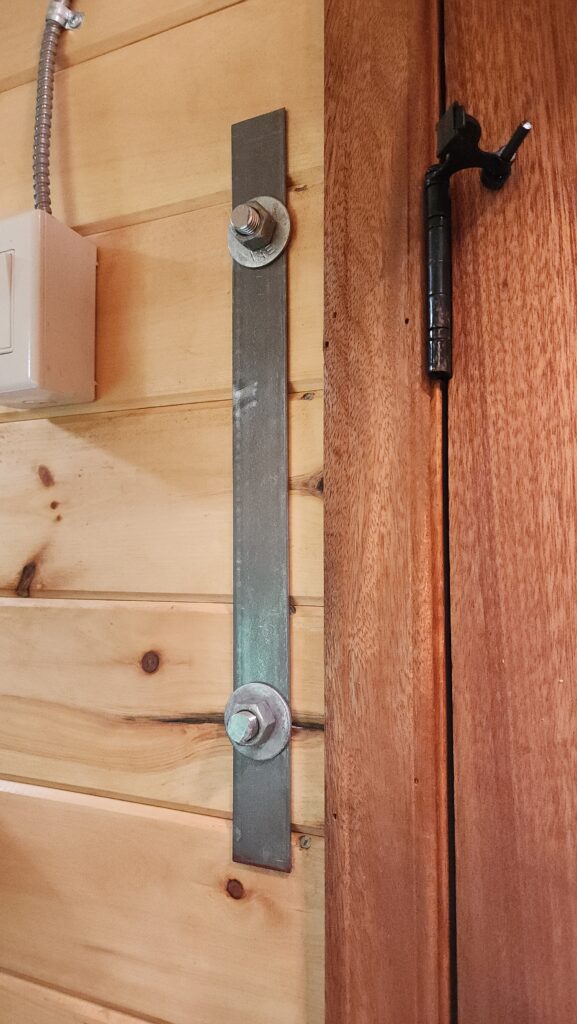
My solution was to add a thick metal strap. This (a) distributes the tensile (pull-through) load over a lot more area than the washer, and (b) any tendency to pull through at the top would be arrested by the strap being anchored at the bottom to the other bolt. That should be plenty of over-engineering to keep everything in place, even under heavy snow/ice load.
Yes, there are some extra holes in the vertical supports on the outside. I was so diligent to make a template and check the placement before drilling, then promptly ignored a critical mark on the template and made perfectly aligned holes in the wrong place, causing the rooflet to intersect the exterior trim on the door. Had to make a new set of holes to adjust, since I didn’t want to make new holes in the house. If I really cared, I could fill those holes with epoxy or wood filer or make some 3d printed plugs or whatever. But it’s already PT wood and I’m not ashamed of my mistakes – let it be a (yet another) monument to “measure twice, cut once”.