Add some trim & some grout and presto, the hearth is done!
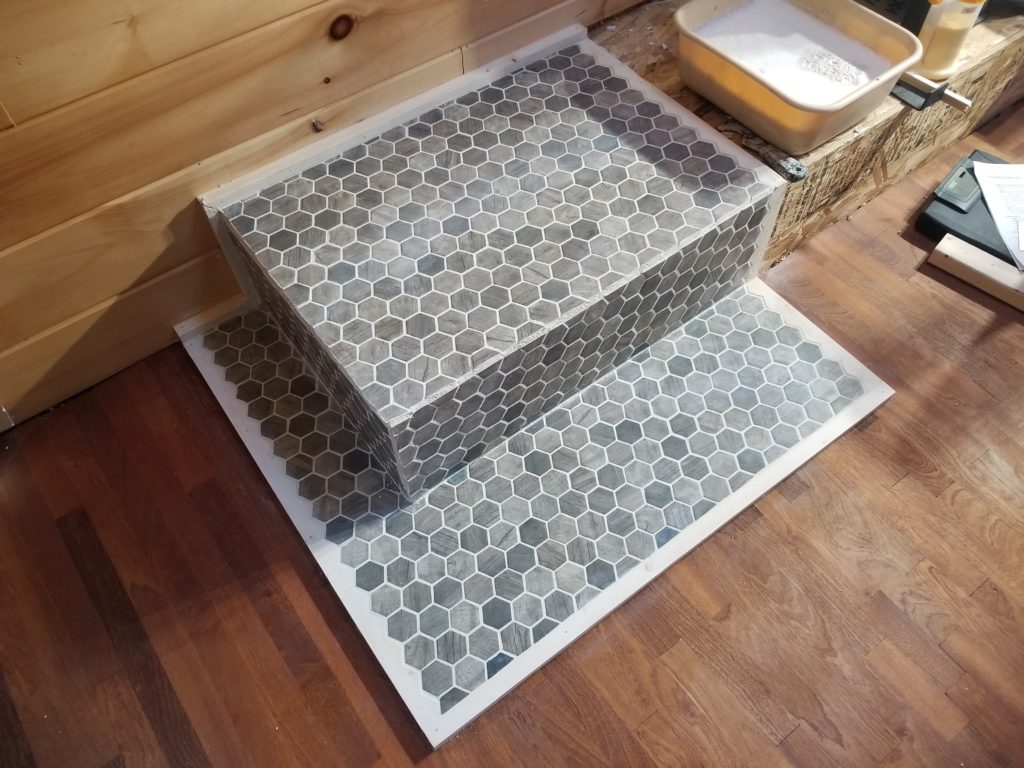
Well, technically, I still need to sand off the grout from the trim and then apply some wood finish to the trim, but the hearth part of the hearth is done. The transformative power of grout never ceases to amaze me. Somehow filling in the shadows between the tiles suddenly makes the whole field just look fabulous. Actually, it’s probably that the grout hides all the irregularities as well as brightening the overall scene (if you’re using light colored grout, of course) and decreases the visual depth so your eyes just glide over it. Whatever the reasons, while I don’t really enjoy tiling, I really do enjoy the look of a nicely finished tile job.
Next up here – wait a while more til the grout is fully cured, then start doing the things that need to be done to actually install the woodstove: find exact placement, set the anchor bolts, etc. Soon.
That was hearth. What about heat? HEAT! The furnace, while it took them several days to send it even though it was in stock (don’t get me started), finally arrived! And while I didn’t actually try the through-the-wall part I bought, the one that came with it is just like what I got, only shorter, so I’m confident it’ll be okay. So, far so good, right?
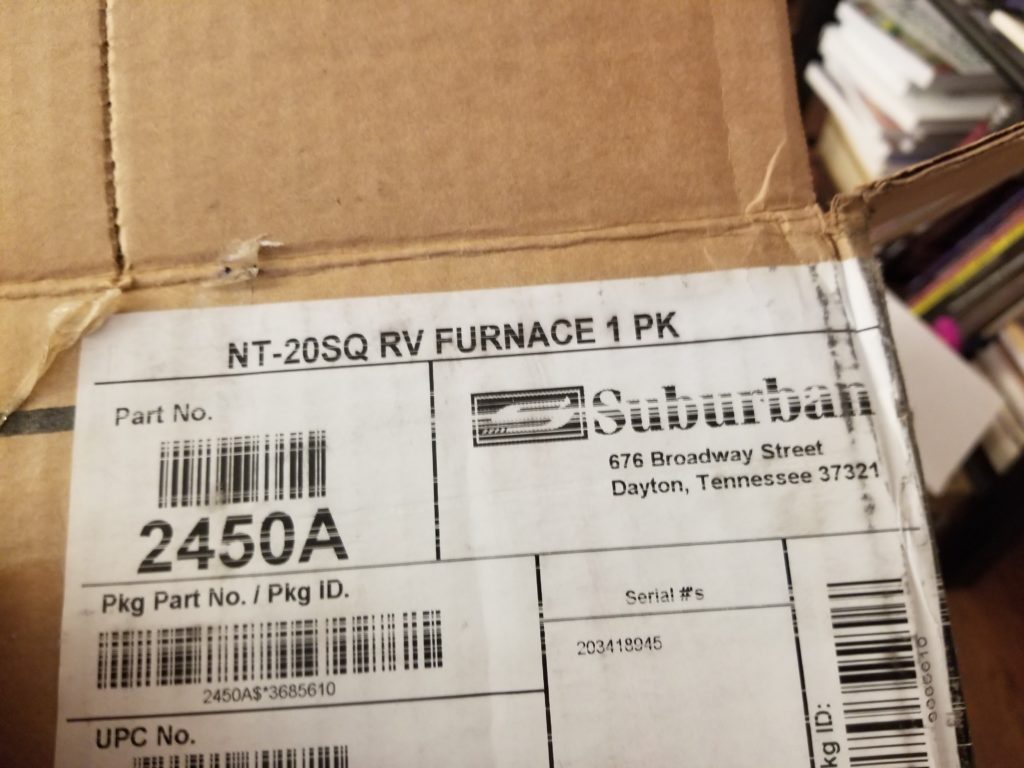
The thing is… I didn’t buy the NT-20SQ furnace. I bought the S-E-Q model. What’s the difference? If the model has the letter E, it has a grille on the front where the heat comes out. If it doesn’t, there are 4″ ports on the sides to which one must attach 🦆🦆🦆. I wanted the direct-vent model because it was easier to install and anyway, that’s what I bought. Indeed, the vendor doesn’t even claim to stock the SQ model. Except that’s what they sent me. Gah!
Can I use it anyway? Yeah, actually, I can. But I want the direct-vent one. I bought the direct-vent one. I worked it out with the vendor and in theory the SEQ model is now en route to me, along with a prepaid return label for the SQ model they sent erroneously. What I’m gonna do is simply wait a little while for the SEQ to arrive and if it does, and if it’s okay, I’ll send the other one back and that’ll be that. If something happens — or doesn’t — and I don’t get the SEQ soon, I’ll just go with the SQ because I need to move this project along already.
And now, handrail. Since I have to wait for the grout to cure before installing the stove before building the kitchen, and since I’ve been going up and down the stairs a bunch as I work on the loft partition wall, the lack of the handrail has become a bit more obvious. It dawned on me recently that I had the perfect piece of wood for that rail. When I bought the lumber for the flooring, there was one board that had really interesting curly grain. It practically shimmered. It’s beautiful. And it would be a shame to cut it up into little pieces to be flooring. It would be great as a handrail, where the grain would be prominently visible, though! So that’s what I did.
At the top of the stairway, the railing needs to make a turn to parallel the upper landing. That means I need to join the rail that parallels the stair with the rail that parallels the landing. Okay, a miter joint, no problem — but something needs to hold it together. There are a lot of ways to do that. The one that seemed most likely to succeed was to use a spline — a/k/a “loose tenon” — a slug that fits into grooves to either side and is glued in place. I could even use a little bit of the same wood so it would (wood!) be invisible.
Okay, then, step 1, cut a slot. I happen to have just the router bit for this, a quarter inch slot cutter.
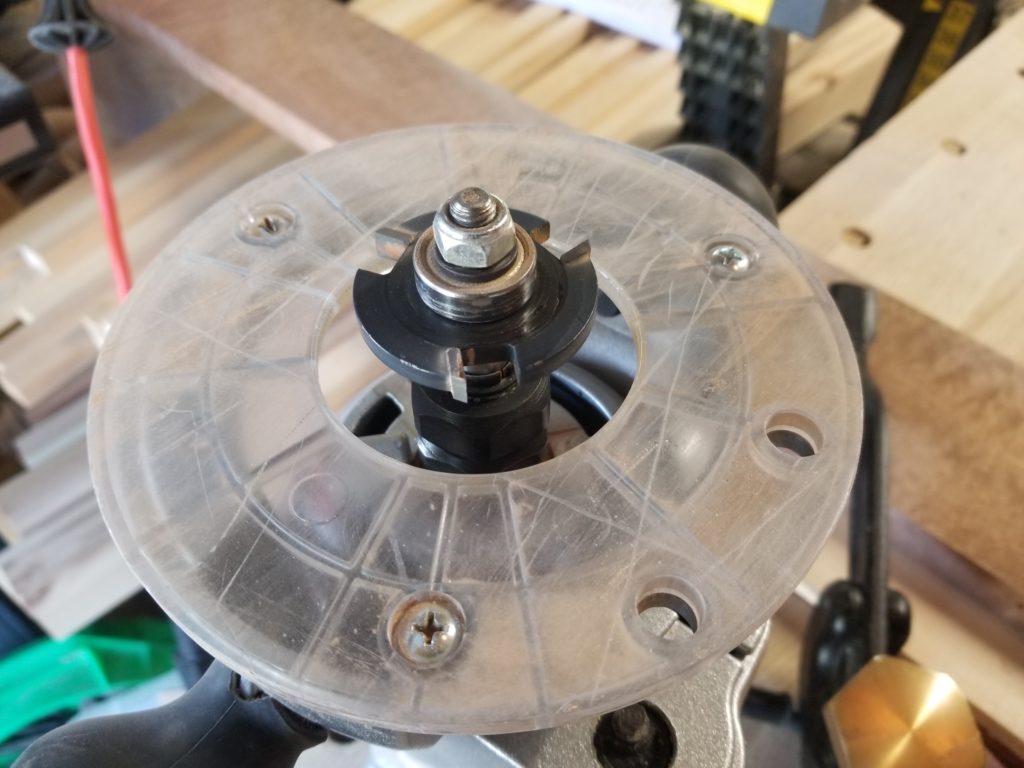
The three teeth cut the slot and the collar above them, which is actually a spinning bearing, rides along the face of the wood, keeping the depth of cut exactly the distance from the bearing to the tip of the teeth. Perfect. Draw this along the end of the two pieces of railing and I’ll have my slots, quick and easy.
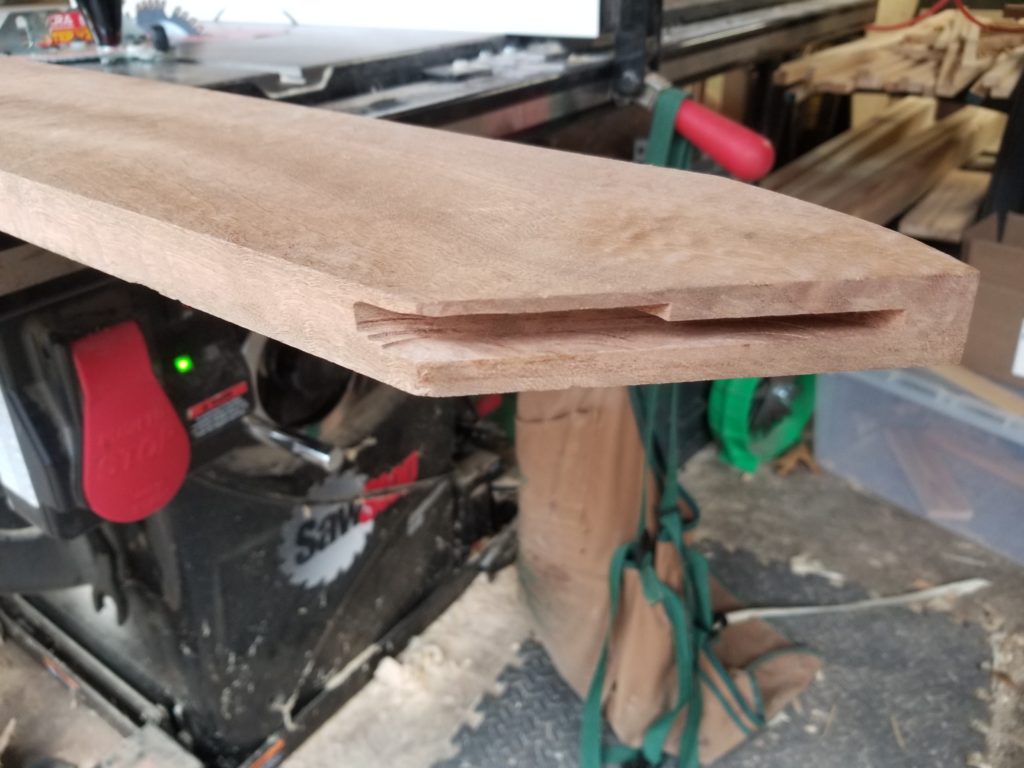
Well, it was quick and it was easy, but it was also crap. Why? The router is heavy and a little unwieldy and using it on the edge of the wood means slightly more than half the router is not supported, so if the operator isn’t really attentive to keeping the router upright, it will tip and spoil the groove. And at the edges, there’s even less support, as the router is effectively hanging out on the point of the corner. It’s almost guaranteed to tip and gouge. And so it was.
I knew better, but I forgot the proper technique for this. Then I remembered it – simply support the other side of the router at the same height, all along the cut, so there’s far less need to support it. This setup let me cut the groove in the end of the piece to the left with at best 100% support and at worst 50% support, but there was always something secure to support the machine and it was never balanced only on a corner.
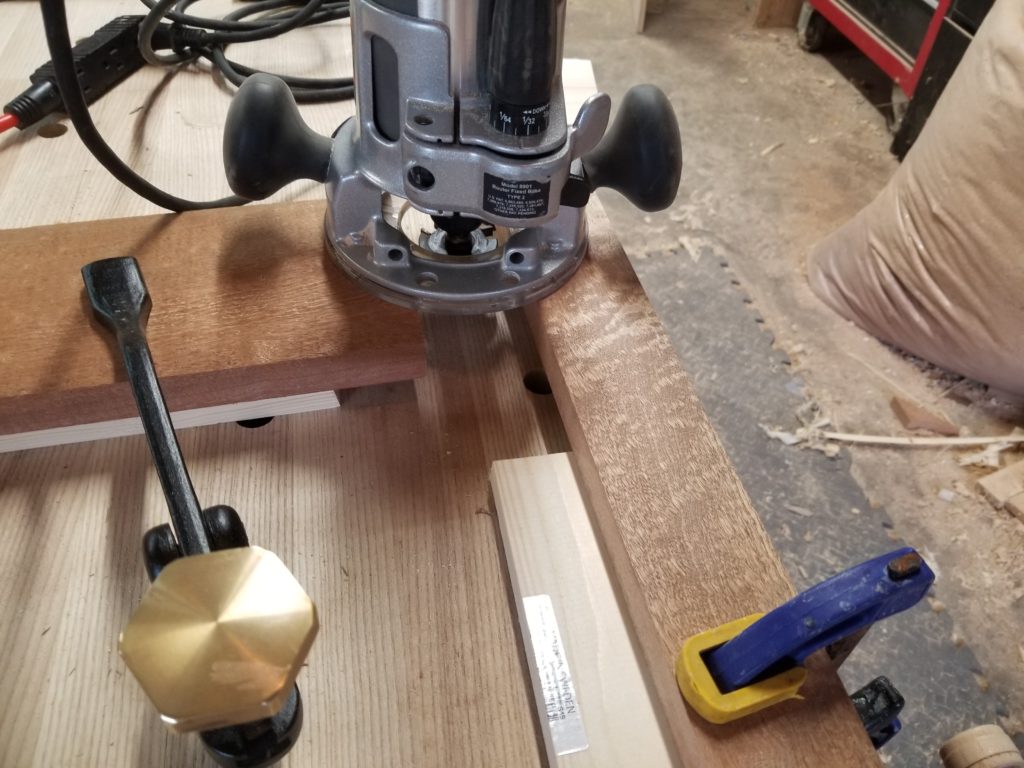
That made all the difference.
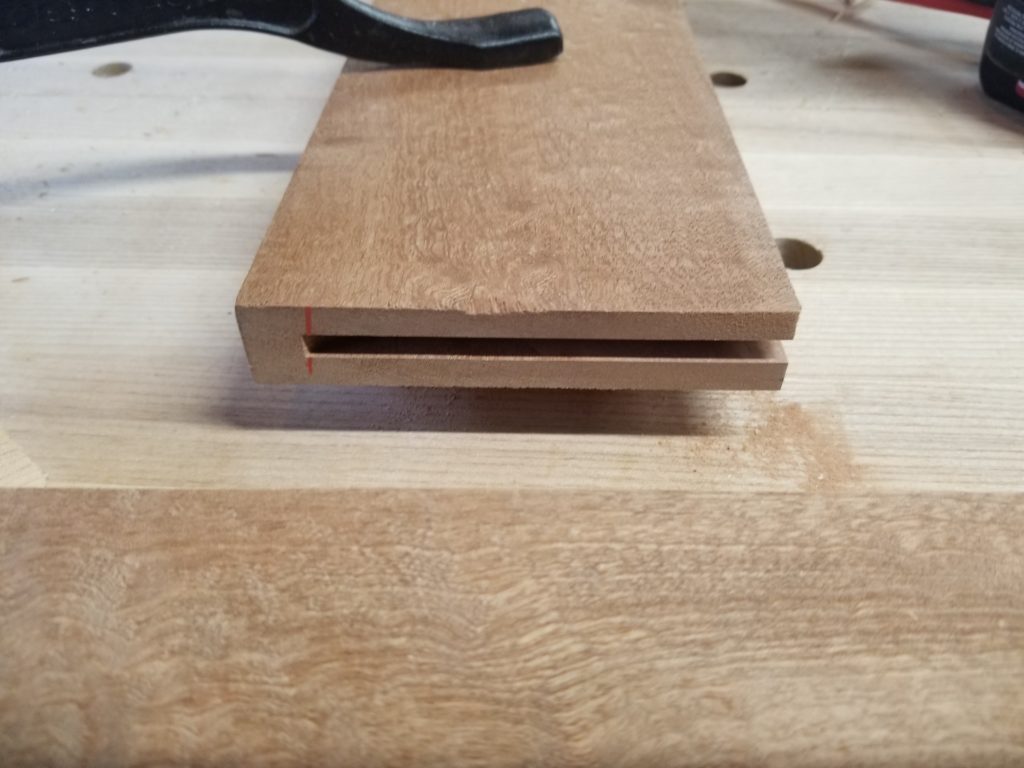
Great! Slot cut. Do it on the other one, fabricate the spline and get it done. The spline is actually the same kind of wood as the railing, but it’s white with wet glue in this photo.
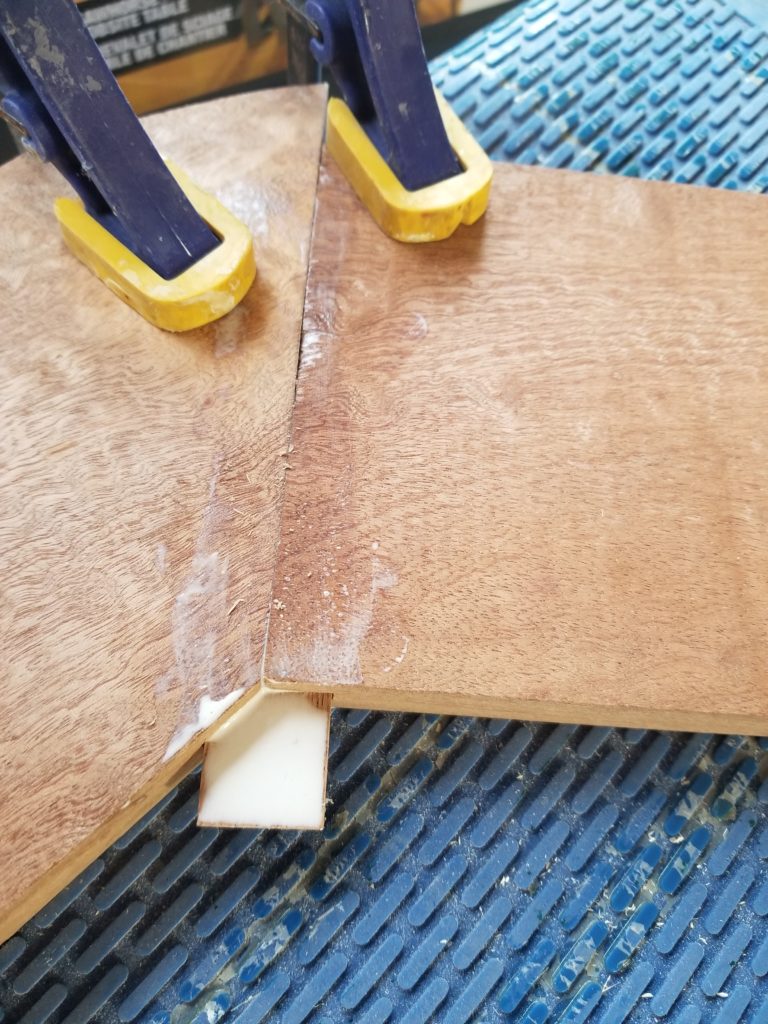
Let it cure, then trim the spline, and presto, beautiful!
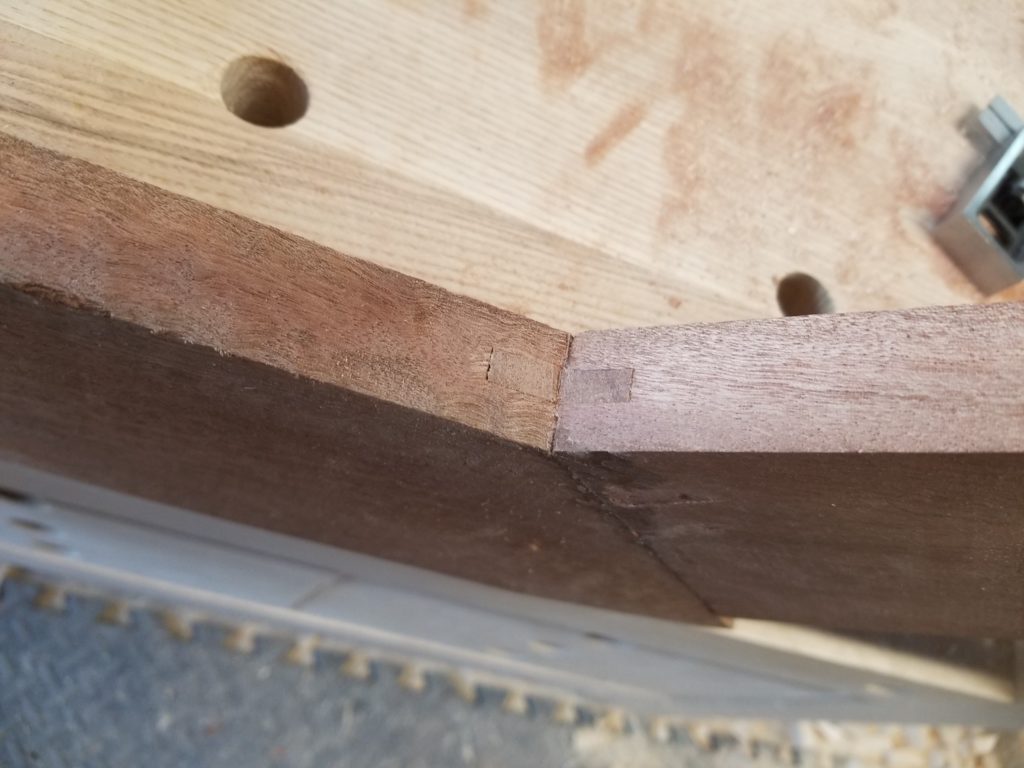
Now it’s time to use the round-over bit to make the top of the hand rail hand-friendly. The assembled railing is a bit unwieldy, given it’s like 7ft long and takes a turn, but with a little care, this step should be no problem.
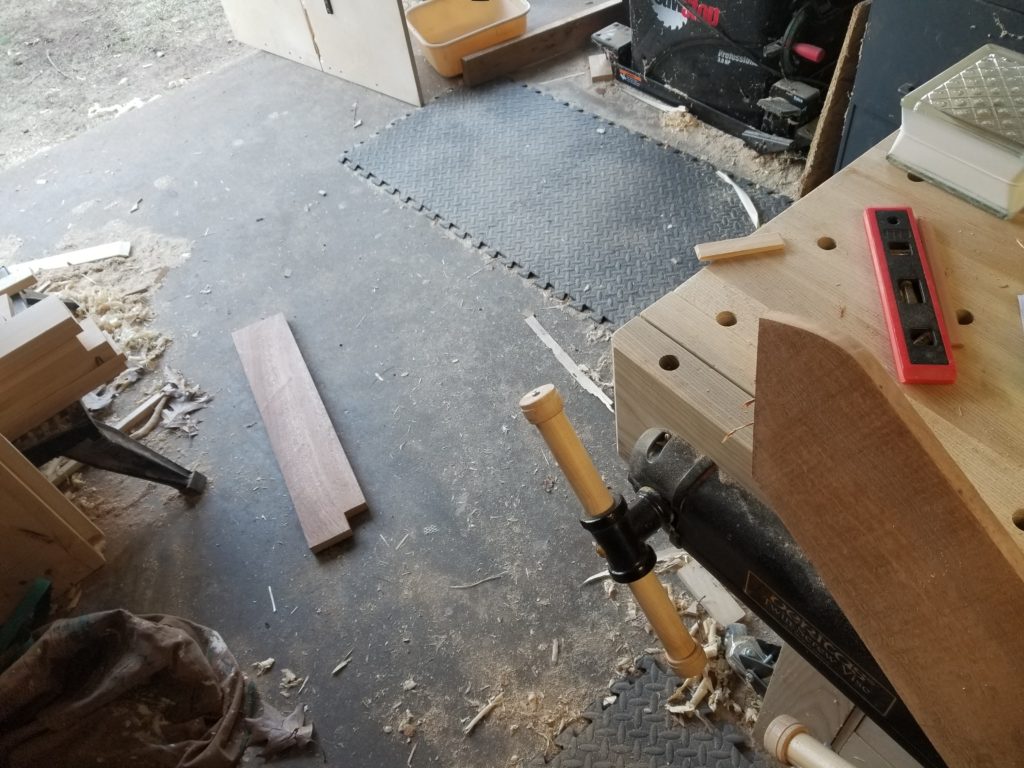
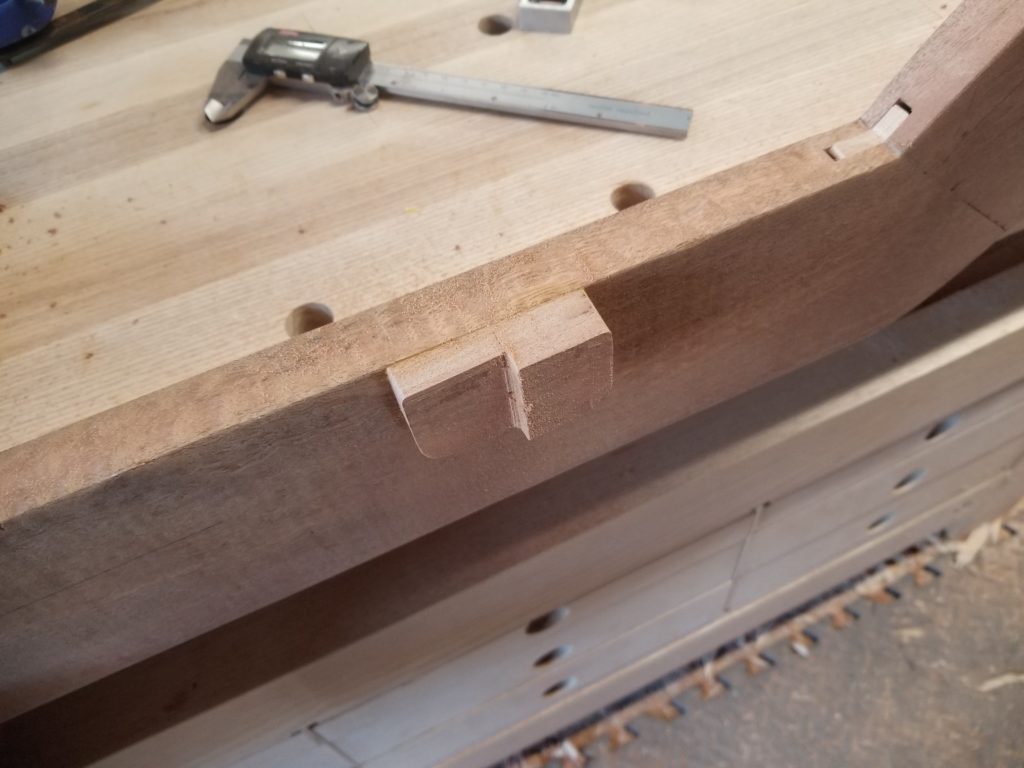
See that piece on the floor with the notch? That’s the part that goes parallel to the landing. You know, the part that I attached so carefully to the other part of the railing, seen to the right with the curved shoulder. Yep. I dropped it and my spline snapped.
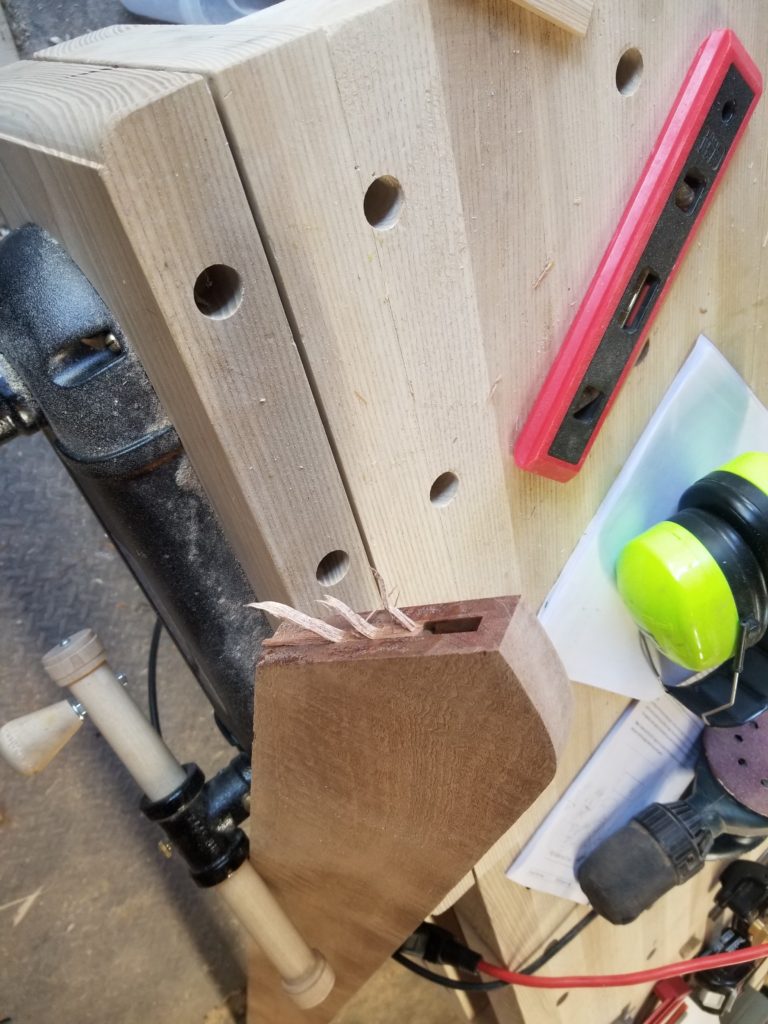
See that frayed wood? That’s what’s left of the spline. It didn’t stand a chance with all the leverage against it, but there was another error here. It was easy to cut the spline along the grain from a piece of scrap wood, but that means the grain of the spline is parallel to the groove, basically meaning any folding stress on it would be aligned to the grain — the direction the wood will most readily split. Oopsie. In my defense, this is actually the first time I’ve ever used a spline in my own construction so these things don’t occur to me as a routine matter of technique.
Gotta fix it.
It occurs to me that I should be able to just run the grooving bit just like I did before and simply carve out the old spline and make a new one. So I do that and the new slot looks just like the old one. I’m encouraged.
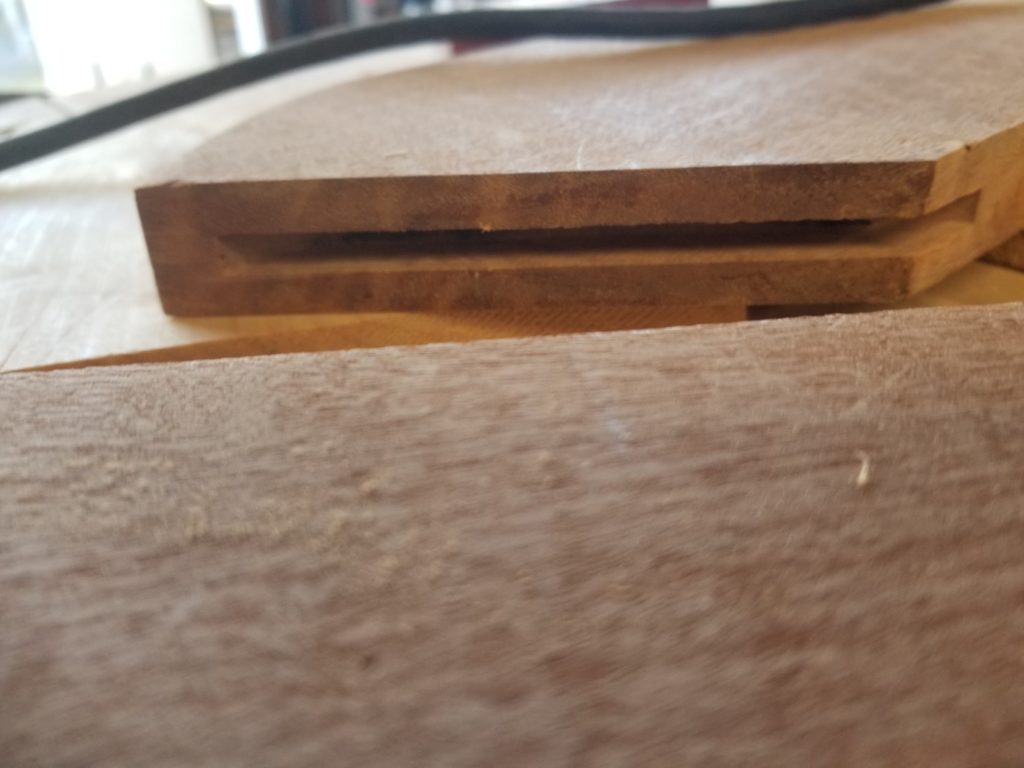
I don’t actually have a piece of sapele (the species of wood from which the railing is made) that’s wide enough to use it cross-grain. I do have a scrap of hard maple from a long-ago project, though, and this is going to be underneath and inside anyhow, so the color difference won’t matter.
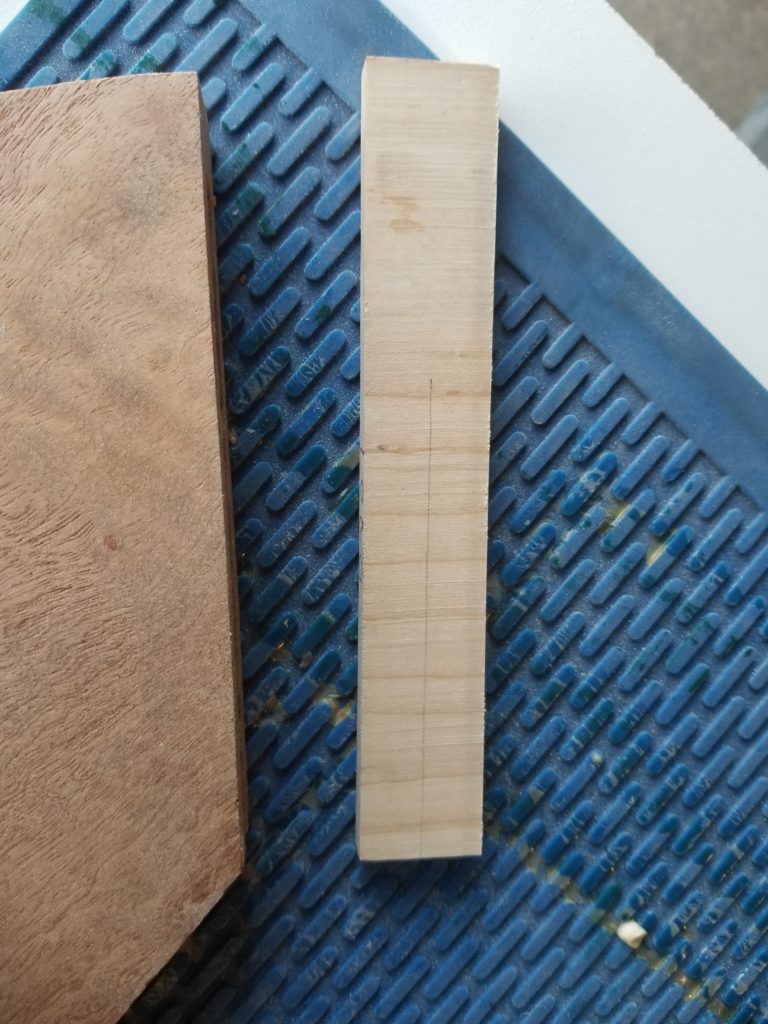
This is the new spline on the right. See those horizontal lines? That’s the grain of the piece, perpendicular to the folding direction. Now, folding is not an intentional stress on this joint, but it’s likely to happen during handling. Once the railing is installed to the wall, this joint won’t feel any stress at all, but until then, having it not snap again is of acute interest to me.
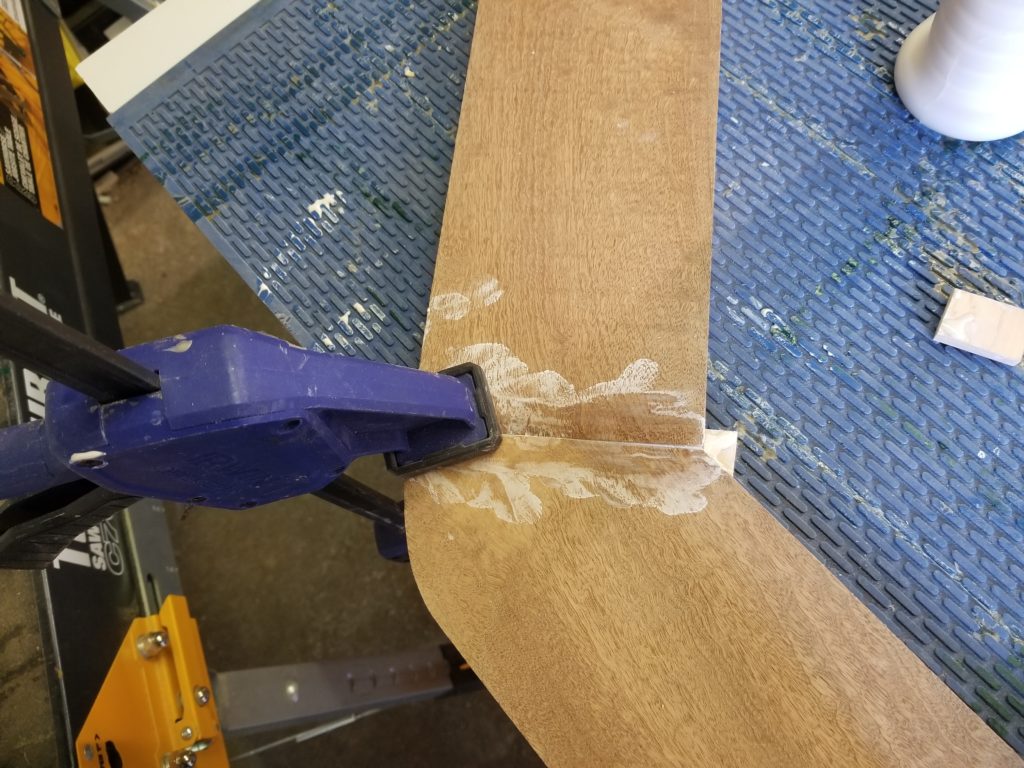
Glued up one more time. For good luck, it occurred to me to slip some glue into the joint aside from the glue on the faces of the spline. End grain glue joints aren’t known for their strength, but every little bit helps.
You can start to see some of that curly grain figure I was talking about on the section of railing that goes down to the right in this picture. With the application of finish, it should become a bit more prominent.
In order to have enough room for a hand behind the hand rail, some stand-offs were required. Obviously, on such a narrow stairway, I wanted the minimal intrusion that was still effective. About 1.5″ seemed to be the answer. A series of blocks glued behind the railing get the job done.
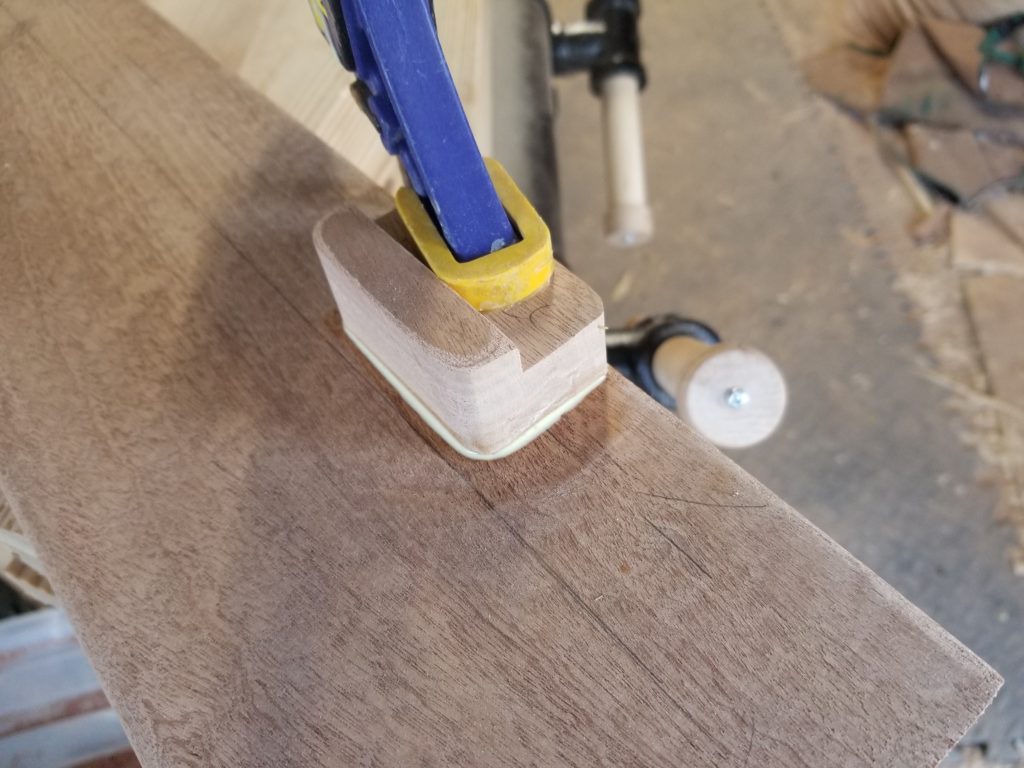
You’ll notice there’s a deep notch in this one. Yep, that accommodates the “belly band” — the 2×8 that goes all around the perimeter at the same level as the joists for the lofts. It’s a bit proud of the rest of the wall (who wouldn’t be proud of that wall?) so accommodation was required in the two blocks which support the railing at the upper landing, where that belly band interferes. Something you might not have noticed is the edges are rounded. These stand-off blocks live behind the railing, below where I think finger tips will extend (pencil line), but just in case a hand slips further back there, I didn’t want sharp corners scraping on fingers. Hence the rounded corners. It may or may not matter, but if it does, it will.
It turns out that belly band wasn’t the only thing in the way, though. There is some trim between it and the wall dressing I had forgotten about. When I fit the railing in place, I noticed there was more interference than I had accounted for. The tricky bit now is that the stand-off blocks are already quite securely glued to the railing, so machining them to fit is now a bigger deal than it might have been. Oopsie.
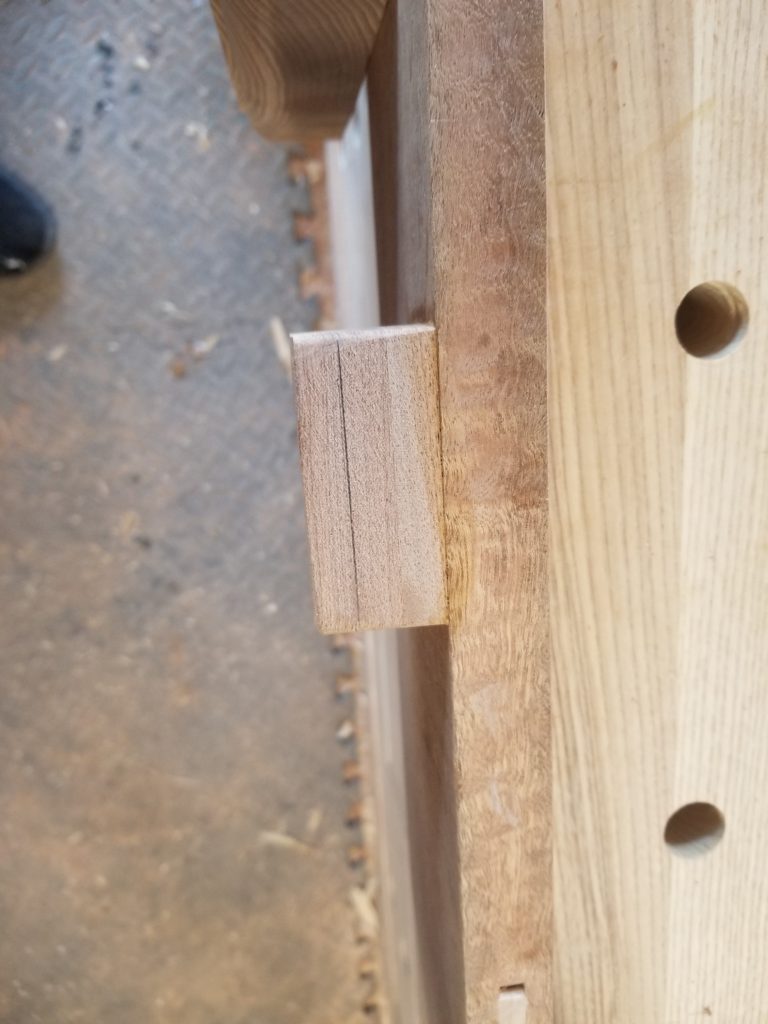
No problem. My monster bench vise (lower left, with round handle sticking out) is totally up to the task of securing this long, heavy, awkward bit of millwork while I do some fine tuning on that stand-off block. You can see the maple spline in the armpit there, too.
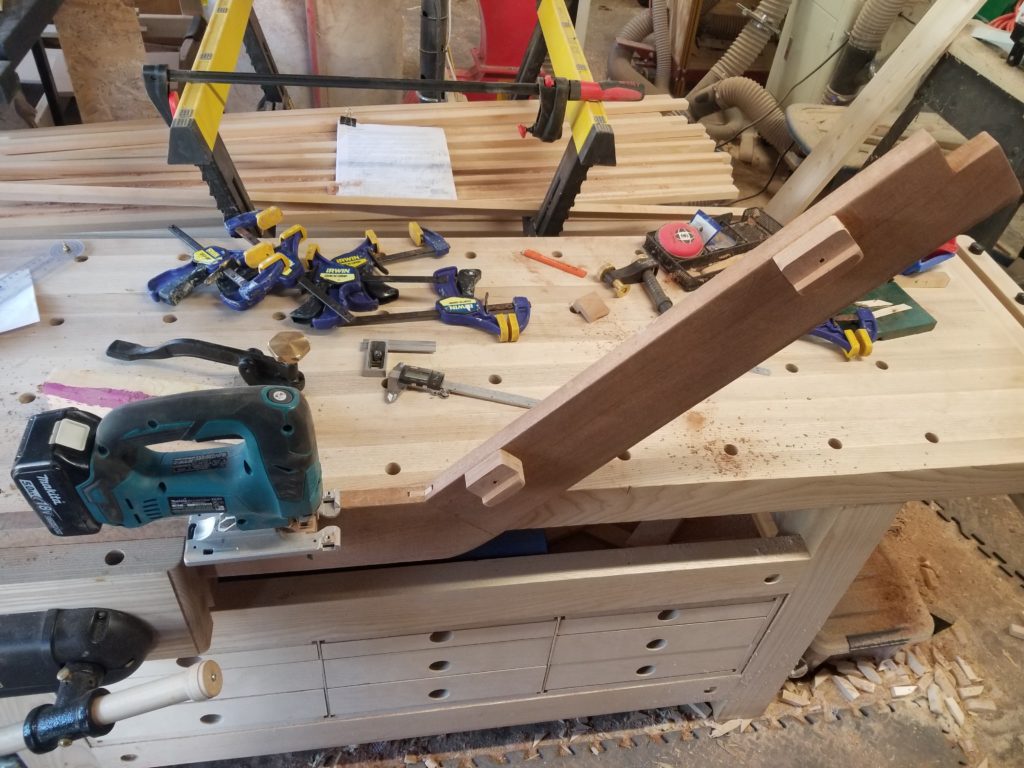
I’m pleased to say the new spline seems to be doing the trick nicely. I wound up moving this railing in and out of the house a several times, as well as horsing it around on the bench to make some adjustments, like this. I failed to take pictures of the round-over of the top edge but you can take my word for it: the top edge is rounded over.
It turned out I just got really unlucky with that #3 block and had to trim it yet more before everything fit right. I thought I had made note of all the interferences but evidently I grossly neglected one that was especially intrusive. Ah, well. So it goes.
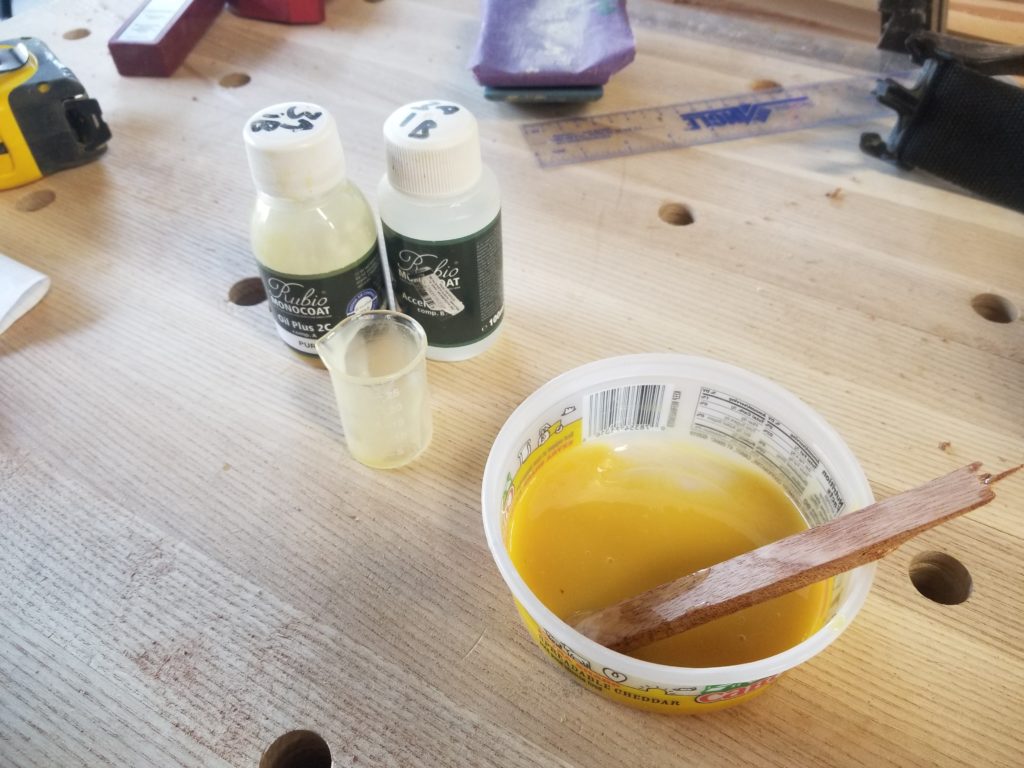
No picture of the railing installed without the finish applied because the finish really brings out the curly figure – why bore you with unfinished wood? Right? Right. So my favorite finish — the same stuff I used on the floor — needs to be mixed 3:1 by volume. But it’s an oil-based preparation, just a little bit goes a long way. Out comes my trusty 25ml beaker and an old cheese tub. I save that kind of thing, along with little take-out sauce containers, etc., for this kind of thing. Mix it up and wipe it on!
Ta da! The railing may seem low to the stairs, and it is, but it’s still quite within reach and in just the right position to be useful. Remember, if the railing were too high, an elbow would have to bend, and then the fact that the stairs are only 28″ wide suddenly becomes a much bigger problem if you’re already as wide as I am, which I am.
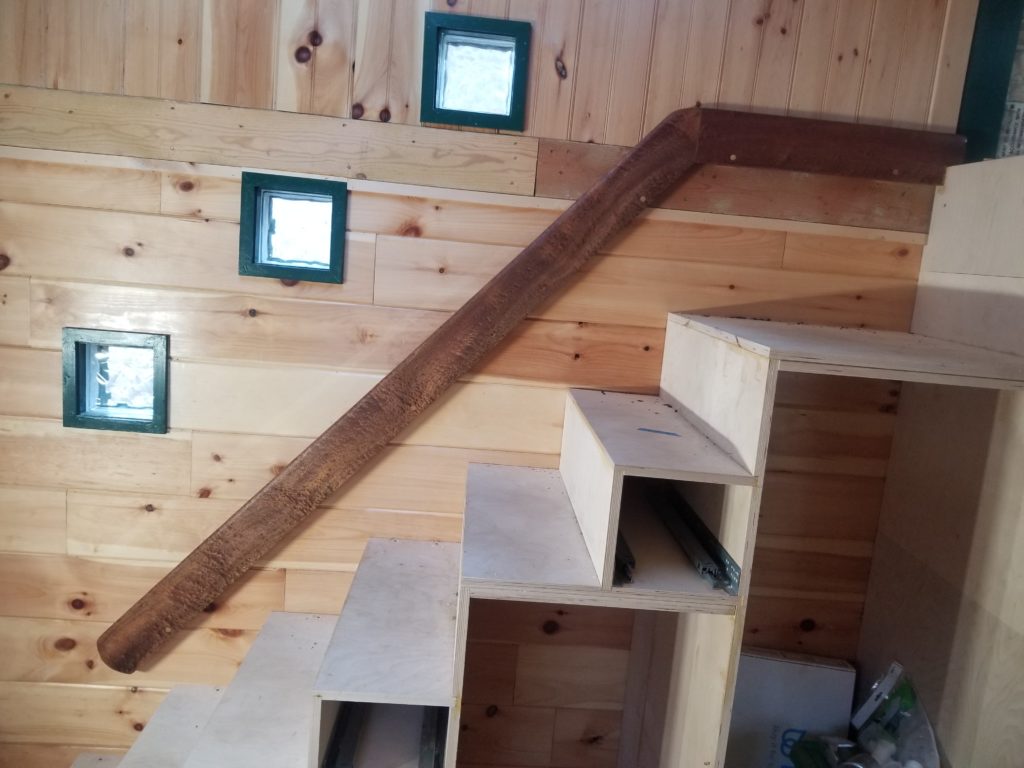
I expect it to lighten up a little when the finish dries – this photo was taken immediately after application while the finish was still wet. You’ll notice five light dots – those are the plugs over the screws that hold the railing in place. Why, you might ask, did I not use dark plugs? Well, I didn’t have any, didn’t feel like spending $ on a plug cutter for just these five, and anyway, the light dots echo the pine dressing on the wall, so think of them as accents 🙂 I actually didn’t even glue them in. They’re a tight friction fit (the plugs are slightly tapered, like a bottle stopper). Why not glue them in? Well, if something happens and I want to change the railing, or it breaks, being able to drive a screw into the plugs and yank ’em out go gain access to the mounting screws easily seemed like a good idea.
You can kinda see some of the curly figure in the wood from this shot, but you can really appreciate the shimmer when you look a bit closer at it.
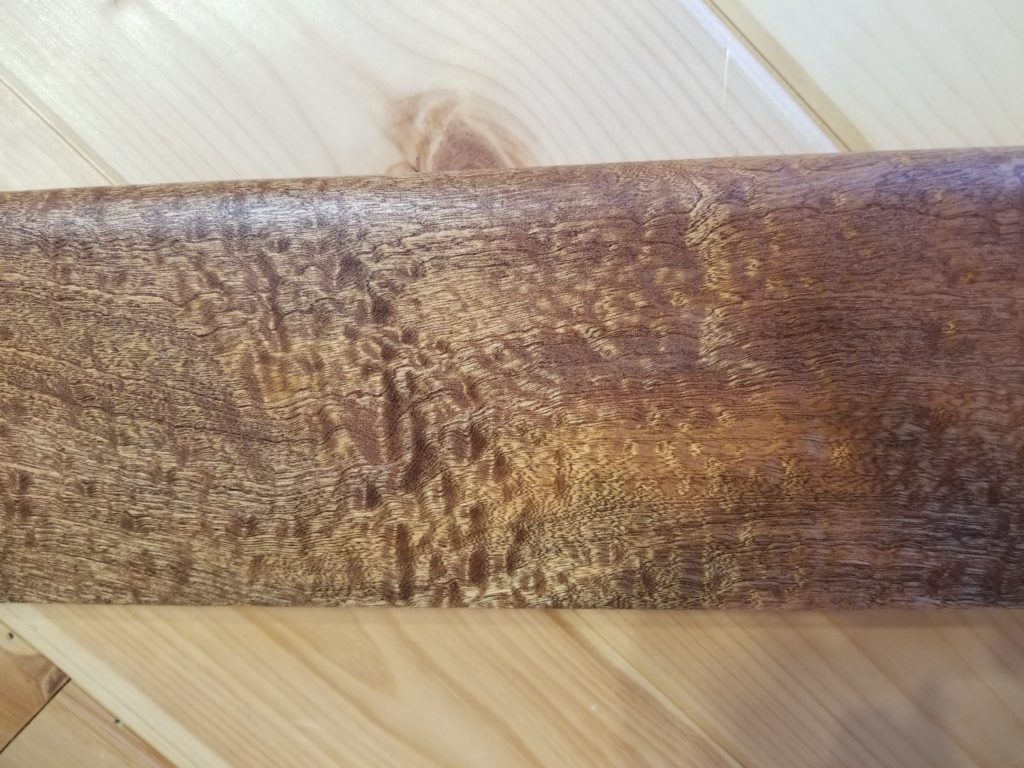
There. Now that’s what I’m talking about. When I bought the lumber for the flooring, I saw this board and knew it was way too interesting to use on the floor, but I had to buy it anyway, figuring I’d come up with a use for it later. It took the better part of a year for that use to occur to me, but I’m quite pleased with this employment of that board.
There’s actually some of it remaining, which may make its way into another decorative project.
Okay! Railing is done. By the time I’m available to do any more work, the grout will be cured so I can get on with the stove installation, which then releases the kitchen design and build. And then there’s the rest of the loft partition wall to do – a small amount of woodworking and a fair bit of painting – and the bed cabinet in the BeDeLiA. Plenty to do!