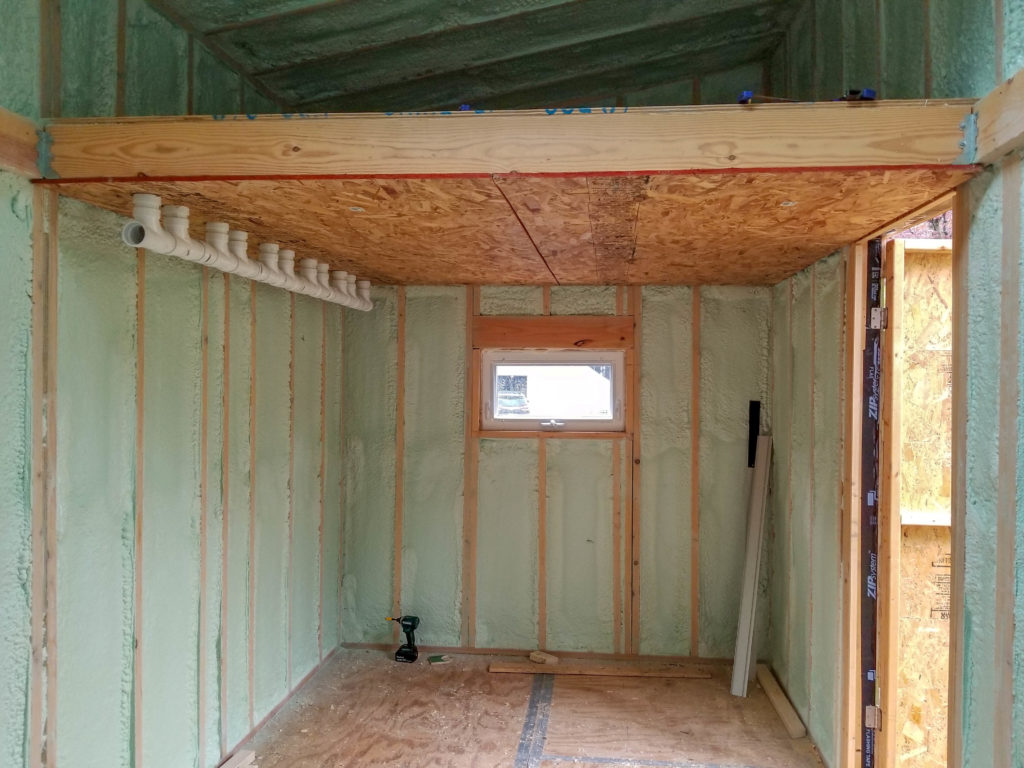
Most of today’s work on the HomeBox (I only had a few hours this weekend) was spent finishing the “sub ceiling” for what will become the bathroom and entry way. Remember the in-ceiling tank? It’s in there, now mostly hidden except for the drain trunk, upper left. That drain line will soon get a plug at this end and take a turn downward at that end, ultimately passing through the Propane Porch (Fuel Gas Veranda?) on its way to outside.
The question is: when one is working alone in close quarters, how does one get sheets of OSB onto the ceiling?
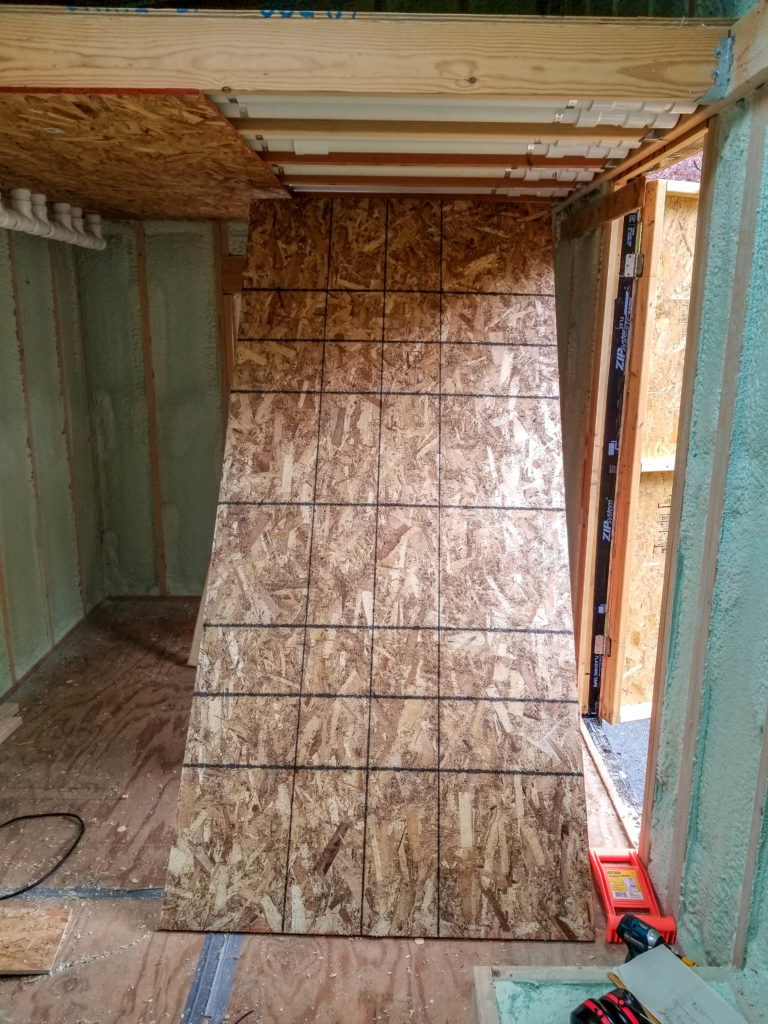
Well, it starts like this: a sheet propped up against a ladder.
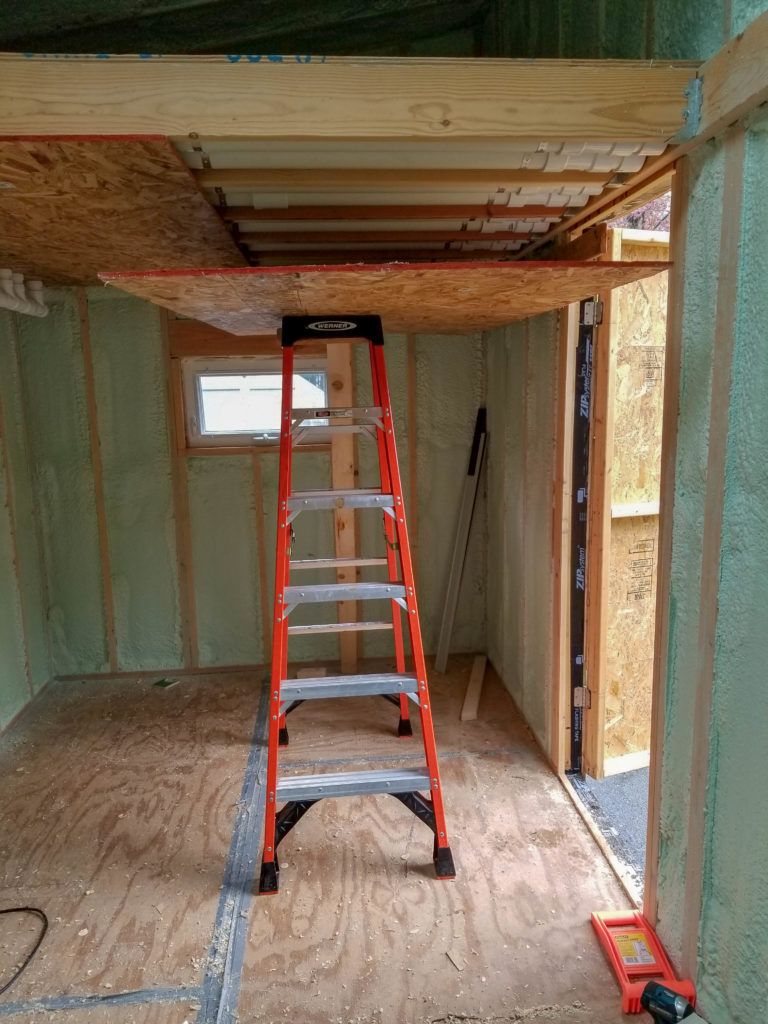
Then I lifted the sheet onto the ladder and balanced it there. I actually wound up needing to use the T-brace I built for hanging the tank chamber pipes — this time to keep the ladder from falling over as I lifted the board and slid it across the top of the ladder as I went to balance it there.
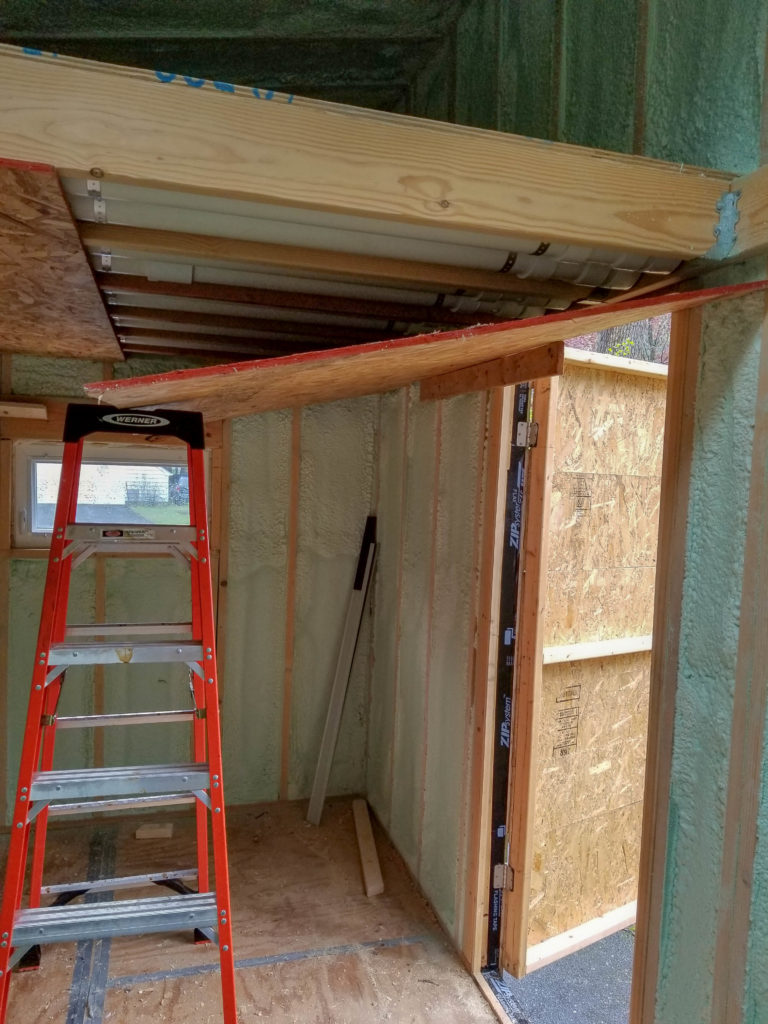
Next: get under the board (yep, had my flaming pink hard hat on) and coax it onto a temporary cleat I had previously attached to the wall for this purpose.
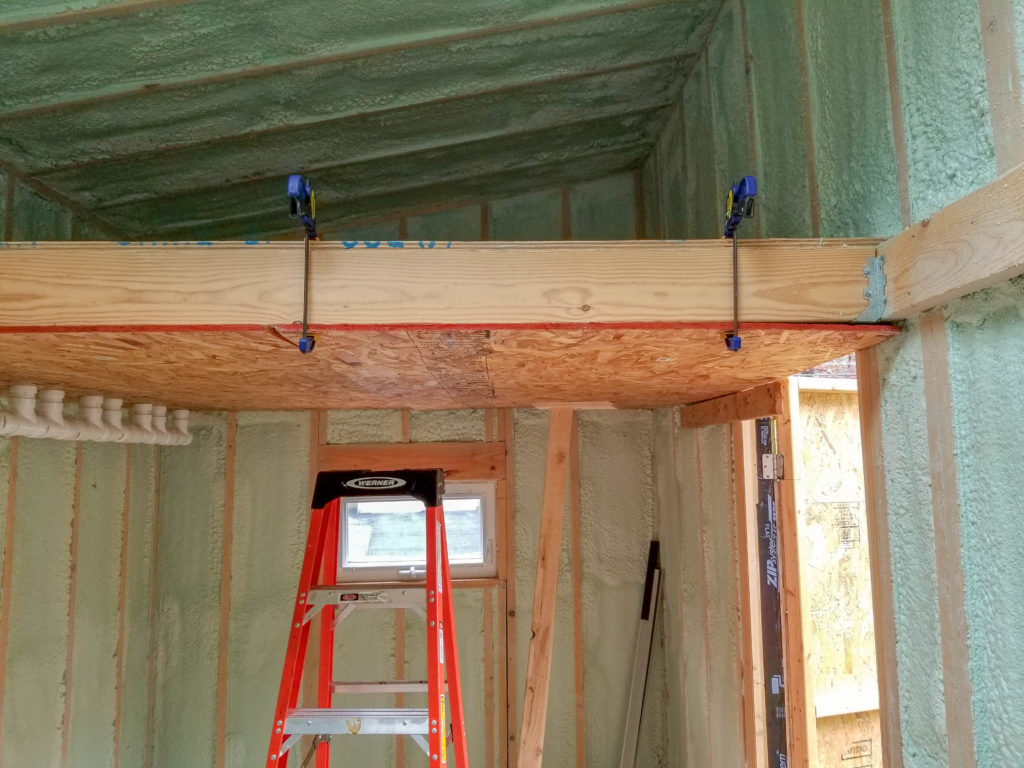
Using the cleat to hold it on the far end, I lifted the other edge from the ladder until the sheet was against the rafters. I then jammed the T-brace against it somewhere in the middle. This was just enough to keep it from falling (for a moment…) while I went over to the exposed edge and employed a couple of bar clamps to aid in overall holding.
Okay – now it’ll stay put – kinda. This is not the time to dally. A few well-placed screws were driven to fasten the board to the rafters. Now it’s safe. Now I got out my laser line and used that to guide the rest of the screw placement.
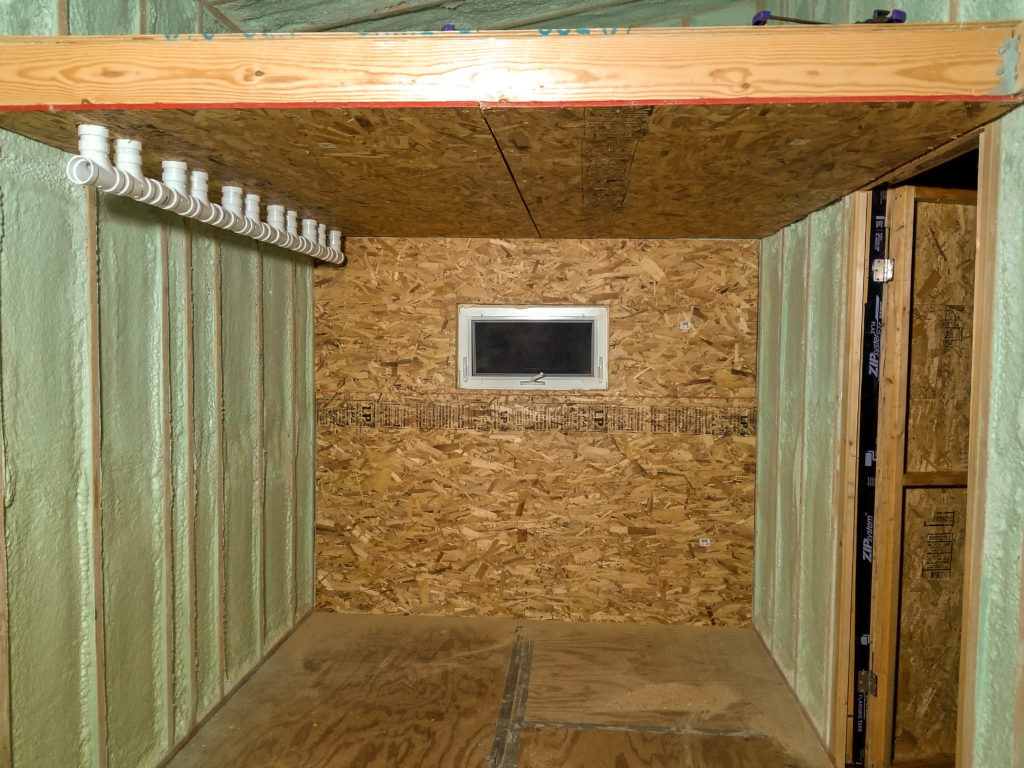
Presto! Did it. Sub-ceiling is up. I also had a little time later to board up the head wall, so I did that, too.
If you’re wondering how I got the pipes to so neatly pass through, this is how: I measured their position carefully (like 4 times). I then drilled fully round holes for where they would pass through. Of course they couldn’t actually pass through since the pipes are all joined together at the bottom. I took my circular saw and simply cut a line through the approximate center of the holes just cut, creating a skinny piece with a bunch of half-circles and a broad piece with the matching half-circles. I put the skinny piece up first, against the wall (upper left as shown). The half-circles of the broad piece met those of the skinny one, minus one kerf, and most importantly, the holes could be a scant 1/4″ bigger than the pipes themselves, making for a pretty snug fit that will be easy to dress with an escutcheon later.