Bonus mid-week update today! The varnish on the foot board for the tub was well enough set to move on with installation and the weather was cooperative (not cold and raw), so I went at that today after work.
First things first: I need to know what the proper sized pilot holes for the hanger bolts should be. The best way to answer that question is to take a scrap of wood like the flooring, drill it, and try it. The pilot should be big enough to take the bolt without distortion but tight enough to hold it solidly.
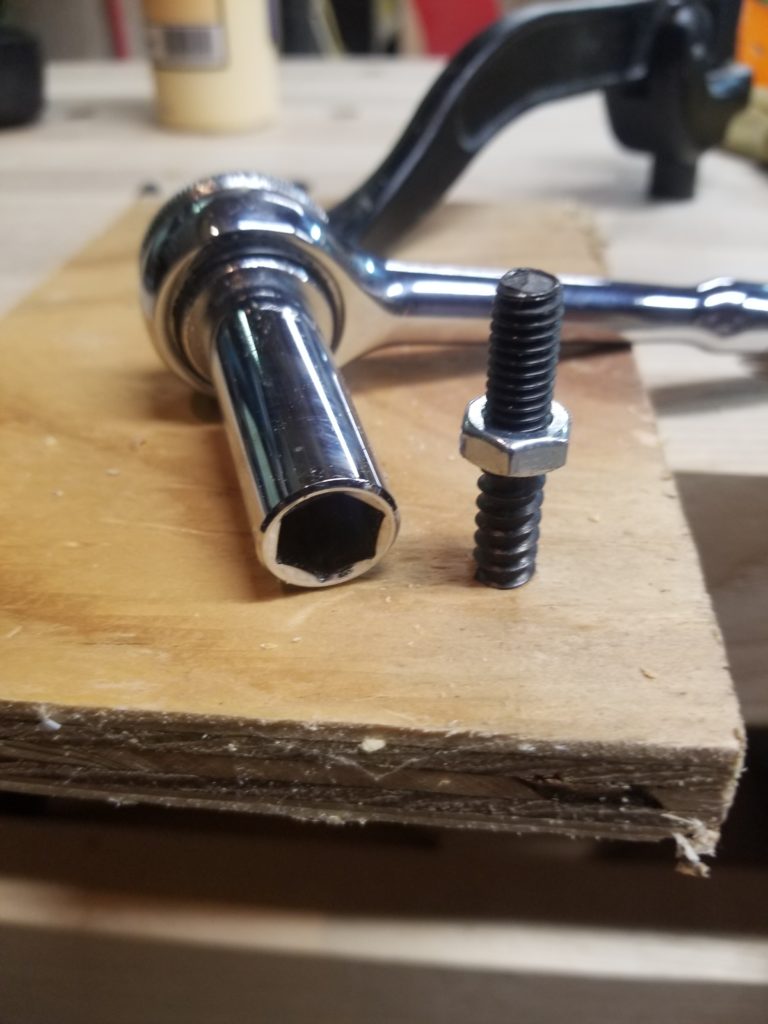
The obvious question that arises first is how does one drive a half-wood-screw, half-machine-screw, no-head-of-any-kind thing into a board? The answer is you use a nut and a nut driver. The nut jams against the wood screw threads such that you can use it like a midriff hex head on a lag bolt:
Once the bolt is in and it is observed to be holding well and the wood is happy, how do you get it out? Reversing the drive on the nut just removes the nut! There’s nothing to jam against in the out direction. Hm. Vise-grips to the rescue.
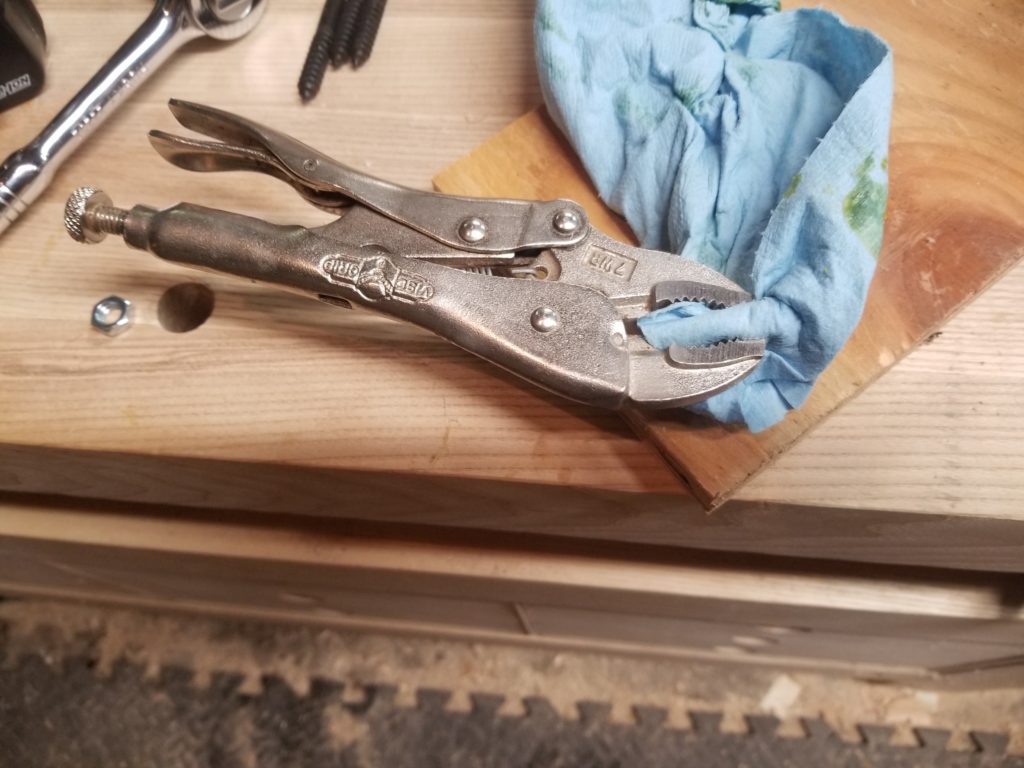
The blue shop-towel is there to soften the interface between the vise-grips and the machine threads on the hanger bolt, in hopes of not just crushing them. There’s a fine line between enough holding power to unscrew the screw and so much that it destroys the machine threads.
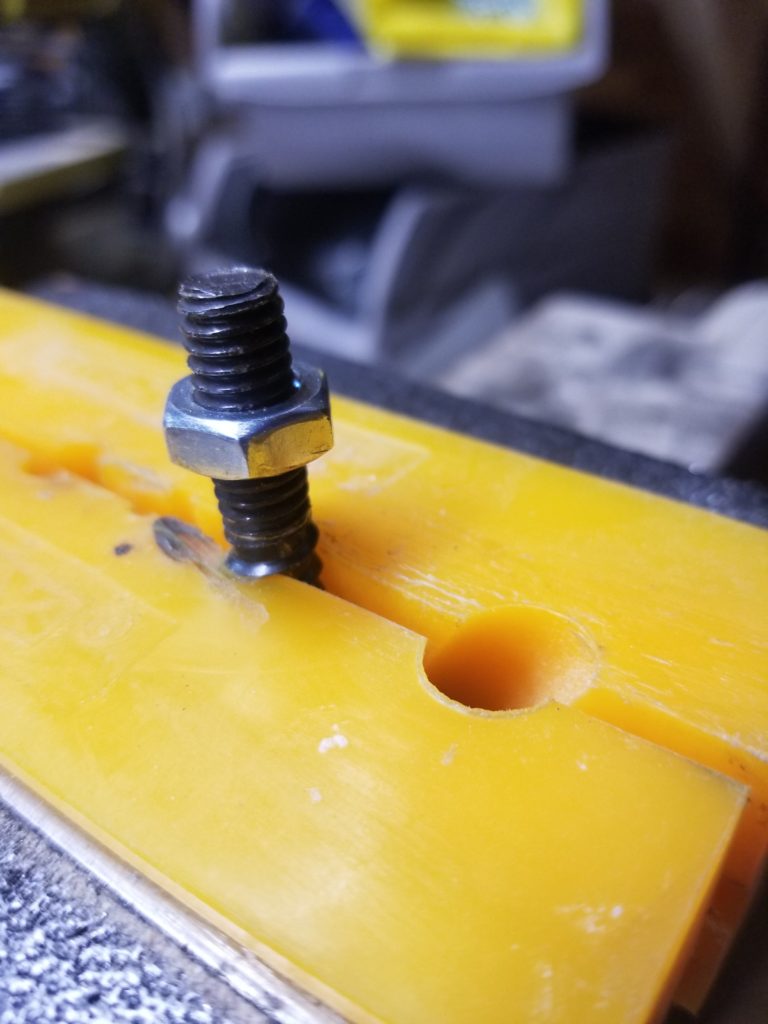
I did decently, but the machine threads did suffer a little. I chucked the wood screw threads in a vise (with compliant chops, but anyway the wood screw threads are much coarser and more forgiving) and ran the nut up and down a few times to restore the machine threads. That worked well enough.
Now that I know what size holes to drill, I need to know where to drill them. For that, I must attach the foot board to the tub, put the tub in place, and mark where those bolts should go. It is of course not exactly easy getting the tub into the T.H.R.O.N.E. Room, though actually, the foot board makes it easier because it’s something to grab (especially the hollow around the drain) and it has square sides, which help to steady the very curvy tub. Up it goes…
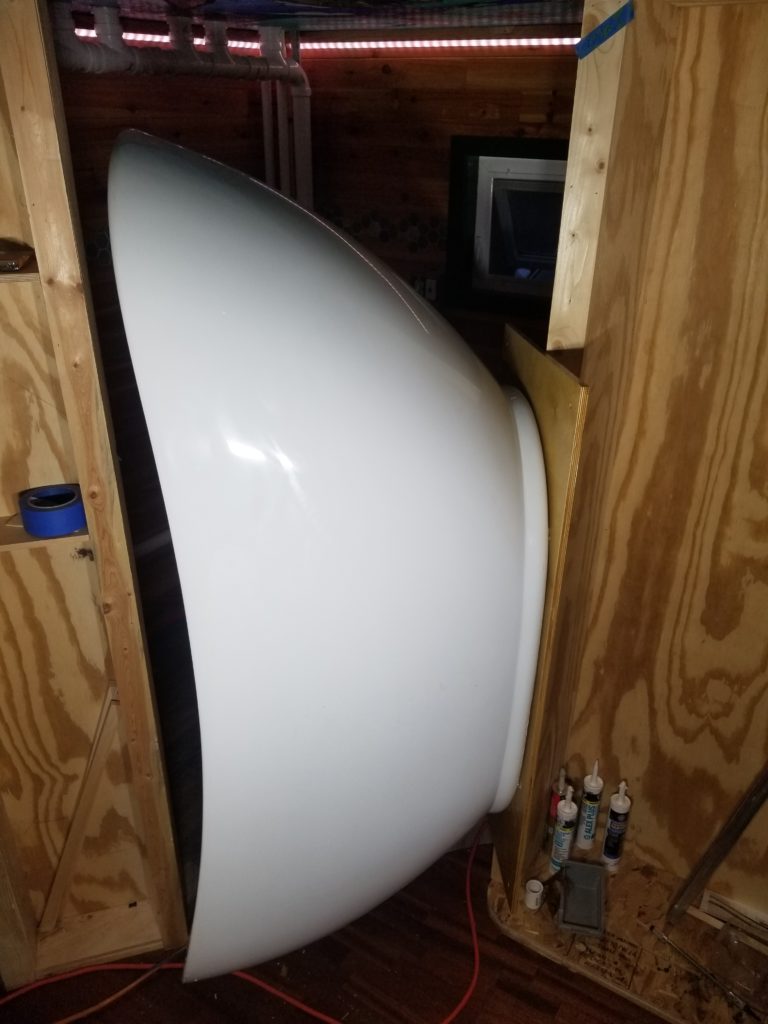
…set it down (see what I mean about the foot board helping?)…
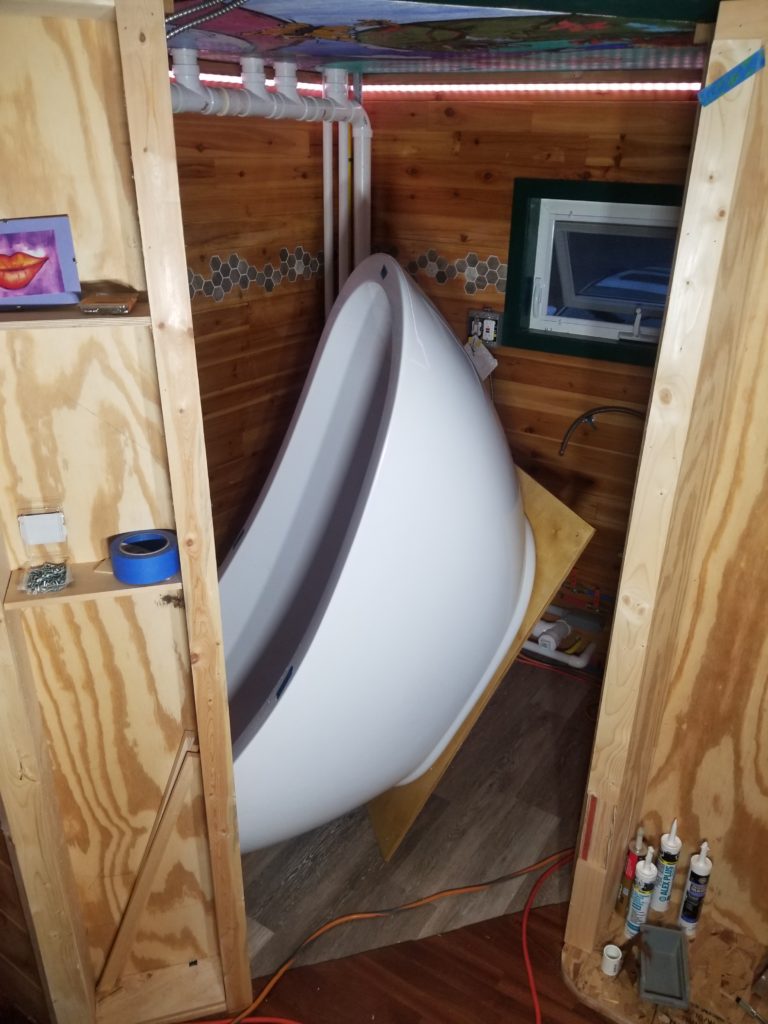
then get in there and land it gently…
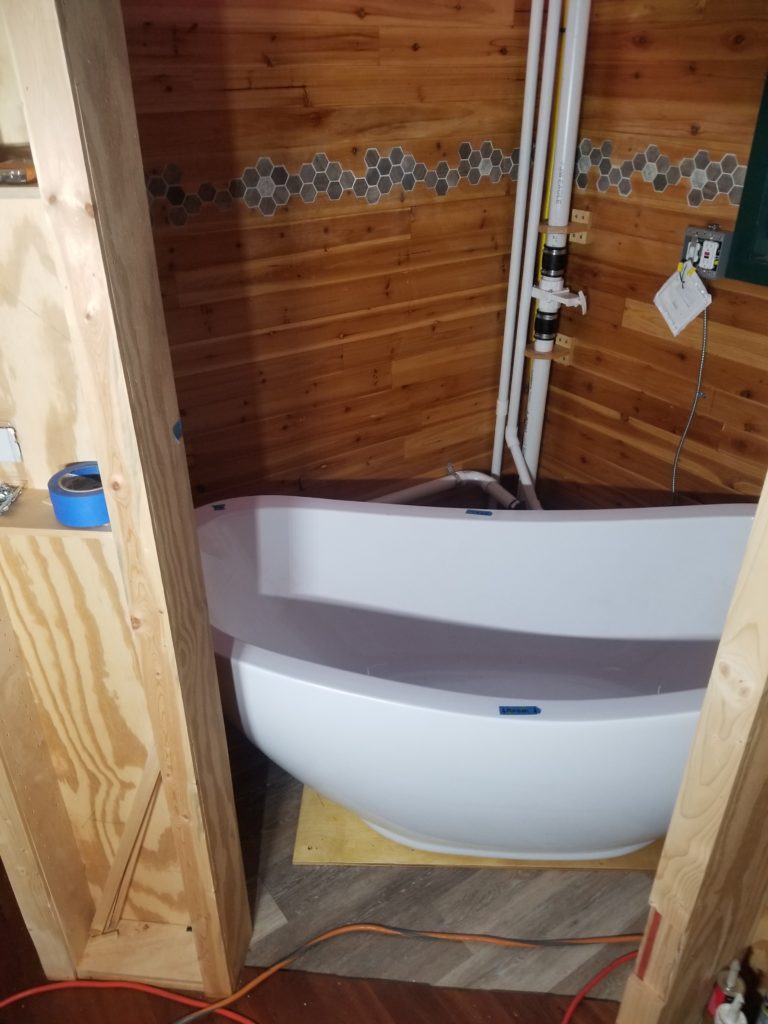
…and slide into place thus and so!
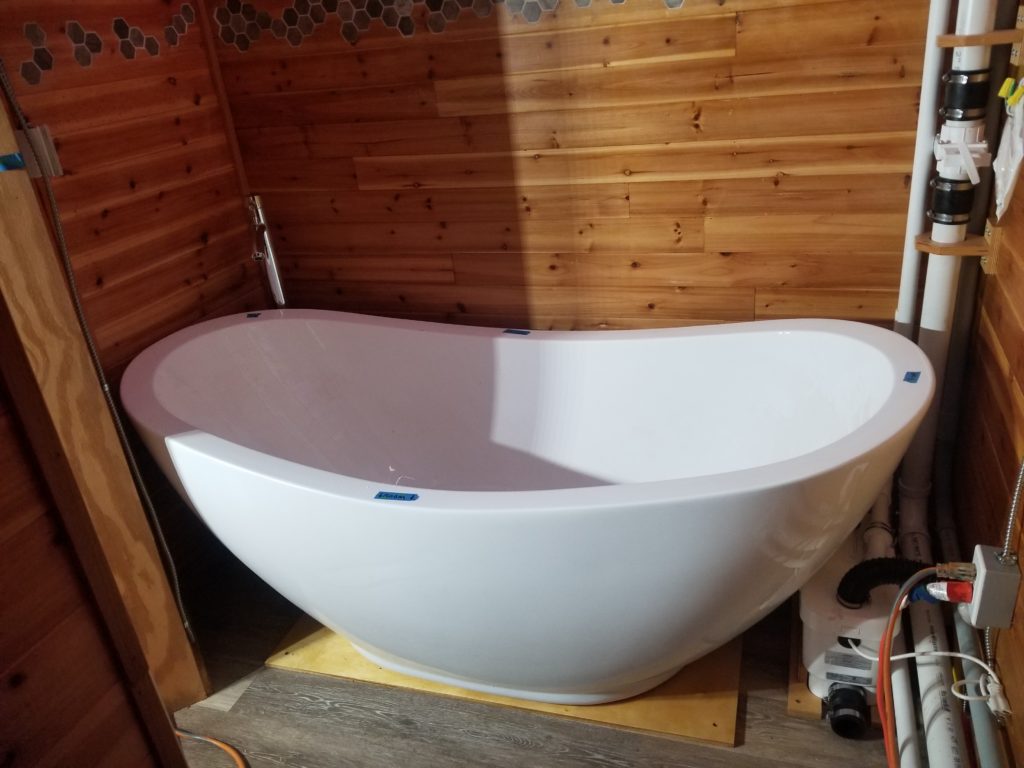
Presto, the tub in its nook. Yep, it still fits and clears all the pipes and the tub filler. Even clears the gray water lift pump… by about half an inch!
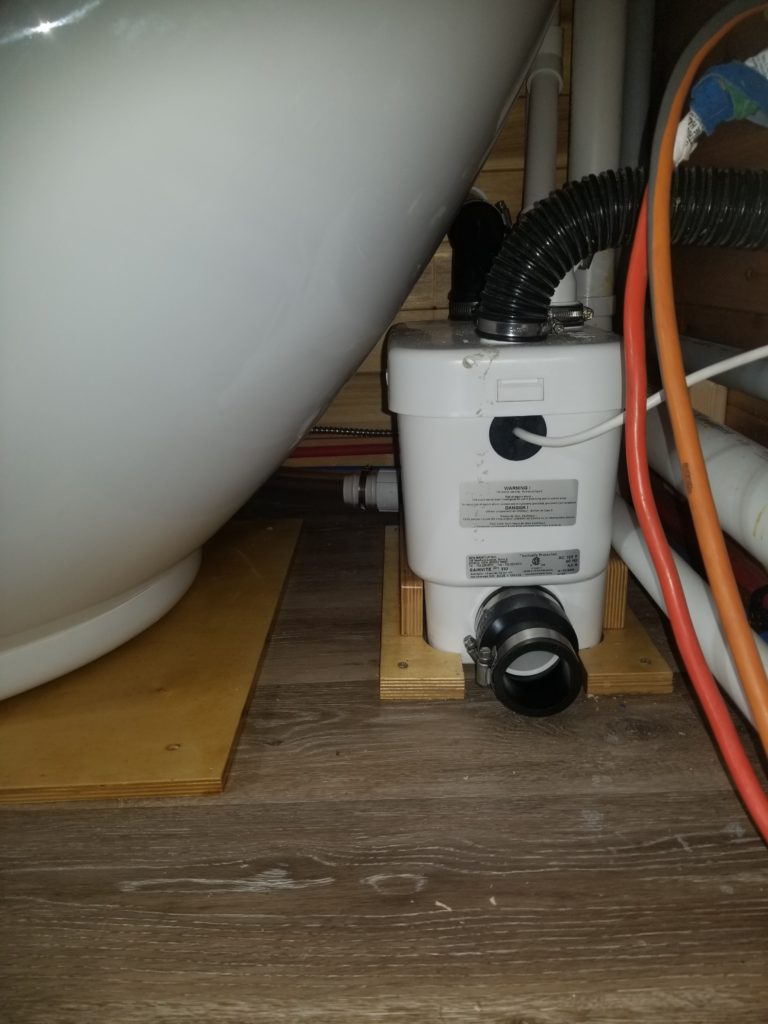
But half an inch is plenty. Now to mark where the bolts should go. I have a set of metal rods with center points on them which are designed for this job exactly. Fit them snug into any pre-drilled hole, then their center point can be used as an awl to mark where to drill a mating piece. Tap with a hammer to mark the spot.
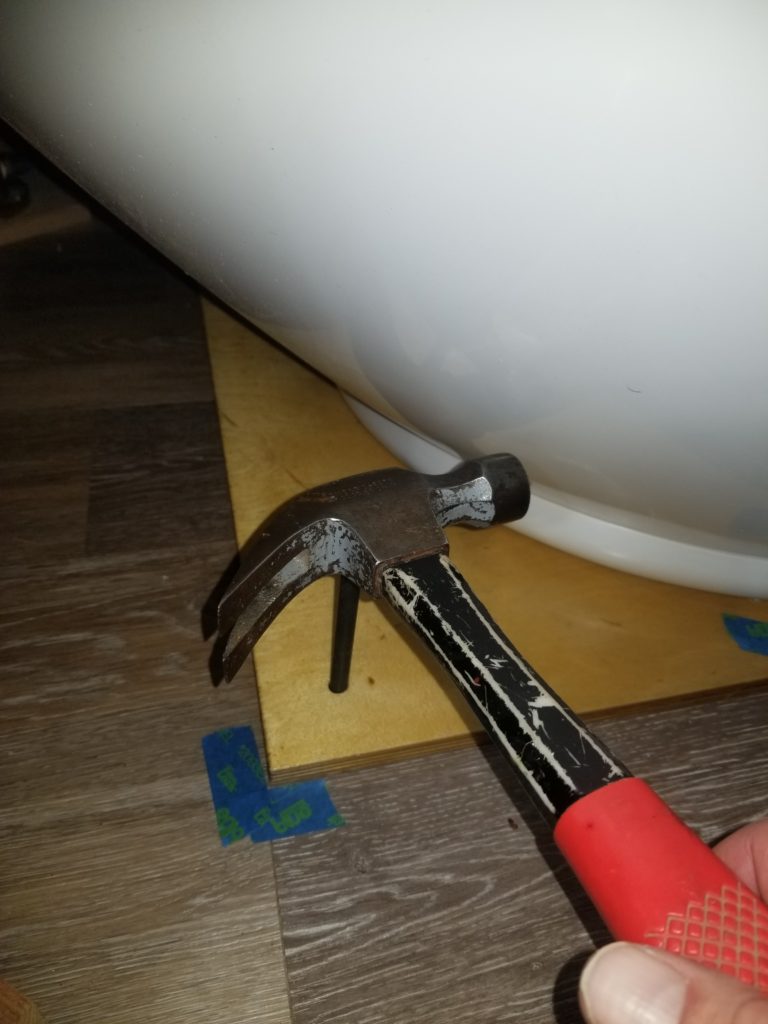
Of course, the tub is in the way of a proper hammer swing (what else is new – this isn’t the first – nor the third – time I’ve had to use the hammer in not its proper orientation) so I had to go at it sideways. The blue tape will help me find the little divot once the board is removed.
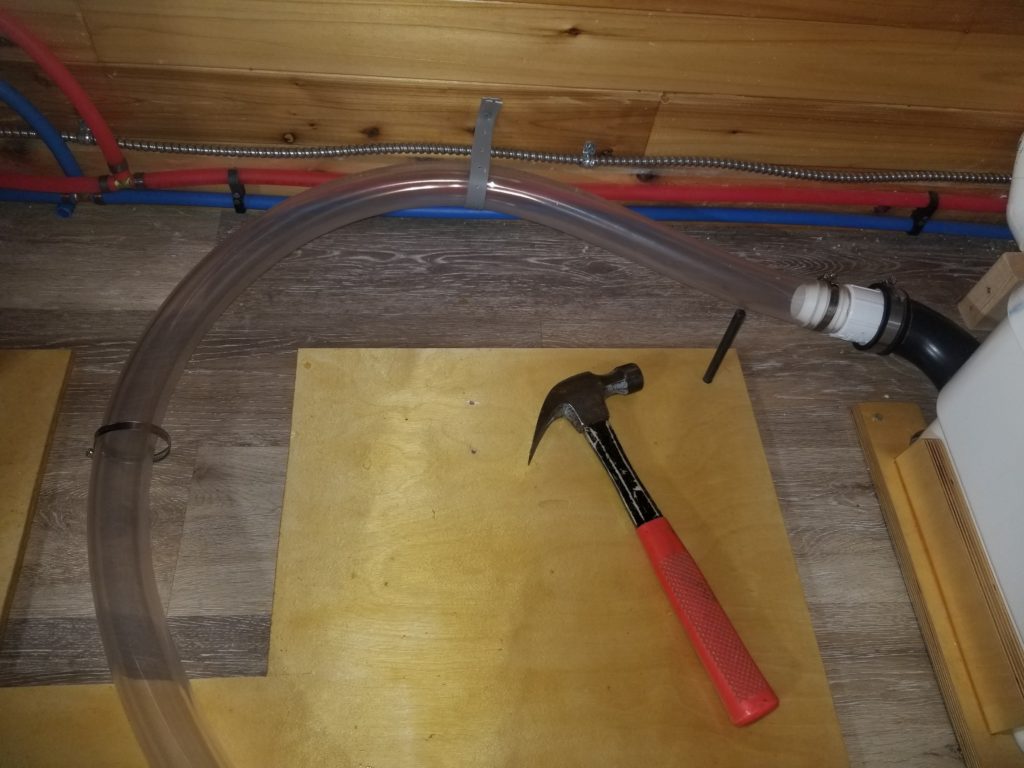
Remove tub (with foot board still attached), then remove foot board and bring it back. Why? There are two more bolt holes that need to be marked and there’s no way in Deepest Darkest Heck I was going to be able to reach them with the tub in the way. I will be able to slide a nut over the bolt and cinch it down with a ratchet tool, but swing a hammer (sideways) at arm’s length, on my belly, in a dark corner, around the tub? No thanks. Here’s what it looks like as I mark one of those distant holes. You can also get the full picture of how the virtual trap and the drain hose get their thing done, too.
One challenging bit of logistics is how to get the drain hose fitted to the drain on the tub at final installation. There’s some extra tubing here now, but that has to get cut because the drain is where the drain is and the tubing can’t bend sharply to just stuff it somewhere. It has to be a gentle arc right to the fitting. That means no extra length. That means no slack with which to work during installation. Hm. I think the answer is to get the tub close, detach the tubing from the lift pump where the fitting connects to the rubber elbow (black), and use that 18 inches or so as installation slack to reach the fitting on the not-quite-in-place tub. Then set the tub in place and draw that slack back through the gray strap. I have confirmed I can (just barely) reach the fitting on the floor from standing in the tub when the tub is in position. I can set it all right at that point and tighten the hose clamp. It won’t be fun, but I believe it to be possible, which is enough.
Before final installation, check that the bolts actually align with the holes in the foot board!
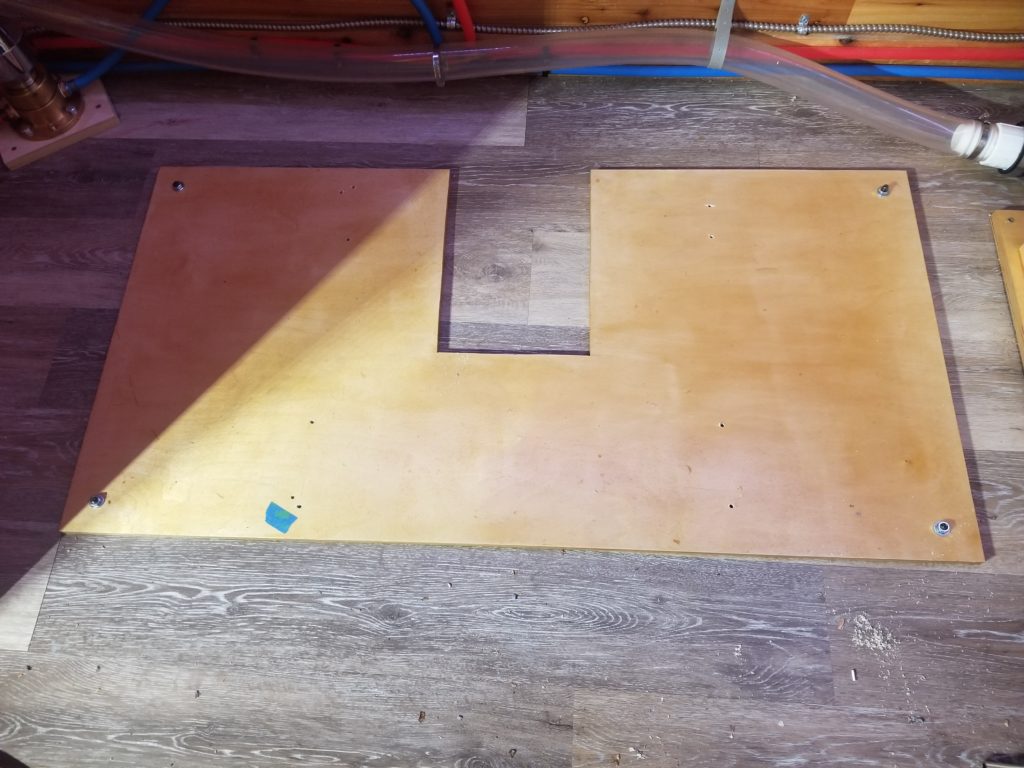
They do, mostly. One of them needs some persuasion. The holes were easy enough to drill, but the hanger bolts wandered a little in the holes, getting a little off-axis at times. I drilled the board holes just slightly oversized to accommodate some play, but I needed a tiny bit more with one of them. Some unseemly but pragmatic activity with the drill augmented the hole by 15% on one side and then it fit. Great! Ready to go!
No.
I happened to notice just the slightest pool of water under the tub filler, right there at the cold water inlet:
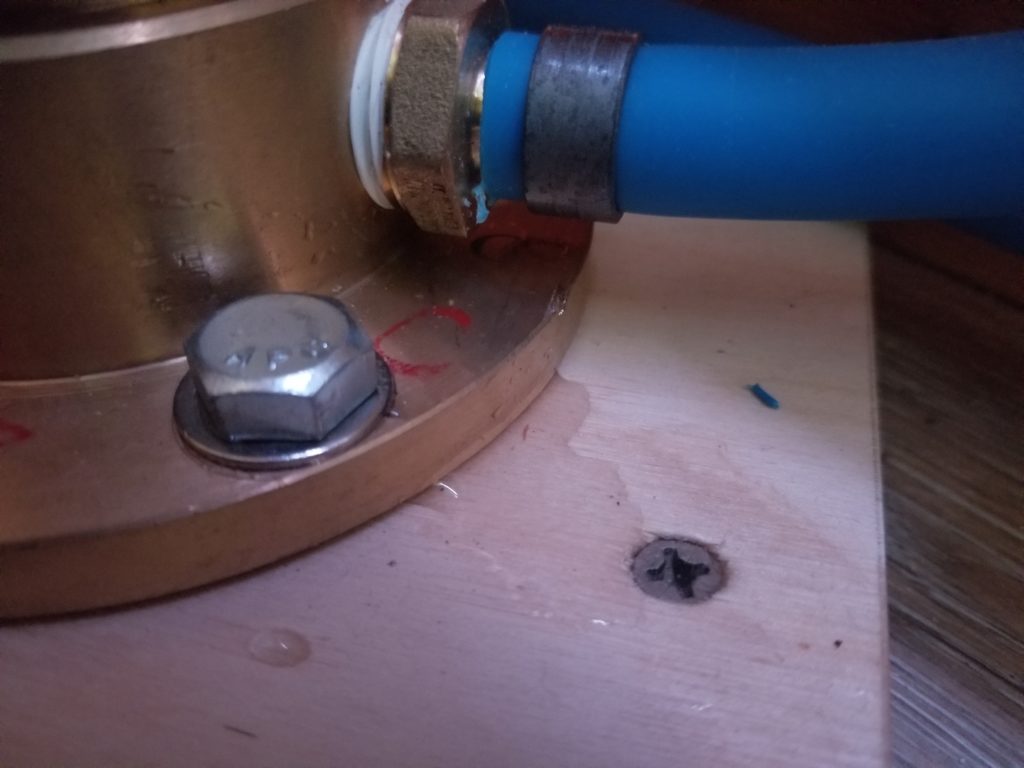
Maybe all of a tablespoon’s worth, after being at pressure for a couple of days. This is a very slow leak, but it is still a leak. I tightened the fitting with a wrench (I seem to have no problem with PEX and PVC and am pretty good with copper, too, but evidently I don’t like tightening threaded fittings tight enough), re-pressurized it, and put a tattle-tale paper towel under there to monitor. I’ll let it sit like this for a few days to prove the leak is fixed before installing the tub for real. Once the tub is in, I really really don’t want to ever take it out again. It is possible, but it will not be pleasurable.
Meanwhile, now that there are green lights on the homestead site, it’s time to finalize thinking about The WOG. That’s the multi-purpose utility building: Workshop-Office-Garage. I had been calling it the “garofforkshop” for a while but that’s hard to say and spell. “The WOG” has a nice ring to it and is definitely easier on the face.
There was no way I could do my day job from inside the tiny house itself and anyhow I wouldn’t want to. Also, you must know by now that I’m not content unless I’m making stuff. . . gotta have a workshop. Thus, The WOG. You might be thinking: hey wait, that’s not “tiny living” — and you’d be partially right and I’d be fully indifferent. The goal of the HomeBox is not to put my entire existence in 180 square feet. It’s to have a compact, easy to manage residence that I own outright, that’s easy on resources to keep comfortable, and that can be moved if I need or want to move it. It has always been “the habitat module” and was never intended to be all there is. The WOG is the rest of what there will be. No, it isn’t mobile, nor need it be. It’s a utility building, not a home. It is much simpler than a home and if I should move, I can build or have built another one if needs be. One thing I’ve noticed over the years is that my homestead stays about the same but my need for ancillary space varies considerably over time. Recording studio. Candy factory. Wood shop. To name a few. But no matter what I’m doing for fun or profit, I need a place to sleep, cook, eat, bathe… that’s the house. Everything else is negotiable and subject to change without notice 🙂
Here’s my current vision for The WOG:
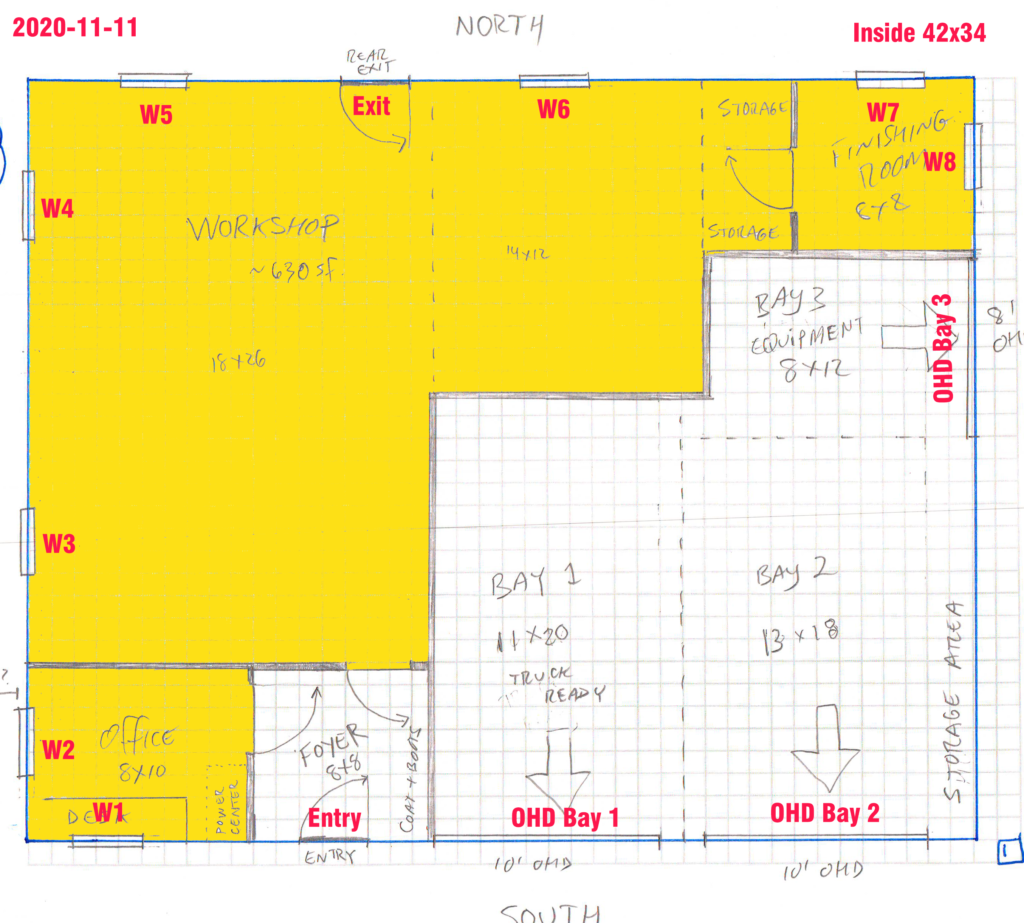
For comparison, my current workshop (a 2-car garage) is about 575 square feet. It’s functional, but still a bit small. Some of the space that’s in there is hard to use because of built-ins that are inconvenient (I am not at liberty to change them because this is a rented house). This plan has a shop that’s a bit over 630 square feet, plus a “finishing room” — a dedicated space with its own door so the dust of the shop can’t get in there. That’s where paint and varnish and poly and whatever else get applied to whatever they get applied to. Being its own little room, it can be separately ventilated and I don’t have to worry about sawdust from active work settling on wet finishes, ruining them. The room doesn’t have to be big – just enough to get around whatever is being finished.
The yellow shaded area is heated space. The office has been sited facing south, to maximize natural light, with two windows for cross-ventilation when the weather is nice. I don’t need much office space, either – room for a computer, a few monitors (I like 2 full-sized ones plus the laptop screen), and some desk space for the widgets I work on. My current work-from-home setup is actually only 8 square feet (2×4) of desk space. This plan calls for 14 (2×7) and there’s room for more. I do need room for whatever will heat the space, too, so some extra floor space is prudent.
I’m thinking a tiny pellet stove if I can find one that small would be ideal for heat. Evidently one can buy a small scale pellet mill, too, so now I’m thinking I could collect deadfall from the forest, pelletize it in the summer, and use that for heat. A pellet stove is preferred over a regular wood stove because it auto-feeds and can be thermostatically controlled. A stove is preferred over a propane heater for ecological reasons (and it’s nice to gaze into the firebox). Electric would demand way too much out of my solar power system and is thus a non-starter.
There is more to the heating question than may first appear, too. The power center for The WOG will need to be kept above freezing for the best service life of the batteries. I’ve located the power center in the office (where presumably the little pellet stove will go) for this reason. There are also things in the workshop that don’t like to freeze, such as glue and other building materials like caulking. Maybe I’ll build a “warm box” off the office, but accessible from the shop, for these kind of things. That would keep them from freezing but wouldn’t require traipsing in and out of the office to access them. You’ll notice the design of the building is such that the office really is its own little world. That’s intentional.
The exact nature of the vehicles to be parked in the garage spaces is unknown, so the bays have been sized to accommodate larger vehicles like a pickup truck if that should become necessary or desired. There is a third bay called “equipment” which is a bit amorphous at this point but is intended as a catch-all for a tractor, a UTV, or other larger equipment intended for use about the grounds, however that might manifest.
So who builds this thing? The shell I will be contracting out. I have no interest in building another house and anyway, it would be seriously inconvenient for me to do that from here, given the 200+ miles distance. Done as a pole building, this thing can go up in a couple of days. The interior partitioning, insulation, electric, etc., I plan to do myself, perhaps incrementally, depending on how things play out.